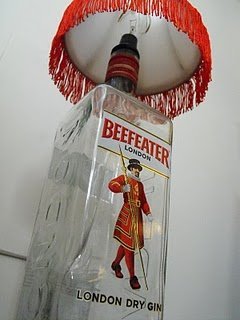
Recycled Bottle Lamps
Who doesn't love thrifty home decor projects? Create your own thrifty lamp with old bottles using this wonderful Recycled Bottle Lamps tutorial. Get ready for compliments, people will love these lamps!


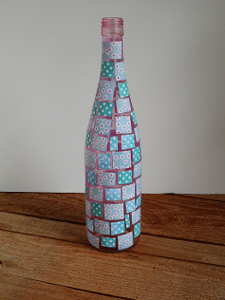
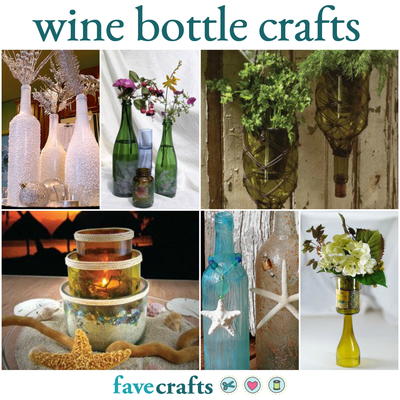
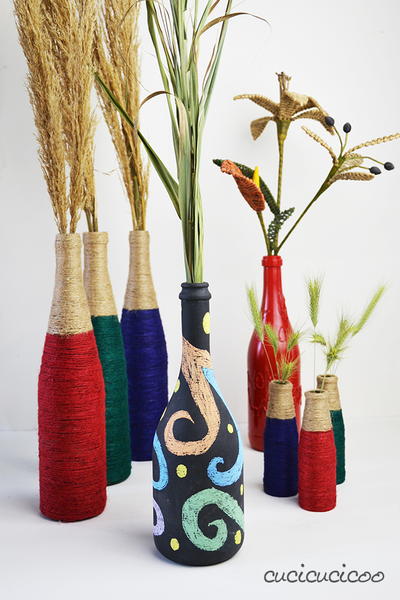
Love crafting with bottles? Check out our collection of wine bottle crafts: 30+ Things to Do With Old Wine Bottles.
Materials:
- Lamp cord with switch
- Light socket ( we used a candle lightbulb )
- Electrical tape
- Glass drill bit MAKE sure it looks like this bulb
- Lampshade (the one that clips onto the bulb)
- Water
- Masking tape
- Saftey Glasses.. not a bad idea.
- (optional) some fringe and hot glue gun
Instructions:
- Get your drill bit ready. I recommend using a non-cordless drill. The first few bottles we tried we cracked I'm sure it was a 1:3 in favor of the busted bottles and we killed two batteries in half an hour. Yes.. TWO.
- Mark your spot on your bottle with masking tape.
- Make sure it's not too close to the bottle of the bottle as this could weaken the glass. Keep your drilling post cool with water running from a watering can or hose. This will prevent heat fractures from the drilling.
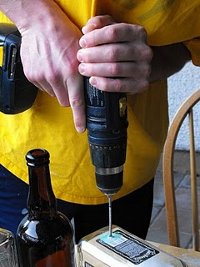
- Keep a good steady pressure. But not to hard until you go through.
- Get your cord and push it through your hole and up through the head of the bottle.
- Next notice how there are two wires in a cord.
- One has a smooth side

- And the other has a bumpy side.
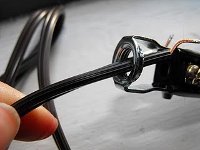
- Look at your light socket, notice how there are two screws.. one is brass.. the other one silver. Bumpy goes to brass.
- Put the wires through the bottle of the socket and line up the cord to the correct screw. Loosen the screw and curve the wire around the screw and tighten.
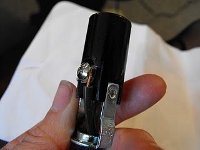
- Wrap the socket in electrical tape if it is too big to sit in the mouth of the bottle. Wrap it so you can push it in and it will stay put. Next wrap the tape tightly over starting with the first bit wrapping around the mouth of the bottle and any exposed metal bits up to the top of the socket.
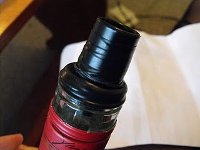
- Insert bulb.. some fringe if you please.
- and tadaaaaaa.. Lamp!
Read NextSnowball Wine Bottle Vases
Your Recently Viewed Projects
Thanks for your comment. Don't forget to share!
Kefra
Jul 30, 2013
This is so COOL! I have wanted to make one of these and here are just what I needed!! :) For anyone to know, many bars will save a bottle or 2 for you if you ask and they give them for nothing!! Just remember to go get them or people may get annoyed and not save them again. I saved them for about a month from a local bar and got some really neat bottles for nothing :) Thank You for having so many craft projects that make my day for me, I love Favecrafts!! Happy Lamp Making All! Buffy
judicroland62 8101 891
Aug 25, 2012
I did this with some blue wine bottles--removed the labels then painted snowmen on the front and tiny snowflakes all over. I also did some sunflowers on green bottles. These lamps were a hit at the craft show!
Report Inappropriate Comment
Are you sure you would like to report this comment? It will be flagged for our moderators to take action.
Thank you for taking the time to improve the content on our site.