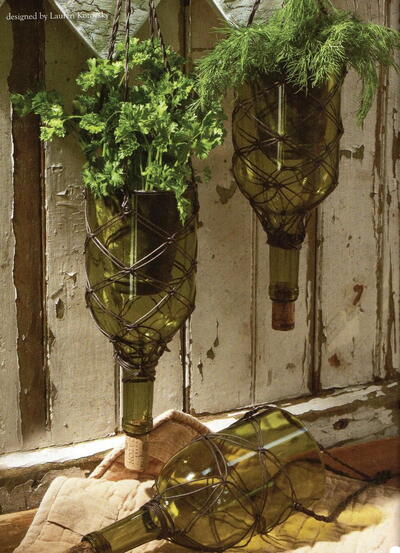
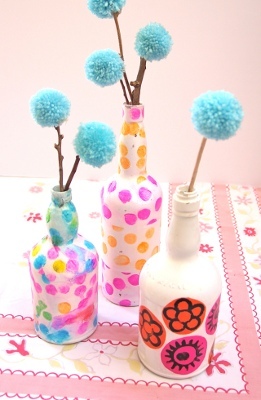
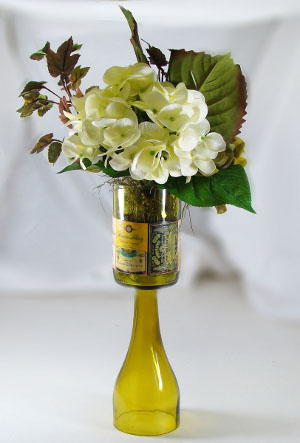
Wine Bottle Topiary
This Wine Bottle Topiary from Diamond Tech is a great way to use up an empty wine bottle. Wine bottle craft projects make great conversation pieces, and this one is no exception! Use it as your centerpiece for your next wine tasting or dinner party!

Materials:
- Generation Green (g2)
- 2 Wine Bottle – 750 ML
- Mod Podge™
- Paint Brush
- Studio Pro ¼” Copper Foil
- Pencil or Fid
- Two Part Epoxy or Glass Glue
- Wine labels or a 3.5 image
Instructions:
-
Read and carefully follow the instructions contained within the Generation Green (g2) bottle cutter manual.
-
Cover the work area with craft or newspaper.
-
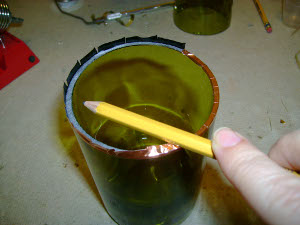
Measure 4.75” up from the bottom of each wine bottle and mark with a Sharpie™.
-
Using the bottle cutter, score and separate where indicated.
-
Smooth the rough edges as instructed in the bottle cutter manual.
-
Clean the cut edges of the bottle thoroughly with a vinegar/water solution and clean cloth. Foil will not stick properly if your glass is dirty or oily.
-
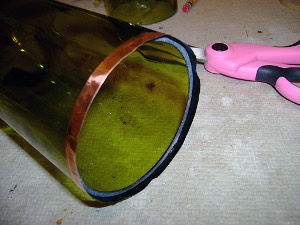
For this project, only foil the cut edges of two bottoms and one top. Start with ¼” (1.5ml thick) copper foil. Peel back 3”- 4” of backing from the foil. Center the edge of your glass on the sticky side of the foil. Always “start” your foil on the backside of the project. Wrap the entire cut edge with foil and overlap the ends ¼”. Use a scissors and clip the curved edges around the lip of the glass.
-
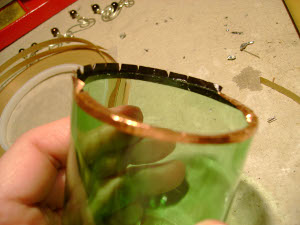
Press the foil down a little bit at a time to prevent bunching. Use a fid (if you don’t have a fid, a pencil or Popsicle stick can be substituted) and burnish (rub) the surface of the foil to the edge of the glass. Press firmly, however too much pressure may cause the foil to tear.
-
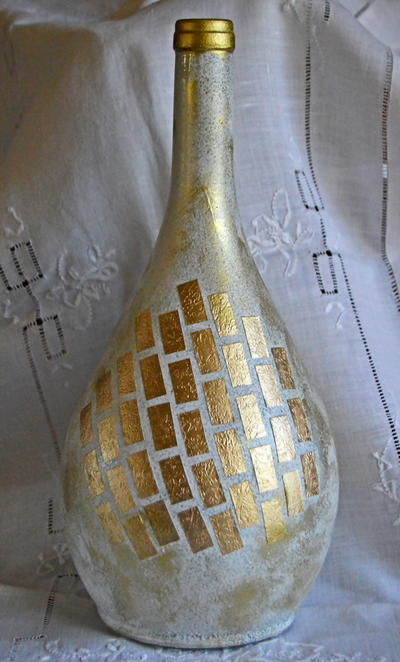
To create the pedestal vase, place the bottom of the wine bottle with the opening facing down on the table. Place a large dollop of glass glue in the middle of bottom and insert the top, neck first into the glue. Hold in place until the glue sets up. (TIP: Place a small level on the top of the glass to make sure the vase sits straight.) Allow to dry overnight. Periodically check the level to insure your pedestal dries straight. Should it start to tilt, simply move it back into place and hold for a minute for the glue to set-up.
-
Next, either use your favorite wine label or print one from the internet. Labels should be at least 3.50” tall.
-
To prevent the bottle from rolling while you decoupage, place it on an old pillow or a Ziploc bag filled with rice.
-
Apply the wine label to the bottom portion of the small vase and the top portion of the pedestal vase, using the decoupage medium. Once dry, apply several coats to the surface of the wine label, allowing each layer to dry before applying the next.
-
Allow to dry thoroughly before using.
- You are now ready to tuck your favorite bouquet into each or insert a pillar candle to create a couple flickering two beauties.
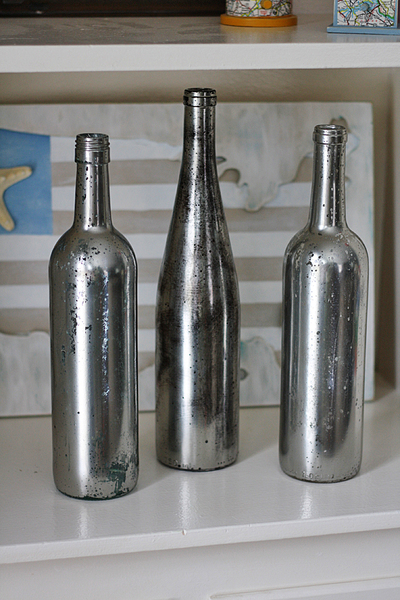
Read NextUpcycled Looking Glass Wine Bottles
Your Recently Viewed Projects
Thanks for your comment. Don't forget to share!
mulberrygalprinces s
Aug 11, 2018
What a unique idea. It's a tad complicated and will take a while to accomplish. But it's not hard and there are very explicit directions with pictures so I feel anyone can figure it out and make it. I am having a get together by the pool and these would be very nice to add.
Chickenbrain2009 0 183008
Jun 24, 2013
Can someone please tell me what Mod Podge IS, I live in the UK and cant seem to get it here, I need a UK equivalent! Thanks Pam
Report Inappropriate Comment
Are you sure you would like to report this comment? It will be flagged for our moderators to take action.
Thank you for taking the time to improve the content on our site.