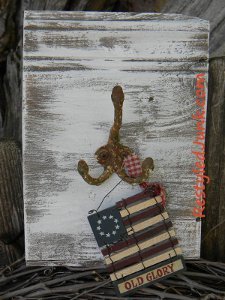
Country Chic Hook Rack
Gather up some scrap wood and turn your space into a rustic getaway. It's so easy to create your own DIY country crafts, even if you live in an urban area. Get started by making a Country Chic Hook Rack using wood from an old baseboard.

Materials:
- Old baseboard scrap
- Measuring tape
- Jigsaw
- Sandpaper
- Old paintbrush
- White acrylic paint
- Paper plate
- Pencil
- Iron coat hook
- Screwdriver
- Sawtooth hanger
Instructions:
-
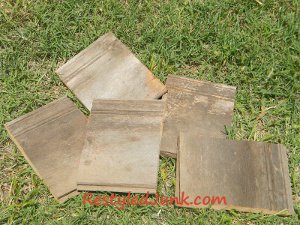
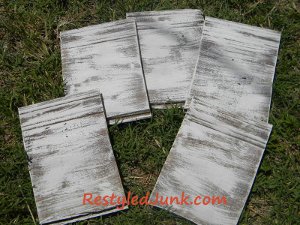
Cut a 6 1/2-inch length from an old 9-inch wide baseboard using a jigsaw. The resulting piece will be rotated with the 6 1/2 inches as the width and the 9 inches as the length. Lightly sand both sides and all edges to remove rough spots and splinters. If an old baseboard is not available, dig through your scrap wood for a substitute and cut it 6 1/2 inches wide by 9 inches long. The size of this project is not set in stone. Adjust the measurments to fit your wood scrap if needed.
-
Dip the bristles of an old, ratty paintbrush in white acrylic paint. Craft paint is ideal for this project, but you can also use leftover wall paint. Work off most of the moisture on a paper plate. Lightly dry brush over both sides and the edges of the board. Allow the paint to dry.
-
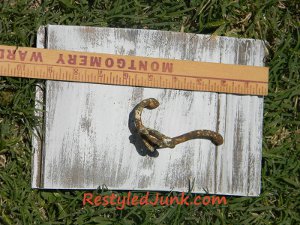
Determine which 6 1/2-inch end will be the top of your rack. My baseboard had decorative routering on one end, so that end became my top. Measure down 5 inches from the top and center a pencil mark between the board's sides at this measurement.
-
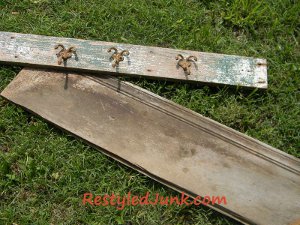
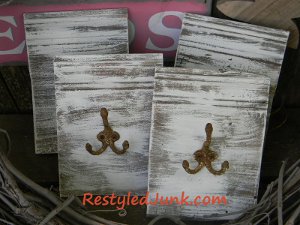
Position an iron coat hook over the pencil mark and attach with matching screws. Note: I used an old, rusty hook and rusty screws I had in my stash that were left over from a previous DIY project. If purchasing a new hook, the screws will be included.
-
Turn the rack with the back facing up. Measure 1 inch down from the top. Center and attach a sawtooth hanger along the edge. Note: If your rack will be getting a lot of use, you may want to omit the hanger and attach the rack directly to the wall with a screw. Be sure to locate a wall stud to attach your hanging nail or screw to.