Restyled Book Accents
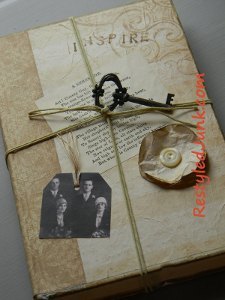
Breath new like into old books by creating Restyled Book Accents that you can place on your mantel or end table. Crafts made from old books will help you save money and allow you to keep items you might otherwise toss in the garbage or hide in a closet.
Materials:
- Hardback book
- Craft knife
- White acrylic paint
- Paintbrush
- Measuring tape
- Brown ink pad
- Hot glue gun
- Decorative paper (two coordinating designs)
- Scissors
- Craft glue
- Paper ephemera
- 1/2-inch letter stamps
- Button
- String or twine
- Key or charm
Instructions:
-
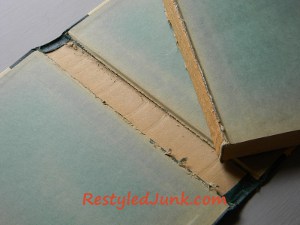
Open a hardback book. Using a craft knife, cut the spine of the inner pages away from the spine of the book cover. Set the bundle of pages aside.
-
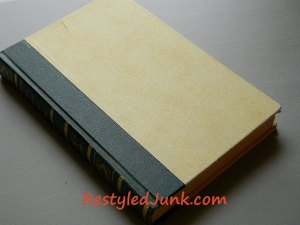
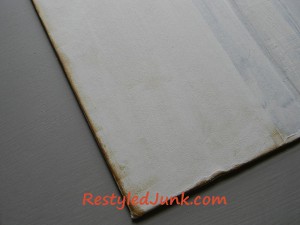
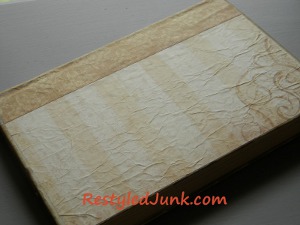
Lay the book cover out flat with the inside of the cover facing up. Paint the inside edges of the cover using white acrylic craft paint. An edge of about a 1/2 inch is all that needs to be painted. Leave the rest unpainted. Flip the cover over with the outside facing up. Paint the entire outside surface using the white acrylic paint. Allow the paint to dry.
-
Pat the pad of a brown ink pad around the edges of the painted cover.
-
Re-glue the book pages into the cover using hot glue. Close the book.
-
With the front of the book facing you, measure the width and the length. Subtract 1/4 inch from these measurements. Cut two pieces of decorative paper using these new measurements. These are your cover pieces.
-
Measure the depth of the book and add 3 inches. Cut a rectangle of coordinating decorative paper using the new depth measurement for the width by the new length measurement of the front cover. Example: For a book with a 1-inch depth and a 9-inch length, cut a rectangle 4 inches wide by 8 3/4 inches long. This is your spine cover.
-
Wad the two cover pieces and the spine cover into tight balls. Carefully smooth them out with your hands.

-
Paint craft glue over the front cover. Center one cover piece on the cover and smooth with your hands. Repeat on the back cover. Apply craft glue directly to the back of the paper spine cover using a paintbrush. Wrap the spine cover around the book spine with an equal amount of paper overlapping both the front and back covers. Smooth the spine cover with your hands.
Book Front:
-
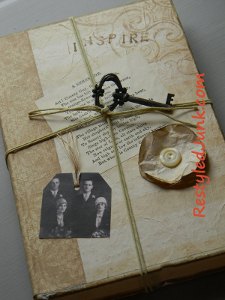
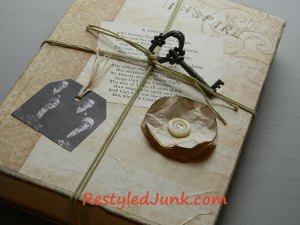
Choose a poem, song, vintage label or other special paper ephemera. Glue the chosen paper to the front book cover.
- Add a photo or tag. Stamp an inspirational word on the cover.
Flower:
-
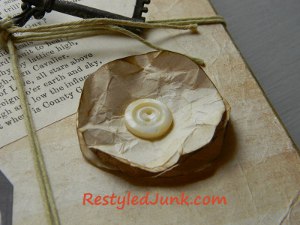
Using scraps of the same papers used for the cover and spine, cut two 2-inch squares of one paper and one of the other. Rough cut a circle from each square. Wad the circles into tight balls. Smooth out the circles and pat the edges with a brown ink pad. Stack the circles together and connect with a dot of craft glue between each layer. Glue a button to the center of the flower. Glue the flower to the book cover.
Bundle:
-
Wrap a double strand of string or twine around the length and width of the book and add 4 inches to each end. Thread a key or charm on the string and tie the ends in a knot to secure.
Read NextState Fair Farmhouse Cupboard