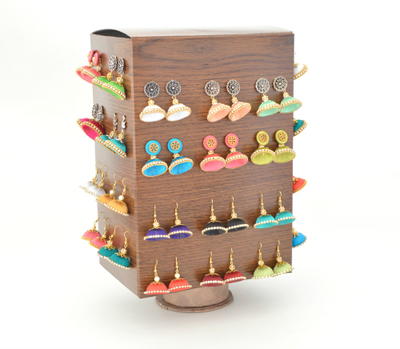
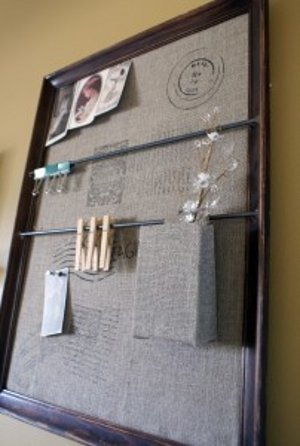
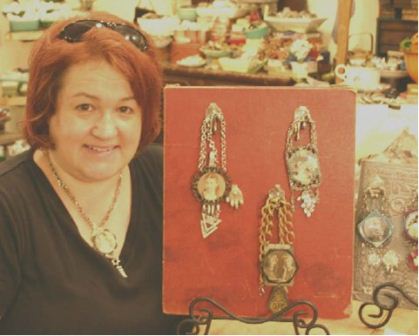
Jewelry Display Board
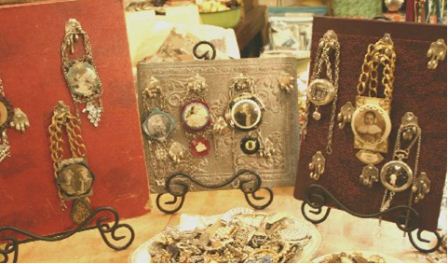
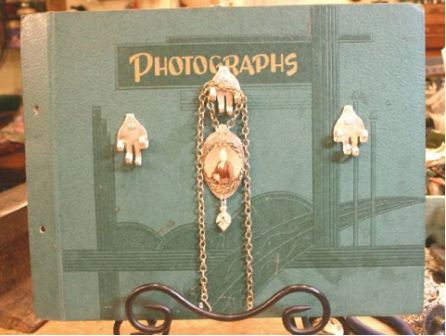
Use recycled materials, including old silver forks, to create a unique display for your jewelry. Take these displays to craft shows and showcase the one-of-a-kind wearable art jewelry that you make from vintage bits and pieces.
Materials:
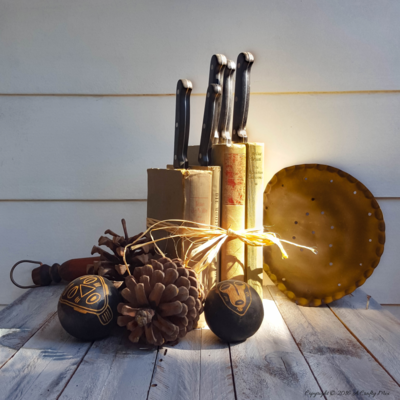
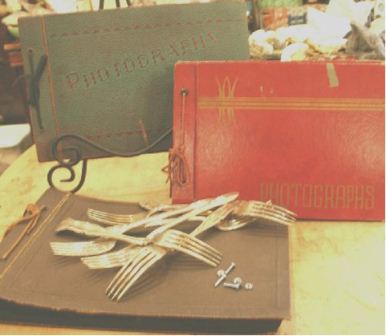
- Several old silver plate forks…mismatch ones work
- Vintage photo album cover(s)
-
Several small screws with nuts
- Pen
- Carpenter’s punch
-
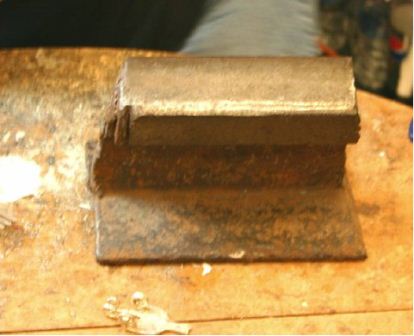
Anvil (mine is just an old piece of railroad tie- I love to re purpose)
- Hammer
- Pair of pliers
- Dremel drill – with drill bit,
- Cut-off wheel attachment and
- Sanding disc attachment
- Fine steel wool
Instructions:
-
Gather materials and tools.
-
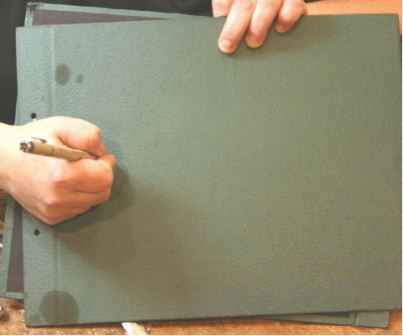
Mark your album cover with a small dot where you want thee fork hangers to be placed.
-
Drill the holes in the board.
-
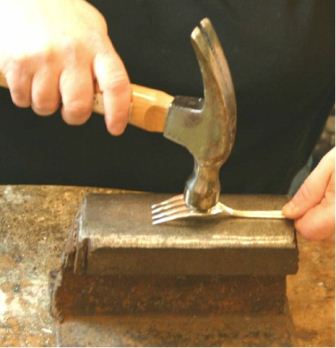
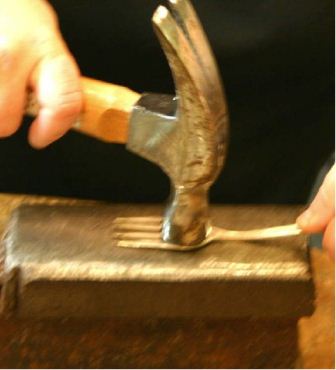
Pound flat, remembering to turn the fork over and flatten each side, the number of forks that you need to fill your board. This step is my favorite part especially if my kids or husband have made me crazy….it would work for bosses too.

-
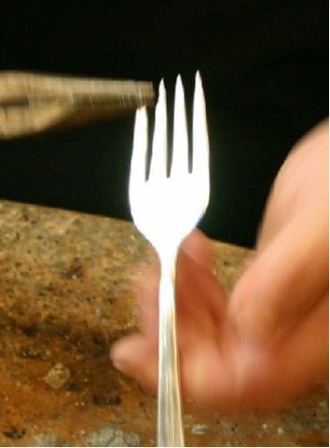
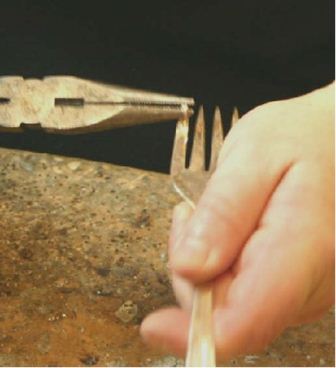
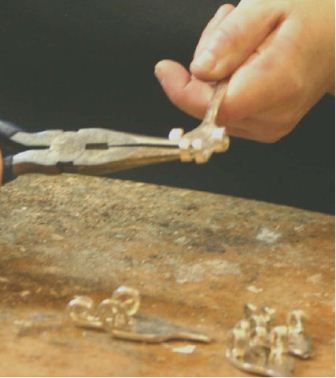
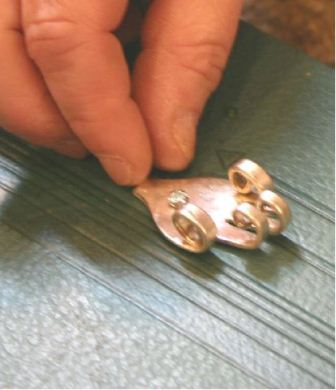
Bend each fork…..I bend and curl the two edge tines first…using your pliers to curl while spinning the fork and letting force do the work for you. Curl and bend as many forks as you need to complete your board.

-
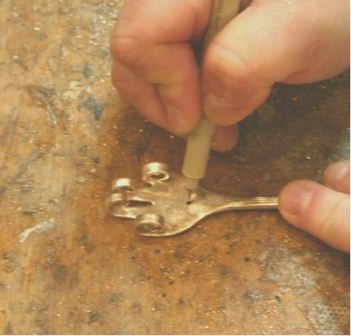
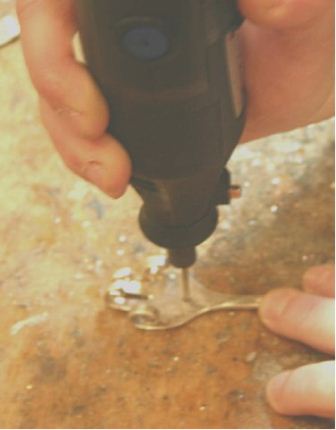
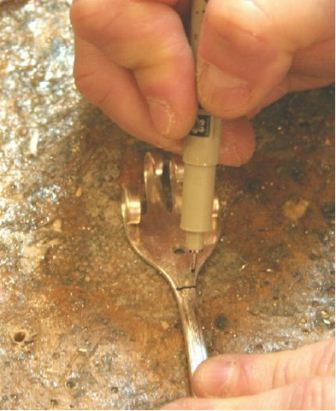
Mark with a felt tip pen where you want to drill each hole in the upper part of the fork base. Use a spring loaded carpenter’s punch to make a small divot at the pen mark.
-
Drill the holes in all of your forks.
-
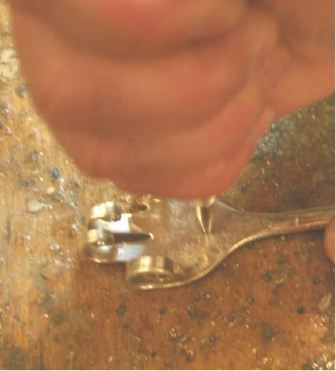
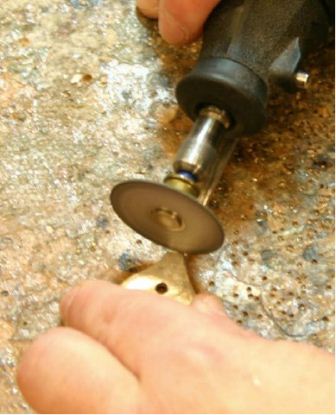
With your pen draw a line where you want to cut off the fork handle. Use the cut off wheel on your Dremel to make the cut on each fork.
-
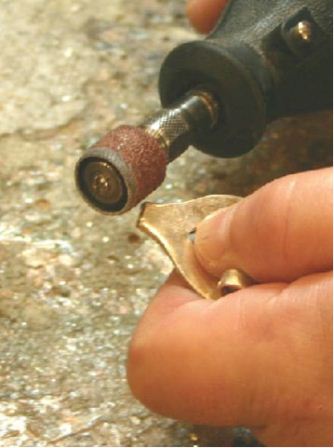
Use the sanding disc on your Dremel and fine steel wool to smooth all of the edges.
-
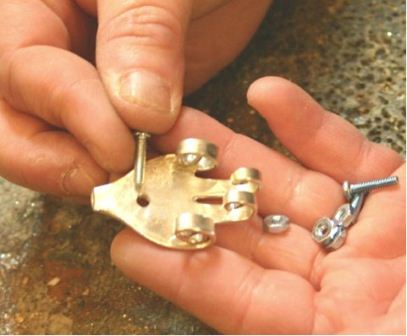
Just add a screw through each fork hole then thread through the hole in the board, add the nut to the back and tighten well. Use can use your cut off wheel to get rid of any excess bit of screw in the back. Place on easel of add hangers and picture wire.
-
Add your favorite jewelry…. maybe even one of my art pieces and enjoy!
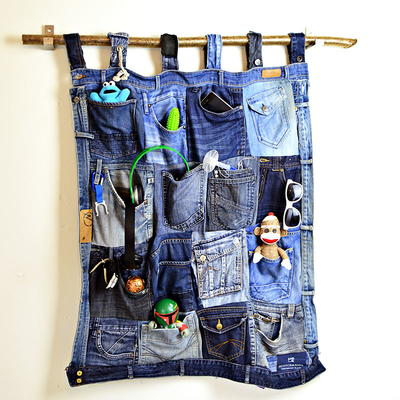
Read NextDenim Pockets DIY Organizer
Your Recently Viewed Projects

Thanks for your comment. Don't forget to share!
uribedaniella 7732 381
Nov 24, 2012
Lovely idea, thanks for sharing, I will make some for my jewelry that I make and sell!!!
buenpro 8982226
Sep 06, 2011
wow i just inherited a bunch of old silverware and old costume jewelry from my mother in laws estate! what a great way to keep her things in the family! thanks for the ideas!....
judyleeray 1516470
Jun 19, 2011
Very crafty and inventinve. It is a unique way to display jewelry. Think flattened spoons would work if bent out after flatting the spoon, could make holes into the spoon part around the edges to hang earrings on or to fasten necklaces on.
LynnR40
Jan 18, 2011
Love this!! I make Jewelry and alot of crafts. Those store bought displays can be very expensive. This is alot nicer and can make them to your liking.. Great Idea !!1
jennia
Jun 05, 2010
This is upcycling at its BEST!!! love your use of the albums and the forks. Only one question, what is the holder you are using to prop them up? A cookbook holder or ??? Jennia http://upcycledcrafts.com
Report Inappropriate Comment
Are you sure you would like to report this comment? It will be flagged for our moderators to take action.
Thank you for taking the time to improve the content on our site.