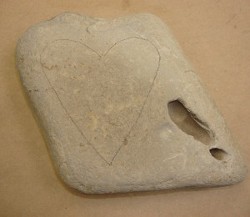
Rock Mosaic
It doesn't get more creative than this! Head out into nature and find the perfect rock to complete this cool mosaic craft project from Heidi Borchers. A Rock Mosaic makes a fantastic gift and looks great in a garden!

Materials:
- Rock – about 6” to 8” (washed and dried)
- Tiles, stain glass pieces, china pieces, flat marbles, glass canes etc.
- Plastic alphabet beads
- Glue (I used Weldbond)
- Wheeled tile nippers
- Sanded grout – white
- Gloves – disposable type
- Paper towels
- Sponge
- Container for water
- Masking tape
- Cotton swabs
- Pencil
- Tile sealer
Instructions:
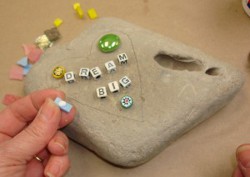
- Trace a heart pattern onto rock with a pencil.
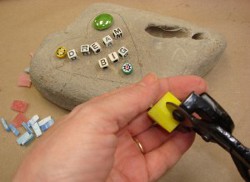
- Before gluing, lay out alphabet letter beads to determine placement.

- Place the main focus pieces (flat marble, glass canes etc.) onto rock.
- Using a wheeled tile nipper, cut out pieces for the background (stainedglass, china, tiles etc).
- Using a small dot of glue on the back of each piece, glue alphabet beads and main focus pieces into place. Continue to glue each piece for the background by placing a small dot of glue onto the back of each piece.
- When pieces are all in place, let glue dry.

- To create a line for the grout, place a line of masking tape around the mosaic, about 3/8” to 1/2” from mosaic edge.

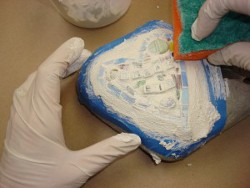
- Mix grout according to instructions on grout package. Using gloves and craft stick, apply the grout to the mosaic.
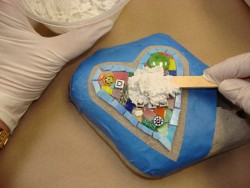
- Continue to apply the grout, carefully pushing the grout into the spaces in between the tiles and between the tape and edge of mosaic . (Be very careful with this step. Remember the tiles have been cut and the edges can be sharp).
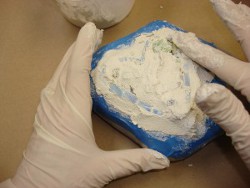
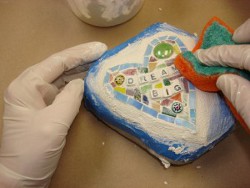
- This step is only to smooth the grout and uncover the mosaic pieces. Do not try to get the tile pieces clean in this step. Carefully begin to wipe mosaic off with the sponge. Note: when dipping the sponge into water, squeeze out as much water as you can before apply sponge onto mosaic.
- Clean sponge when needed and repeat.
- Carefully smooth out the grout around the outside edge with sponge. At this step you want the tiles to have a grout ‘film’. Let the film dry until it is ‘chalky’ and dry.
- Before the grout is completely dry, carefully remove the tape. If any of the grout comes off, carefully replace. Dip finger in water and carefully rub over grout area until smooth.
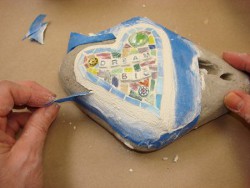
- When mosaic is completely dry, wipe off the chalky film using paper towel and cotton swabs, until clean. If placing the mosaic outside, put a grout sealer onto the mosaic 48 hours after grout is dry.

For a comprehensive video tutorial, check out How to Make a Dream Big Mosaic Rock.
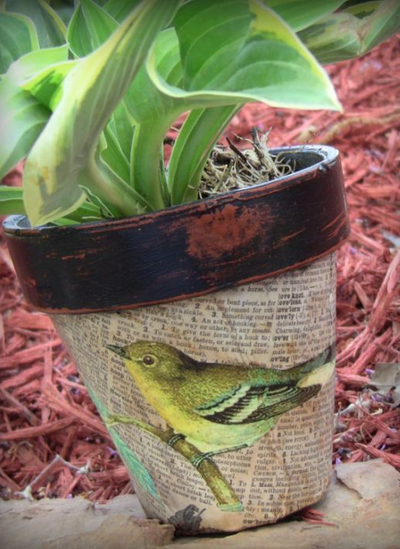
Read NextDecoupaged Clay Pot