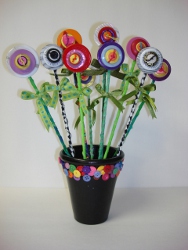
Bright Button Flowers
Use old buttons to create Bright Button Flowers from Heidi Borchers. Crafts made from recycled items are a fun and cheap way to go green.
Find this and other Rainbow Crafts at "14 Simple DIY Rainbow Crafts for Springtime"!
Materials:
- Buttons - 5 Assorted sizes & colors (mine are from Blumenthal Lansing Buttons)
- Wooden skewer sticks (stems)
- Embroidery floss - approximately 10” for each flower
- Glue (I’ve used Aleene’s Tacky Glue)
- Fabric (tear into strips approximately 5/8” wide x 18” long) for covering wood skewer
- Ribbon (for stem) 1/2” x 10”
Directions:
- Snip a small cut 5/8” from the edge of fabric with scissors.
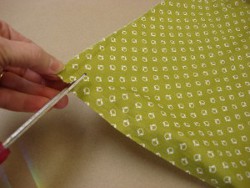
- Tear into strip.
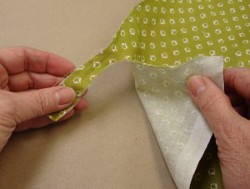
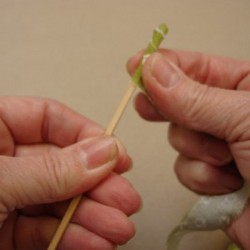
- Gather your wooden skewers and fabric strips.
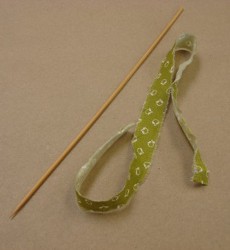
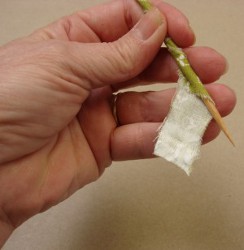
- To wrap the fabric onto the wooden skewer, place small amount of glue onto the end of the skewer.
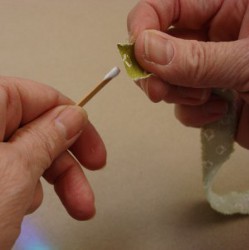
- Place about 1/2” of the end of the fabric strip into the glue.
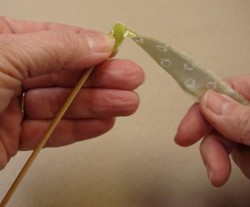
- Bend fabric over and twist the skewer as you wrap the fabric.
- Place glue onto the last 1” of strip and continue to wrap to end of fabric.
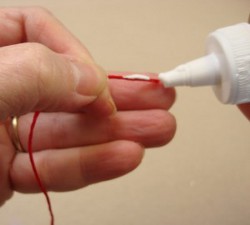
- Place a small amount of glue on each end of the embroidery floss and twist end with fingers. Let glue dry. When glue is dried, the dried glue on the end of the floss will be the ‘needle’ to go through the buttons holes.
- Stack the buttons, with the smallest on top. Put the embroidery floss ’needle’ through hole in top of smallest button, continue to push floss end through hole in each button.
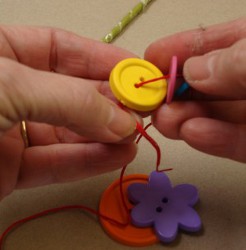
- When the floss end comes out the back of largest button, place the floss end back into opposite hole.
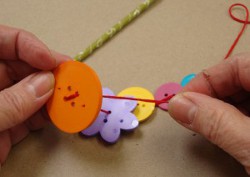
- Continue threading floss through each button hole.
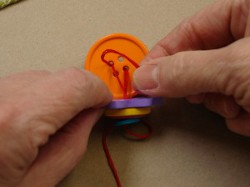
- Turn the buttons over, carefully pull the floss ‘loop’ up, so that the fabric covered skewer can be inserted under floss. Place glue onto button, and place wooden skewer into glue and under embroidery loop.
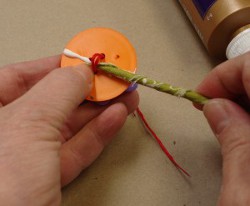
- Carefully turn button flower over, and pull the embroidery floss tight and tie into knot. Cut off excess floss leaving approximately 1/4 - 3/8" tails on floss.
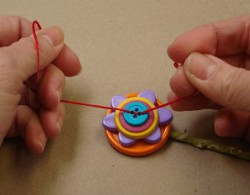
- Tie ribbon bow on skewer.

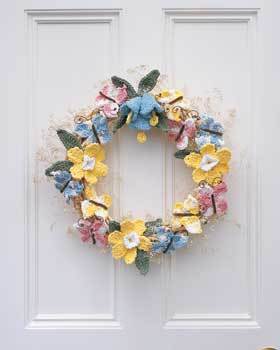
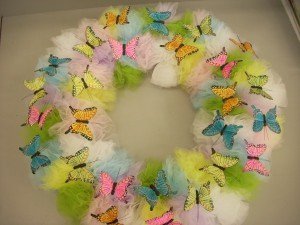
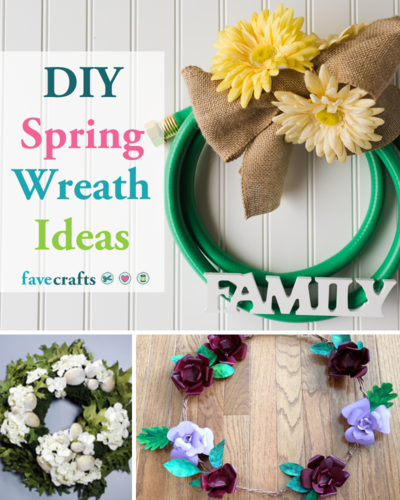
Read Next47 DIY Spring Wreath Ideas
Your Recently Viewed Projects

Thanks for your comment. Don't forget to share!
paver2
Dec 27, 2017
It made me smile right away because it looks so cheerful. At first glance, it looked like a lollipop bouquet, but it's better because you can customisz the colors and sizes to suit yourself or the season. It would be neat to display as an early spring decoration in pastels, bringing in the season.
Report Inappropriate Comment
Are you sure you would like to report this comment? It will be flagged for our moderators to take action.
Thank you for taking the time to improve the content on our site.