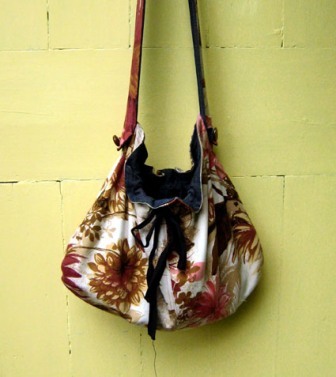
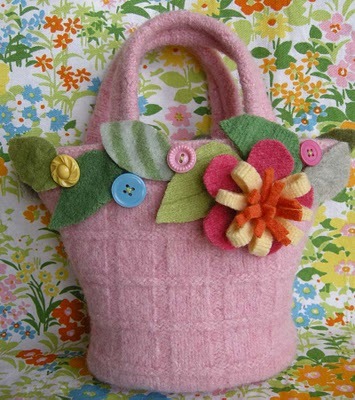
Felt Flower Mini Tote
Use felted wool sweaters to sew a mini felt tote adorned with felt flowers and other embellishments. Reinvent your old or damaged wool sweaters or pick some up from the thrift store for this clever sewing craft. Follow this sewing tutorial from Betz White to make a pretty mini tote for spring.

Materials
- Wool Sweater, "felted" by washing in hot water
- Felt scraps (either from felted wool sweaters or wool craft felt)
- Assorted buttons
- Sewing Machine (optional)
- Craft Glue
- Needle and thread
Instructions:
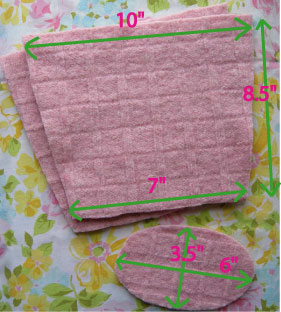
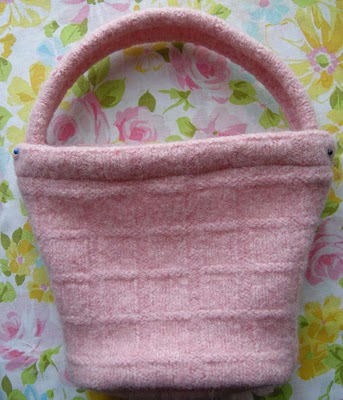
- Make Pattern and Cut- Using a piece of 8.5 x 11" office paper, measure a trapezoid following the measurements above. The top width of the bag will be 10", the bottom width will be 7", the height 8.5". The oval for the base should be 1" shorter in length than the width of the bottom of the bag, about 6". I made my base 3.5" wide. Using your paper pattern, cut out 2 trapezoid sides and one oval base. I lucked out and found this sweet pink sweater with a basket weave look. Any sort of texture or pattern would be adorable for this. Cables, fair isle, etc. Note that a fair isle will tend to felt more firmly due to the stranding on the back. A ribbed texture may not appear to felt at all.
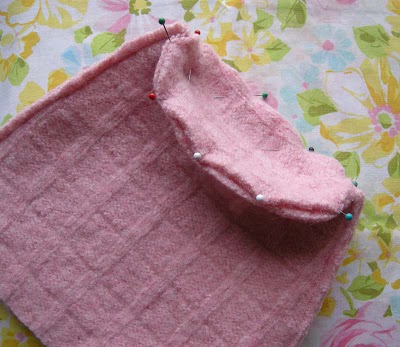
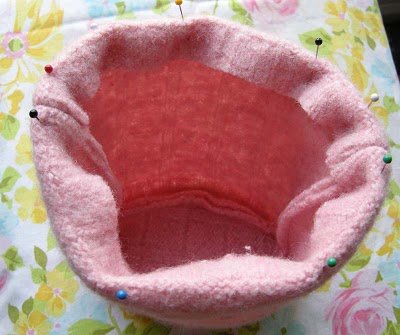
- Sew Sides and Base- Right sides together, pin then sew side seams. Pin then sew oval base to bottom opening, aligning mid-points of oval to side seams. Resist the urge to zigzag your seam allowances. There is no need (the felted sweater will not ravel) and a zigzag will cause your seams to get all woopy. Trust me, I know woopy.
- Hem Top Edge- Fold down 1" around the top opening. Pin, evenly distributing the fabric. Straight stitch 7/8" from the folded edge. The bulk and the flare of the trapezoid will cause the opening to curve out slightly giving it a cute basket-y shape. At this point, you could line the bag, if you are a liner. I'm not so much a liner. I'm a "hurry and get it done-r".
- Cut Straps- For double handles, Cut 2 strips measuring approx. 2.5" x 11". Fold raw edges in toward each other. Butt edges together firmly and stitch down the center of the strap using a wide zigzag. Stitch the full length of the strap.
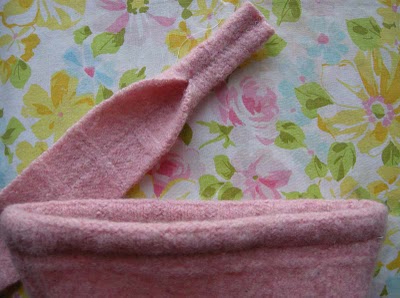
(for a single handle, cut a strip measuring 3" x 14". Stitch as described above. This gives the tote more of a basket look.)
- Attach Handles- Pin handles to the inside hem of the opening, making sure they are spaced equally from the side seams. Stitch along the previous stitch line to secure. Gather some bright sweater scraps together for embellishment.
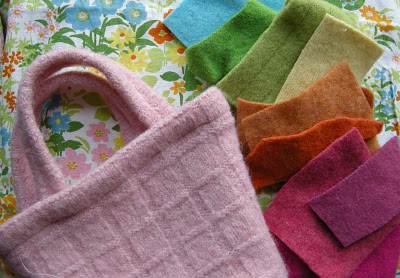
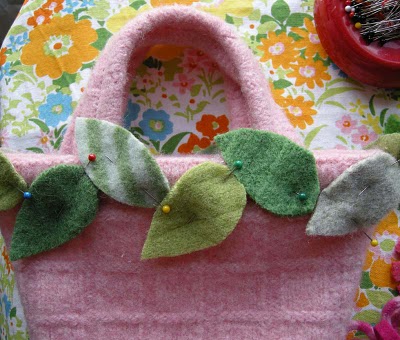
- Add Leaves- I was going to make flowers all around the edge, but decided to start with leaves instead. (Why do I love pink and green?) The tote is pretty small and softly constructed. I didn't think it would hold up to a whole bouquet of flowers around the edge. Cut some simple leaves from scraps and glue into place. Pin until dry. (There will be plenty of hand sewing to come. Go ahead, glue the leaves.)
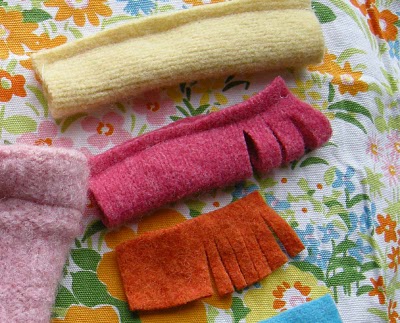
- Make Flower Pieces- For my flower, I pretty much made my standard brooch. Cut scraps into strips. To make loopy petals, cut 2" x 6" strips, fold lengthwise and sew edge (yellow and dark pink above). For straight petals, cut a strip 1" x 4" (orange). Next you'll snip the strips every 1/4" to make petals.
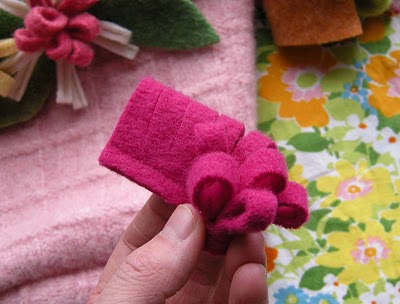
- Roll Petal Strips- Roll the strips up and hand stitch the base together catching all layers. Wrap with a second color strip and stitch. For the flower on this tote I cut a daisy shaped base and glued the rolled petals onto it.
- Finishing Touches- After making several flowers, I chose the one I liked best for this project. I sewed my flower in place then added a few vintage buttons for an extra dash of color. I like the different textures of the fuzzy felt with the smooth buttons. Besides, it's nice to have something pretty to look at when you're sitting in church all hopped up on Easter candy.

We interviewed Betz White on FaveCrafts Radio and asked her about this project. Listen to the May 4 show to hear her tips and tricks.
Read NextAdorable Recycled Skirt Pouch
Your Recently Viewed Projects
Thanks for your comment. Don't forget to share!
Marilyn B
Jun 07, 2017
This felted mini tote is stunning! I have to laugh at the author's lingo as a get it done-r.... I tend to agree, I want to finishing project so I can enjoy it or gift it! If the wool felt is sturdy enough and you don't mind the feel inside, then It is fine to go,without the lining, or even the need to add a heavier interfacing. But these could be options if you need it. I love the flowers and leaves, and would be interested in making that bunny in the photo too! Super!
cheetahgirl
May 05, 2012
Oh, that is so pretty! I love it! It could be a birthday gift. put a gift card inside!
Teariana Designs
Dec 28, 2011
This is so lovely, only prob is I live in Southern California so most of the wool items are have are ones I have made myself. That and the color scheme between all the fabrics is so pretty.
CRAFTDESIGNS
Apr 03, 2011
Hi! Wanted you to know I posted a link to this tutorial today on my blog. Nancy Ward paperFriendly http://www.nancywardcrafts.com
perrine
Jul 31, 2010
Hello, I like this idea and I would like to share it on my blog: www.petitcitron.com/blog. Would you allow me? Thank you!
Suzie Button
May 16, 2010
I have some felted wool sweaters that this craft is perfect for! Beautiful! Suzie www.suziebuttoncreations.blogspot.com
PHenderson
Apr 30, 2010
This is so adorable..I may try to make some for my Grand daughter's..Thank's..
Report Inappropriate Comment
Are you sure you would like to report this comment? It will be flagged for our moderators to take action.
Thank you for taking the time to improve the content on our site.