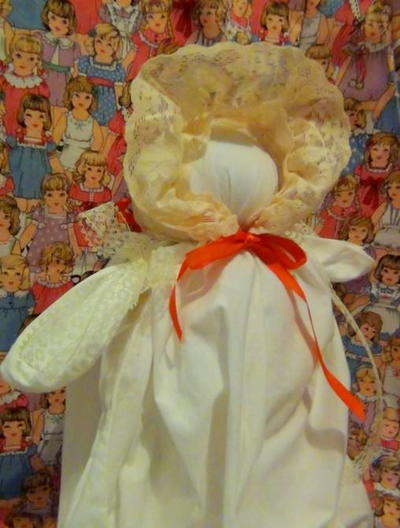
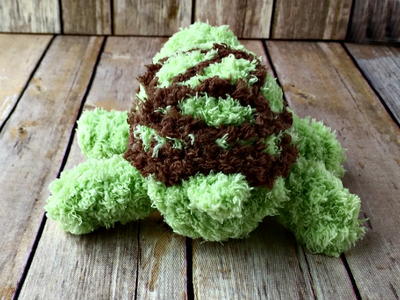
Spring Baby Hat
Your child's outfit isn't complete with the Spring Baby Hat. It's adorable and easy to make. On those bright, sunny days this hat really comes in handy. Look forward to Spring with this simple sewing project from Jessica Gerblick.

Materials:
- Pattern pieces found HERE
- ⅛ yd exterior fabric
- ⅛ yd lining fabric
- ribbon
- coordinating thread
Let’s Get Cutting:
Cut out all pattern pieces and lining
Cut (4) 3” x 2” rectangles of exterior fabric
* (To make the hat fully reversible, cut (4) 3” x 2” rectangles of lining fabric as well)
Cut (1) 3” x 40” rectangle of fabric for ribbon (Or use 30” of ribbon)
Let’s Get Sewing:
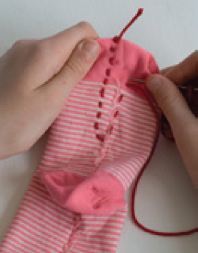
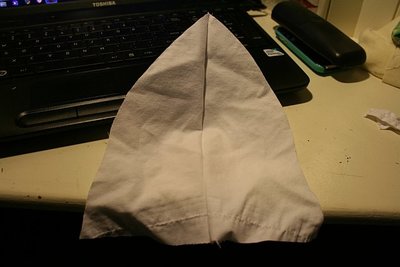
Taking (2) of the rectangle fabric pieces, place right sides together and sew along one long edge. See Photo:

Take another piece of fabric and sew along the outer edge, and then repeat with a 4th piece. See Photo:

Repeat for other (4) until you have 2 halves of the hat. See Photo:

Now take your 2” x 3” rectangles and fold in half lengthwise with right sides together. Sew along the 3” raw edge. Turn fabric right side out and Press so that seam is on the center back. Fold in raw edges and sew. Repeat for all 4.
Now, taking your belt loops, starting 2 ¼” up from the bottom edge, sew onto the 1st & 3rd seam. Repeat for both sides of the hat. See Photo:

Now, place 2 hat halves right sides together and sew along outer curved edge. See Photo:

Repeat all the above steps for lining.
Now, place the lining inside the exterior of the hat, with right sides facing, matching seams. Sew all around outer edge, leaving a 3” opening to turn. Turn hat. Slip stitch opening closed. Press and edge stitch all around.
You should now have this:

If you are using a ribbon, simply place through belt loops, fray check ends, and you are finished!
If you are using fabric, you will need to make the ribbon sash.
Fold right sides together lengthwise and sew along outer long edge. Turn fabric and Press sew seam is in the back. Turn in raw edges and edge stitch, and you may want to edge stitch all around the entire ribbon sash, for a more finished look. Now, loop through belt loops and tie!
Voila!
Read NextVintage Handmade Handkerchief Doll
Your Recently Viewed Projects
Thanks for your comment. Don't forget to share!
BHerb
Apr 23, 2012
Hi there Grannie98541. The pattern link is for a PDF pattern. Please make sure you have Adobe Reader installed on your computer. (It's completely free to download and use.) For downloading instructions, please see Adobes website here: http://get.adobe.com/reader/ I hope this helps! Bridget, editor for FaveCrafts
rellijac 9865961
Jul 25, 2011
Thanks for that. You might want to consider giving measurement of the 8 hat pieces for those of us who are mere beginners. It would surely help me! Rellijac
Report Inappropriate Comment
Are you sure you would like to report this comment? It will be flagged for our moderators to take action.
Thank you for taking the time to improve the content on our site.