Doughnut Beads
Doughnuts look good and taste good but aren't always waist-line friendly. Show your love for this delicious treat by making Doughnut Beads from Candace Jedrowicz for your next jewelry project. Use polymer clay to sculpt each piece. Add microbreads to the top for sprinkles!

Materials:
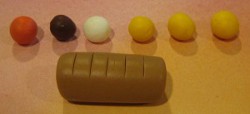
- One package each of yellow, white, chocolate, orange and pale pink polymer clay
- Wooden skewer
- Needle tool or toothpick
- Tissue blade to slice the clay
- Several colors of micro beads
- Glossy sealer
- Small paint brush
Bead Instructions:
- Begin making the dough color by mixing 3 parts yellow clay to 1 part white, 1 part chocolate and 1 part orange. Blend thoroughly with a pasta machine or knead the clay with your hands.
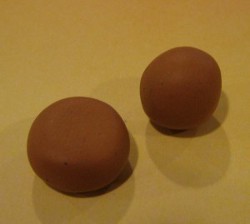
- Roll the dough color into a 1/2” log and cut 1/4” slices with the tissues blade and roll the slices into balls.
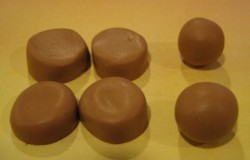
- Flatten the balls slightly.

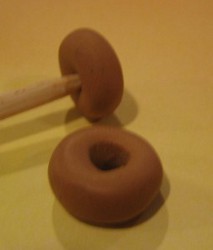
- Make a hole in the middle with the wooden skewer. Wiggle the skewer around to smooth and open the hole perimeter. Repeat coming from the other side. It should look like a plain doughnut at this point.
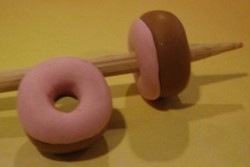
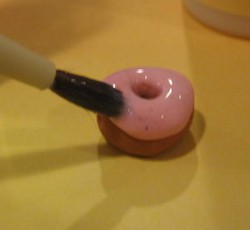
- Using a pea size ball of pink clay (or any color you want) make the icing for the doughnut by flattening the ball as much as you can. Lay the icing on the doughnut.

- Using the skewer as you did in step 4, make a hole in the icing that conforms to the doughnut shape.
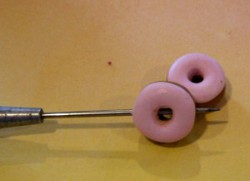
- Make a hole through the doughnut with the needle tool or tooth pick to make the doughnut into a bead. You may choose to make a hole in only one side to use as a charm. Going all the way through with holes on both sides will allow you to dangle something below the bead or connect it to another bead as in a bracelet. BAKE ACCORDING TO DIRECTIONS ON THE CLAY WRAPPER.
- Prepare your sprinkle mix by combining all the colors of micro beads in small amounts.
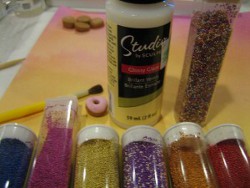
- Paint the icing part of the doughnut with the glossy sealer.
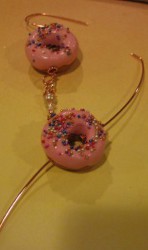
- While the sealer is still wet, sprinkle the micro beads on the icing. If the sealer dries too quickly, you can add more and sprinkle more micro beads.

To make your bead into an earring or charm:
- Make a small hook in the end of a head pin. (This will help to insert in through the center of the bead.) Insert the hook end into the bead from the INSIDE to the outside.
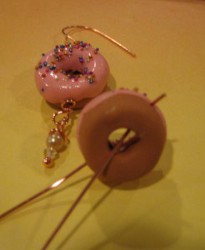
- Pull the head pin through until the head stops it.

- Repeat with the second hole if you have one. (Remember, if you are making a charm, you will not have a second hole pierced through your doughnut.)
- Make a small loop in one head pin close to the bead. Wrap the wire tail around a couple of times and cut off the excess.
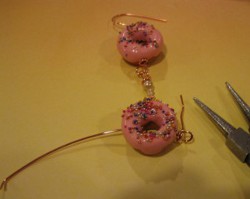
- Repeat with the second head pin if you have a second hole.

Read NextCat Votive Holder