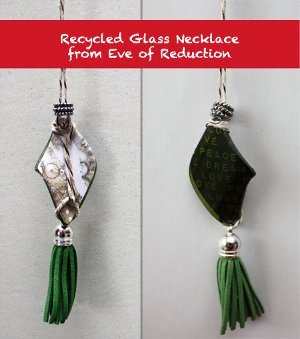
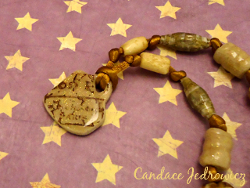
Glitter Bread Dough Pendant
Use a vintage technique and create your own Glitter Bread Dough Pendant from Candace Jedrowicz! This jewelry making craft is perfect for girly girls will help you brighten up any outfit. Add your pendant to a necklace or wear it on a bracelet - it's up to you.
Materials:
- Aleene’s Original Tacky Glue
- Bread – 1 slice
- Plastic cup
- Craft stick
- Extra fine glitter
- Pasta machine or rolling pin
- Small cookie cutter in the shape of your choice
- Needle tool or toothpick
- Tissue paper
- Wood skewer
- Scissors
- Glossy sealer
- Silk cord
Instructions:
- Prepare your bread dough according to EcoHeidi’s directions at this link: Bread Dough Roses. Condition the dough with a pasta machine or rolling pin. Add small amounts of glitter, fold the dough and roll it out again. Repeat this step until the glitter looks right to you.

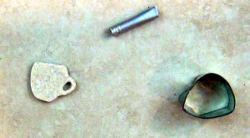
- Choose a small cookie cutter to make your focal piece. I altered a round cutter to make a coffee cup shape. I bent the metal tube to cut out the handle.Allow dough to air-dry thoroughly.
- Coat a rubber stamp with a light coat of acrylic paint and allow to dry. With a dry brush, paint a very light coat of acrylic paint onto the area of the stamp you’ll use.
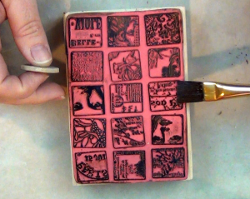
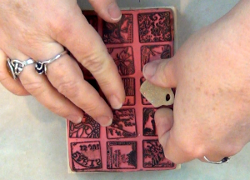
- Press the focal piece onto the stamp.
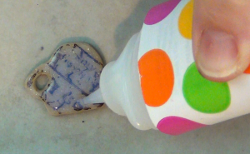
- Give both sides of the focal piece a coat or two of glossy sealer. I’m using a clear dimensional sealer here.
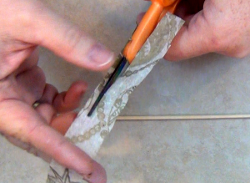
- For the tissue paper beads, cut a 20″ x 1″ piece of tissue paper. Fold the strip in half and in half again. You’re going to cut the strip in half along the length. You’ll use the folds as a guide.
- Cut, beginning 1/4″ from one edge, up to the first fold.
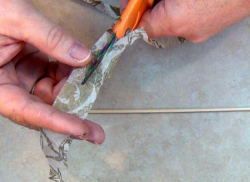
- Proceed cutting, moving slowly toward the center of the paper, ending at the second fold.
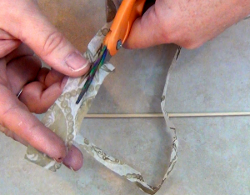
- From the center, slowly cut your way toward the other side, ending up 1/4″ from the edge at the third fold. Finish cutting along that line.You now have two long skinny triangle strips with blunt tips.
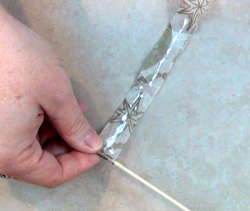
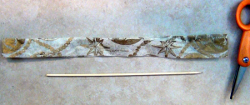
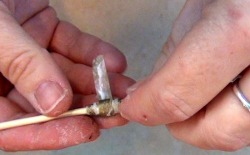
- Fold the wide end of one of the strips over a skewer. Put a small amount of glue on the paper.
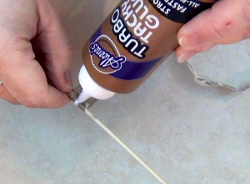
- Begin rolling the paper around the skewer. Add glue as you go along, spread the glue with your finger to get the best coverage.

- When you’ve finished wrapping allow the beads to dry. Coat both beads with glossy sealer and allow to dry.String your beads on a silk cord, tying knots between the focal piece and beads.
For a comprehensive video tutorial of this project, check out How to Make a Sparkle Bread Dough and Tissue Bead Necklace.