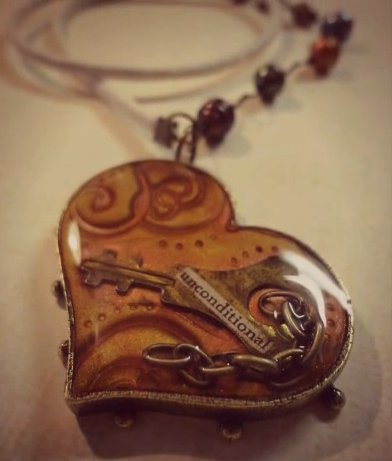
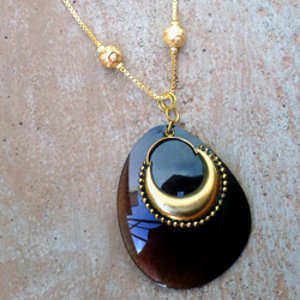
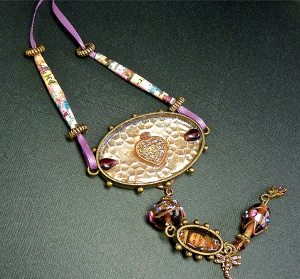
Beaded Mixed Media Pendant
Dress up an ordinary outfit by creating your own Beaded Mixed Media Pendant. A DIY pendant necklace can add a touch of vintage flair and creativity. Use a variety of beads and bezels to create a piece that is unlike anything else in the world.
Materials:
- Spellbinders Media Mixáge Oval Bezels
- Spellbinders Media Mixáge Oval Dies
- Spellbinders Media Mixáge Interlock Texture Plate
- Spellbinders Media Mixáge Foil
- Spellbinders Media Mixáge Ephemera Paper
- Spellbinders Artisan Explorer machine
- Assorted large focal beads
- Assorted small spacer beads
- Assorted metal charms
- Two 15″ lengths of thin silk ribbon
- Jump rings, eye pins, head pins, clasps
- Jewelry pliers and snippers
- Clear metal/contact glue
- Clear glaze or resin
- Scissors
- Clear craft glue
- Wood skewer
- Sanding block
- Clear glitter
Instructions:
-
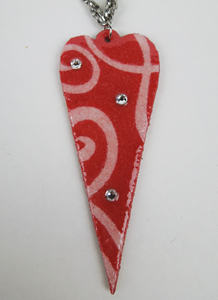
To make a long rolled paper bead, cut a 2″x 6″ tall, skinny triangle from a patterned sheet of ephemera paper. Starting at the flat end, roll the paper snugly around a skewer, adding a little clear craft glue as you go. Rub a little glue around the outside the the bead to seal, slide off skewer and let dry. Make two paper beads – one for each side of the pendant.
-
Use metal/contact glue to adhere a flat round clasp finding to the back of the large oval on the long side, so the oval can hang horizontally, let dry.
-
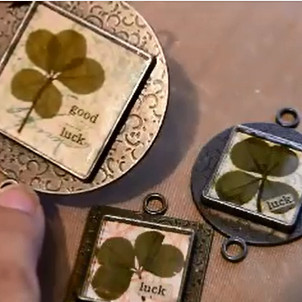
Die-cut an image from the ephemera paper with the smallest oval die, glue the paper inside the oval bezel and let dry, then apply a thick layer of glaze or resin on top and float a couple tiny beads at either end of the oval bezel. Let dry until clear and hard.
-
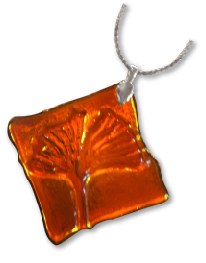
Die-cut a piece of colored foil with the largest oval die, then emboss it on the texture plate. Lightly sand the embossed pattern on colored side so some of the silver underneath shows through to accentuate the pattern. Glue it inside the largest oval bezel, let dry.
-
Glue some larger charms and beads on the foil inside the oval bezel, let dry, then apply a thick layer of glaze or resin on top of the embossed foil, filling in around the charms and beads. Sprinkle glitter lightly on top and let dry until clear and hard.
-
Thread one end of one ribbon through one side of the large oval and glue the ribbon tail (about 1.5″) to itself, let dry, then string a paper bead with 2 small accent beads down close to the bezel loop, over the glued area. Trim the ribbon end to a sharp angle to thread it through the smaller accent beads. Repeat on the other side.
-
Attach large focal beads and smaller spacer beads as desired above and below the small oval bezel to create a decorative dangle, then attach the dangle to the bottom of the large oval bezel.
- Tie the opposite ends of each ribbon to one half of a clasp with a tight double knot and secure each knot with a drop of clear craft glue.
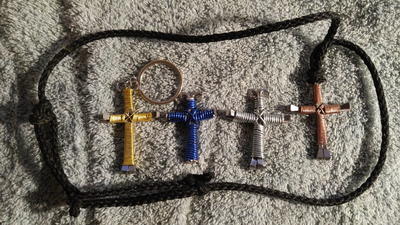
Read NextHorseshoe Nail Cross Necklace