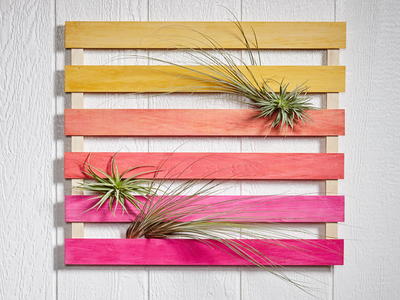
Painted Blue Roses Mason Jar
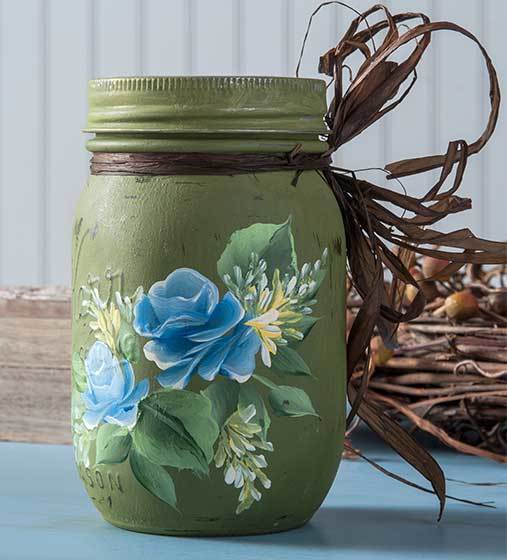
If you wield a paint brush masterfully, then you should try your hand at the Painted Blue Roses Mason Jar craft. Get all the beauty of real roses with this painting craft. These roses will last a lot longer as decorative crafts than the flowers you got for Mother's day or Valentine's Day. A Mason jar project like this would be a wonderful gift as a housewarming present or any other occasion, really. Ready your paintbrushes and paint for this awesome Mason jar craft idea.
Primary TechniquePainting

SeasonSpring
Materials:
- FolkArt ® Multi-Surface Satin Acrylic Paints - Cinnamon, 2 oz.; Lemon Custard, 2 oz.; Thicket, 2 oz.;
Ink Spot, 2 oz.; Medium Blue, 2 oz.; Fresh Foliage, 2 oz. - FolkArt ® Home Decor™ Chalk - Spanish Moss, 8 oz.
- FolkArt ® Home Decor™ Tools - Sanding Foam Block
- Brush basin
- Foam plate
- Paper towels
- Large flat brush
- No. 12 Flat brush
- Rubbing alcohol
Instructions:
- Spread brown craft paper over the studio table offering a clean, dry crafting surface and then position your glass canning jars on the work surface. Gather some rubbing alcohol and a paper towel and wiped over the exterior of the glass canning jar to remove all dirt, dust, or grease film.
- Using a large flat brush, apply a basecoat of Spanish Moss and allow it to dry.
- Paint the metal ring and lid insert and allow all three parts to thoroughly dry.
- Once dry, lightly sand to distress using a sanding foam block. You can see paint has been removed over the raised glass details as well as around the lid. The amount of distressing is determined by choice with either a light distressed look or a heavily distressed surface where more paint has been removed.
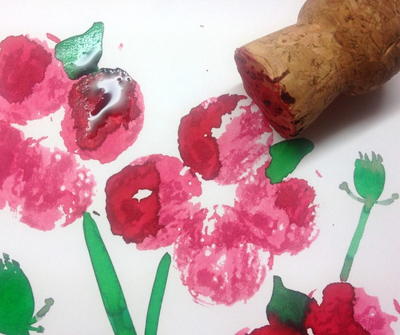
- One Stroke paint blue roses using FolkArt Multi-Surface paints on the distressed Spanish Moss jar. To begin, double-load a No. 12 flat brush with Parchment and Medium Blue. To the Medium Blue side of the brush add a touch of Ink Spot and begin painting rose petals. Begin with the back of the rose center.
- Turning the jar to make it easy to paint, continue painting rose petals. Keep the Parchment side of the brush up as you close the rose bowl or center.
- Continuing with the same double loaded brush, paint rose petals to each side as well as a rolled petal up front.
- Continue painting rose petals until your rose is complete.
- Next paint leaves beside your roses. To do so, double-load the same No. 12 flat brush with Thicket and Fresh Foliage. Notice that both One Stroke wiggle leaves and basic One Stroke leaves were added to the design.
- Double-load the same brush with Lemon Custard and Parchment. Using the chisel edge of the flat brush, paint a filler flower beginning at the tip of the flower and ending at the base of the flower.
- Remember to begin at the tip of the flower and end the filler flower at the base next to the rose and leaves design.
Read NextNighttime in the Towering Forest