Echinacea
Purple Coneflower

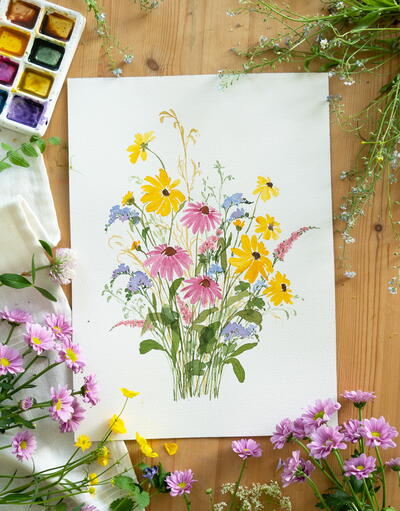
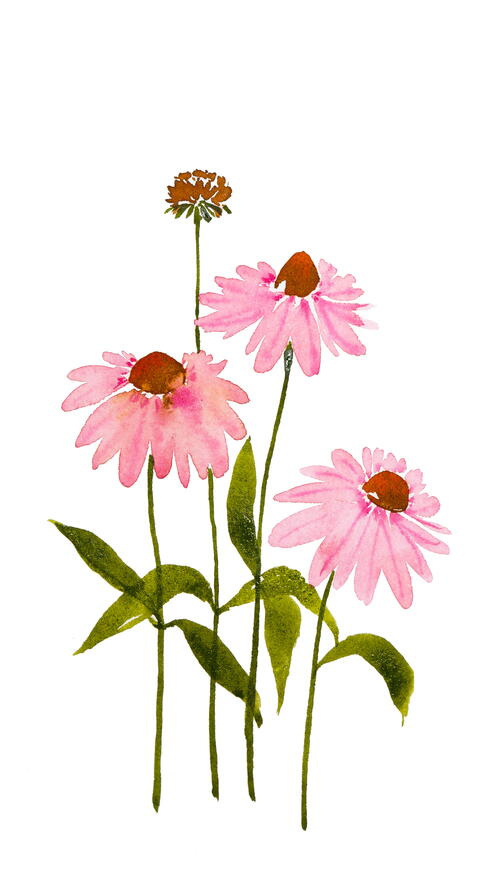
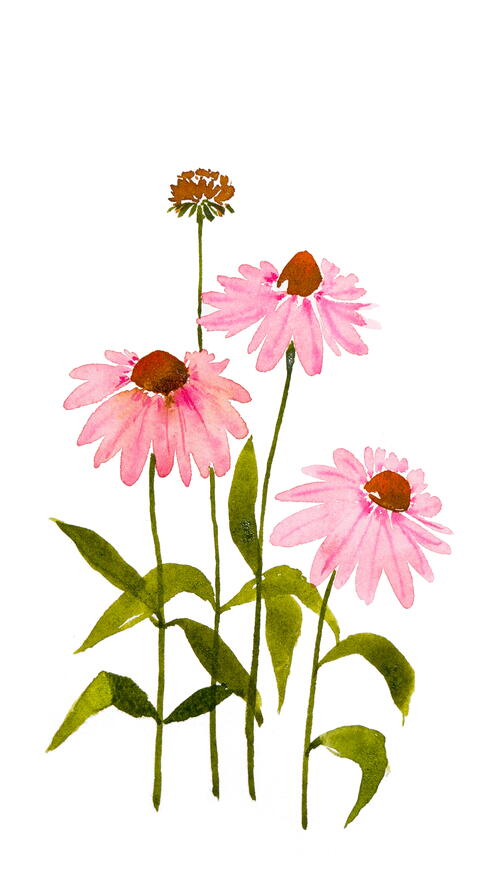
Contrary to what the name suggests, purple coneflowers are mostly pink. They have large, orange-brown cones in the center and thin, long, overlapping petals that droop slightly. They grow in large numbers on long stems and attract a lot of butterflies, bees and birds.
Materials List
-
COLOR PALETTE
- Quinacridone rose
- Sap green
- Quinacridone deep gold
- English red
-
BRUSHES
- Small filbert brush
- Big filbert brush
- Size 2 round brush
- Size 8 round brush
DIRECTIONS
-
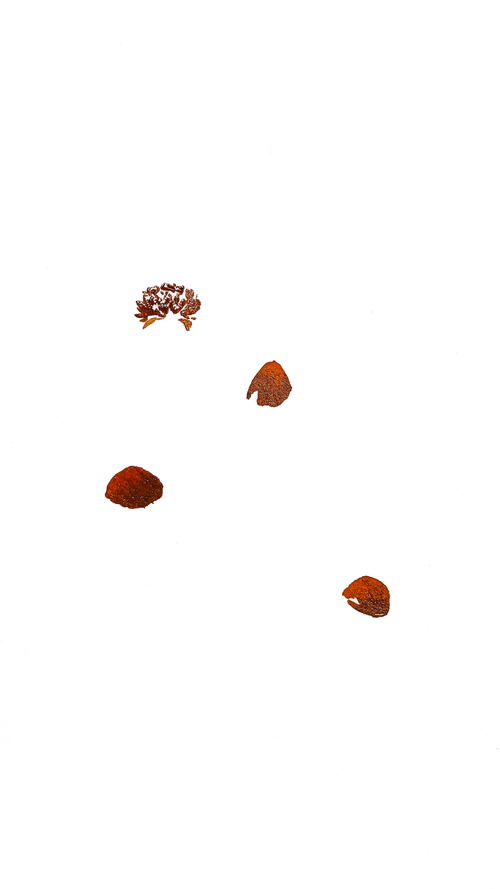
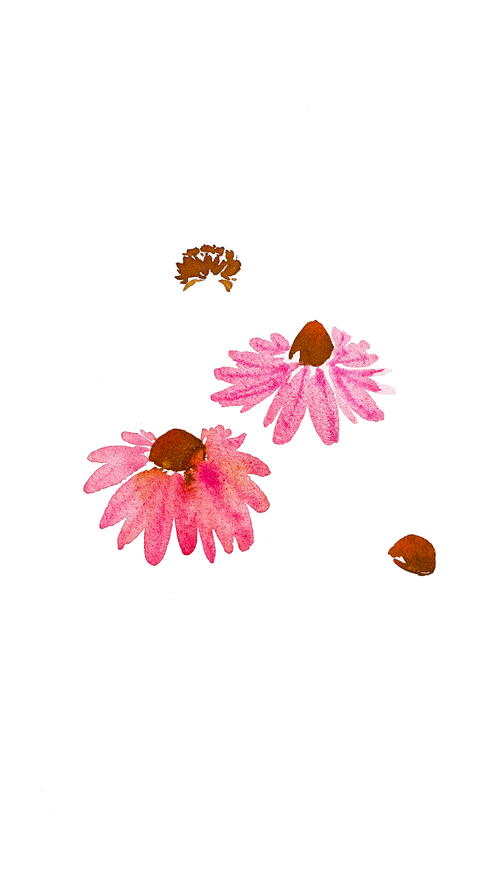
Mix 1 part quinacridone deep gold and 2 parts English red, along with a little water, to make a thick paste. With the small filbert brush, add a few semicircular and slightly triangular shapes at different points in different angles. These represent the cones or centers of the flowers. Add gentle little strokes at the top to show a dried flower, leaving white spaces in between to add texture. While the paper is still wet, add a darker mix of the same colors (with less water) at the lower right side of these flower heads to create a slight tonal difference. Wait for this to completely dry.
-
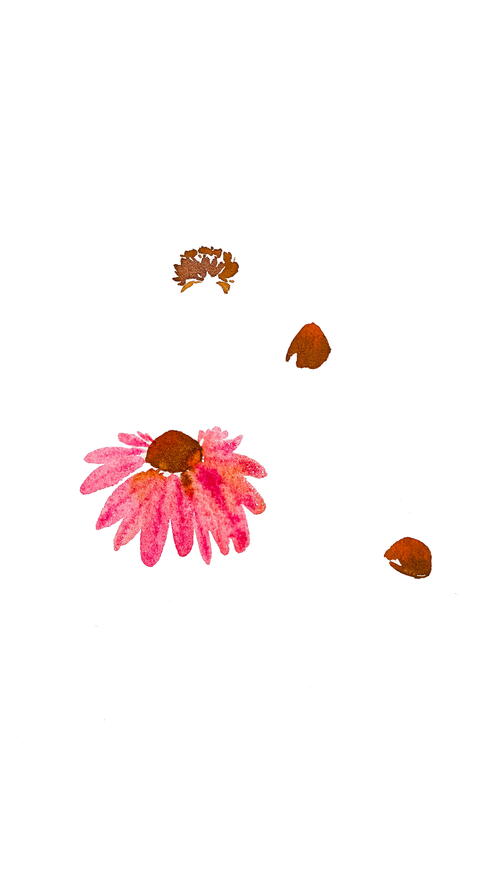
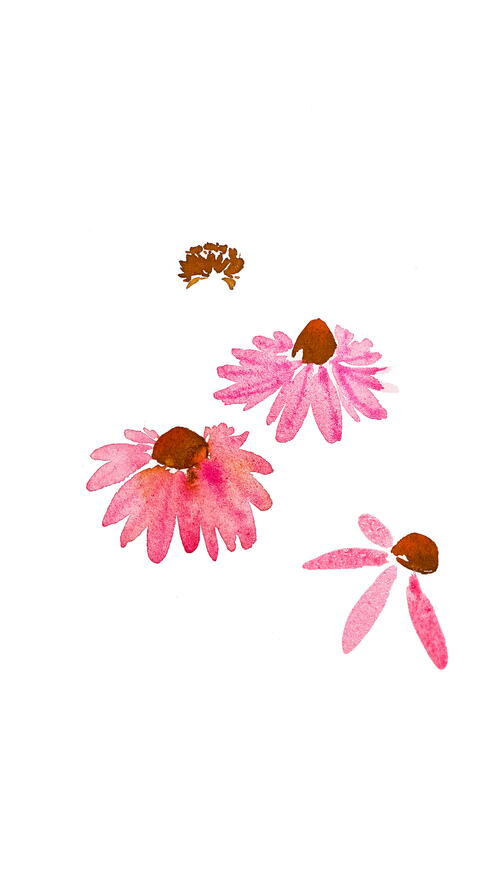
Mix 1 part quinacridone rose with 3 parts water for a light pink color. Load the big filbert brush completely with the pink, and using the thinner side of the brush, pull downward from the center to create petals. Starting from the left side, paint small petals and gradually increase its size as you reach the middle of the flower. As you move toward the right side, start decreasing the size of the petals. Make sure that the petals are slightly drooping.
-
Create similar petals for a second flower. This time, move the brush slightly upward while painting the petals to show that this flower is less droopy than the previous one. Using the size 2 brush and taking a thick paste of quinacridone rose with less water, draw thin lines at the center of the wet petals to create some interest in the painting. Allow these lines to slightly blend so that they don’t show definite hard lines.
-
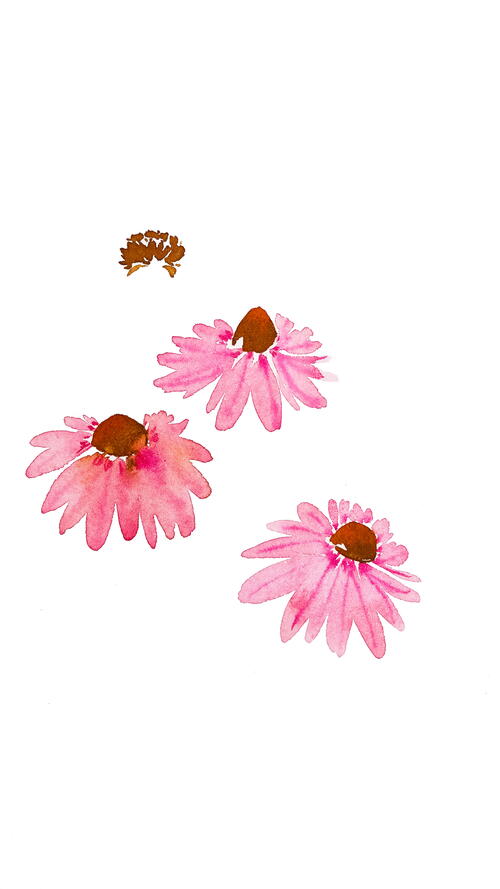
Another way of painting these flowers is to start by painting a few petals at regular intervals, using the thinner side of the big filbert brush. This makes it easier to get an idea of the shape of the flower you want to create. Fill in the gaps between the petals to give the flower a definite shape.
-
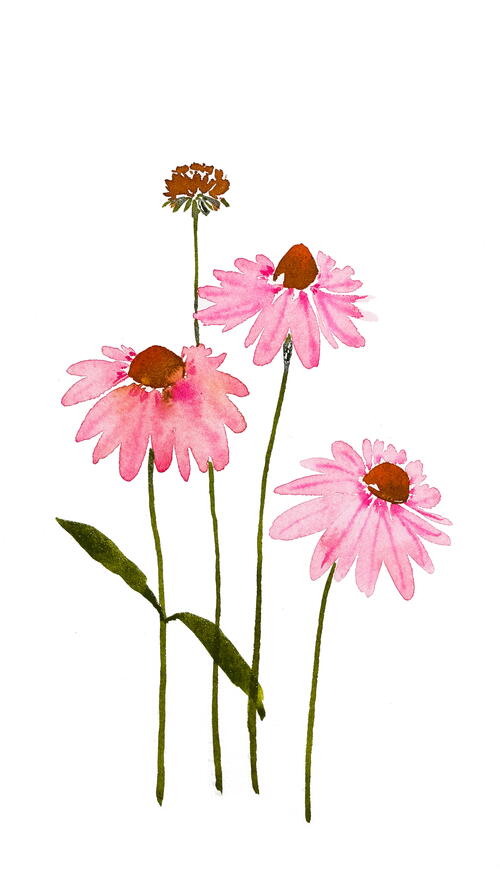
Once the flowers are fully dry, mix 3 parts sap green with 1 part English red, along with a little water to get a thick green. With the size 2 brush, paint long, thin lines downward from the flowers to represent stems. To paint the leaves, load the size 8 brush completely with the green mix, and starting from the stem, press the brush and gently pull it away until you get sharp ends.
-
Create similar leaves on either side of all the stems. Make sure the leaves are at different angles, and that some of them overlap each other. You do not have to wait for every leaf to dry at this stage. Allow the colors of the different leaves to blend into each other as they overlap.
-
Add more leaves if necessary, and vary the intensity of water while doing so. This shows that light hits differently on all of these leaves, thus adding interest to the painting.
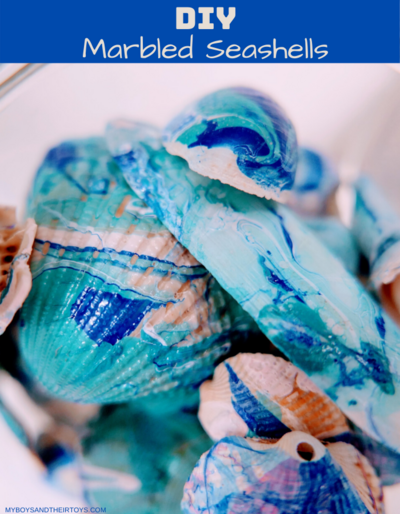
Read NextDiy Marbled Seashells