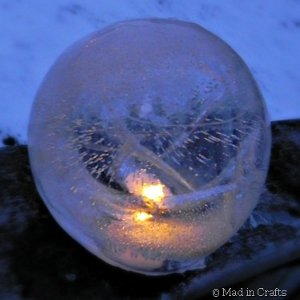
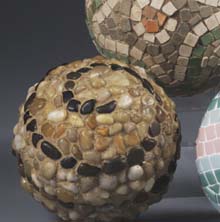
Pebbled Garden Decoration
You can purchase the pebbles or find smooth natural ones in your very own garden. These garden stone crafts make beautiful outdoor decorations that will endure all the elements. Great gift idea for a gardener.
Materials:
-
STYROFOAM™ Brand Foam:
- Ball, 5"
- Small, river-washed pebbles (available by the bag in craft stores)
- Latex adhesive for ceramic tile
- Sanded tile grout
- Acrylic exterior satin varnish
- Black fine line permanent marker
- Ruler
- Palette knife
- Disposable bowl, small
- Bucket of water
- Household sponge
- Soft, clean rag
-
Rubber gloves
Instructions:
-
Sort pebbles into dark and light piles.
-
Use marker to draw spiral around foam ball, from top to bottom, or draw custom pattern.
-
Use palette knife to spread 1/8"-thick layer of tile adhesive onto small area of ball, along marker line. Note: Rest ball in small bowl while working to prevent rolling.
-
Firmly press one or two rows of black pebbles into adhesive along entire marker line, placing pebbles close together; add adhesive as needed. Repeat, filling remaining spaces with light-colored pebbles for contrast; let dry completely.
-
Following manufacturer's instructions, mix grout. Put on rubber gloves. Use tip of damp sponge to rub grout into spaces between stones. As you work, remove excess grout from stones with clean side of sponge. Note: If using sanded grout, rinse tools in bucket, not sink; discard water outdoors.
-
When ball is completely grouted, wipe away excess once more using damp sponge. Let ball dry slightly. Repeat sponging until stones are clean.
-
When dry, rub ball with clean rag to remove grout residue and restore shine.
-
If using outdoors, follow manufacturer's instructions to apply one or more coats of sealer to ball.
®™ Trademark of The Dow Chemical Company ("Dow") or an affiliated company of Dow.
For more project ideas, please see styrofoamstyle.com.
For more great garden crafts, click here for our garden crafts eBook!
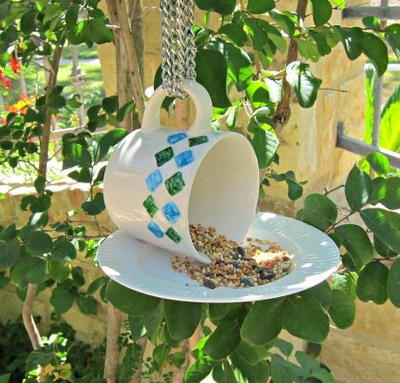
Read NextTeacup DIY Bird Feeder
Your Recently Viewed Projects

Thanks for your comment. Don't forget to share!
judyann999
Jul 05, 2011
I made one with using a larger, flat stone on the bottom so it would stay where I put it. I also put a few in a terra cotta saucer covered with more pebbles. Great project.
vmw123 8663722
Apr 17, 2011
Even though we like it, ours doesn't look as nice. It seems we got too much grout and the rocks are not as distinct. It took a long time---certainly not a quick project.
A de la Vega
Mar 24, 2011
I tried this and it was really easy. Almost goof-proof! I didn't want it to roll around in my garden, so I sanded a flat spot and covered it with a flat piece of tile. Thanks for the great idea!
Crafter 3240520
May 18, 2010
I use alumium pie pans and buy the ready mixed sand and cement and after i get it mixed with water and pour it in the pie pans, I use marbles or pretty stones, or beads to decorate it and use them for stepping stones in the gardens. Mary Sadler
Report Inappropriate Comment
Are you sure you would like to report this comment? It will be flagged for our moderators to take action.
Thank you for taking the time to improve the content on our site.