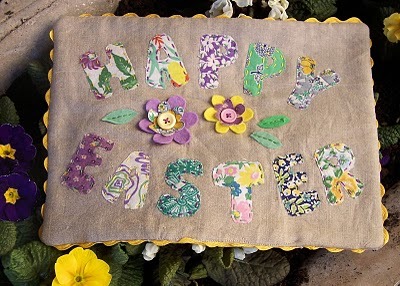
Easter Bunny Applique Pillow
Using colorful spring fabric, create a bunny applique pillow perfect for Easter decor. Embroidered "Hoppy Easter" completes this cute throw pillow. This project comes to us compliments of Megan Newton of Boutique Nutmeg Designs.

Materials:
- Sewing Machine
- Iron
- Thread
- Embroidery Floss
- Ruler
- Scissors
- Straight Pins
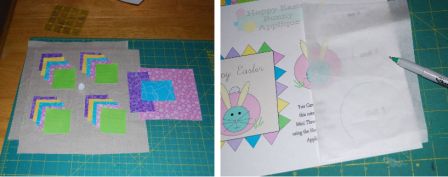
- 20- 2” squares 4 each of 5 different colors
- 2- 10” x 10” squares solid color fabric or linen
- 3 color scrap pieces for bunny body
- Wonder under
- 1 small white pom pom
- Poly fill/fiber stuffing
- Pencil
Optional but Very Helpful Items
- Self Healing Cutting Mat
- Rotary Cutter
Instructions:
- Begin with all of your fabric pieces cut. Then trace the bunny body pattern from the template on to the backside of the wonder under. Using the iron setting stated on wonder under information sheet. Iron wonder under to fabric color of your choice for the bunny body.
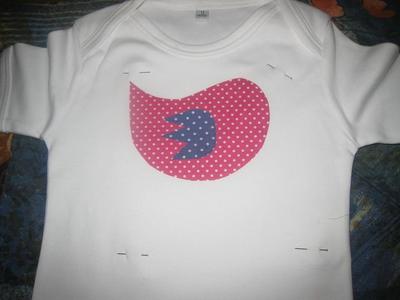
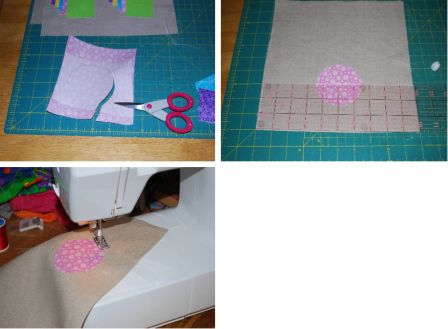
- Start by cutting out the large circle, measure 3” from the bottom edge of the 10’x10” square, find the center and iron circle into place, stitch around the edge with the sewing machine.
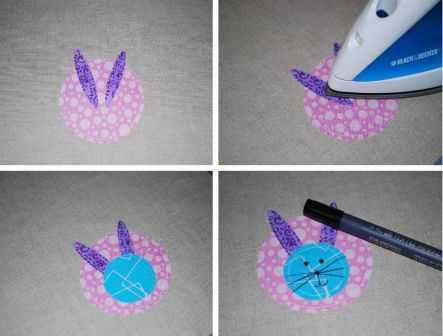
- Iron ears in to place and stitch around, then follow with small circle for head, iron into place and stitch around. Using a black textile marker draw a cute little face on your bunny!
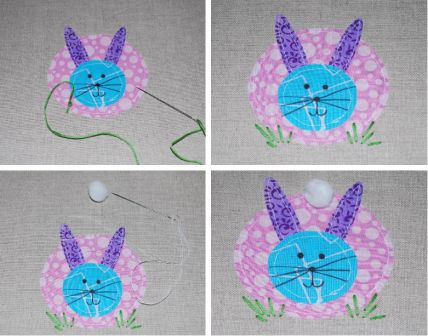
- Using green embroidery thread stitch some grass around bunny body. Then using the white pompom stitch bunny tail into place.
- Measuring 2” from the left side edge use a pencil to sketch out “Hoppy Easter.” Use embroidery thread of your color choice to stitch the letters. I used a back stitch and added a few green pieces of grass to the sides!

- To create points: Use 2” x 2” squares, fold in half diagonally then fold again and iron flat. Pin one of each of the 5 colors to the edge of the front panel. Repeat for all 4 sides.
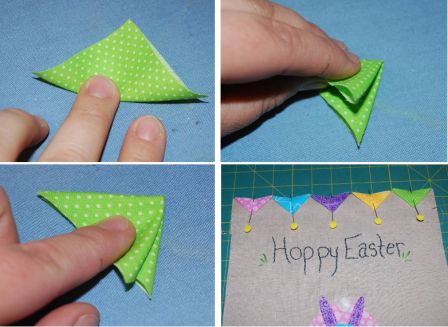
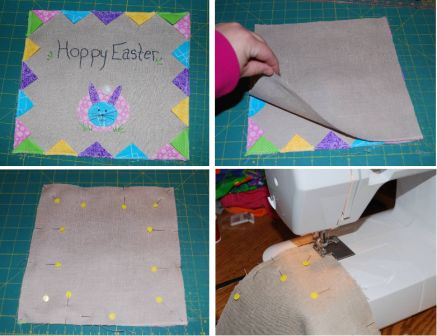
- Once all points are pinned in to place stitch down, and then remove pins. Using 2nd 10” x10” square place on top side and pin all the edges in to place. Using a ¼” seam stitch all around the square leaving a 3” opening to turn to pillow right side out.
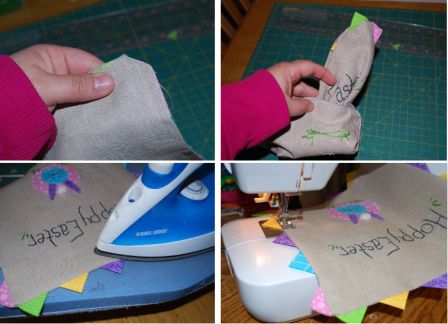
- Snip all corners. Then pull right side through the small hole. Continue until the piece is all right side out. Iron edges flat, then use a ¼” seam to top stitch edge of pillow. Remember to leave opening so you can fill with stuffing.
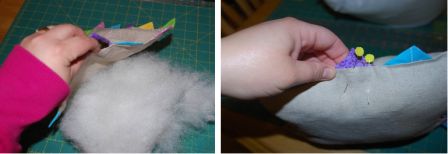
- Once you have pillow filled to desired fullness, pin the opening shut and continue ¼” seam to sew shut.
For more Easter crafts from our favorite craft bloggers, see the Crafts for Easter: Blogger Edition 2009 eBook.
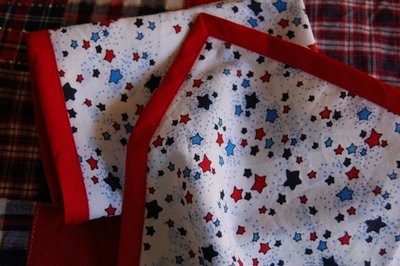
Read NextPatriotic Cloth Napkins