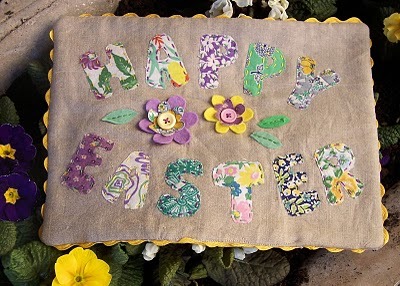
Happy Easter Applique
Use simple applique and felt flowers to create a Happy Easter square for Easter decorating. Hang as a sign, turn into a decorative pillow or use around a fabric Easter basket. This Easter sewing project is the perfect use for fabric scraps.
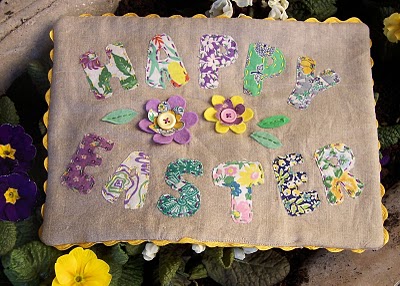
Size: My finished panel measured 12” x 9” though of course you could make any size you liked. For this tutorial I will assume that your panel will be the same size as mine.
Materials:
- 10 x 13” plain fabric for front
- 10 x 13” backing fabric
- 10 x 13” piece of old blanket, light weight wadding or similar to give your panel some body
- Fabric scraps for applique letters. Felt scraps for flowers and leaves
- 2 buttons
- Bondaweb 2 plastic curtain rings
- 48” jumbo ric rac braid spray fabric adhesive (optional)
- Embroidery floss air fade fabric marker pen
Instructions:
Assemble your materials:
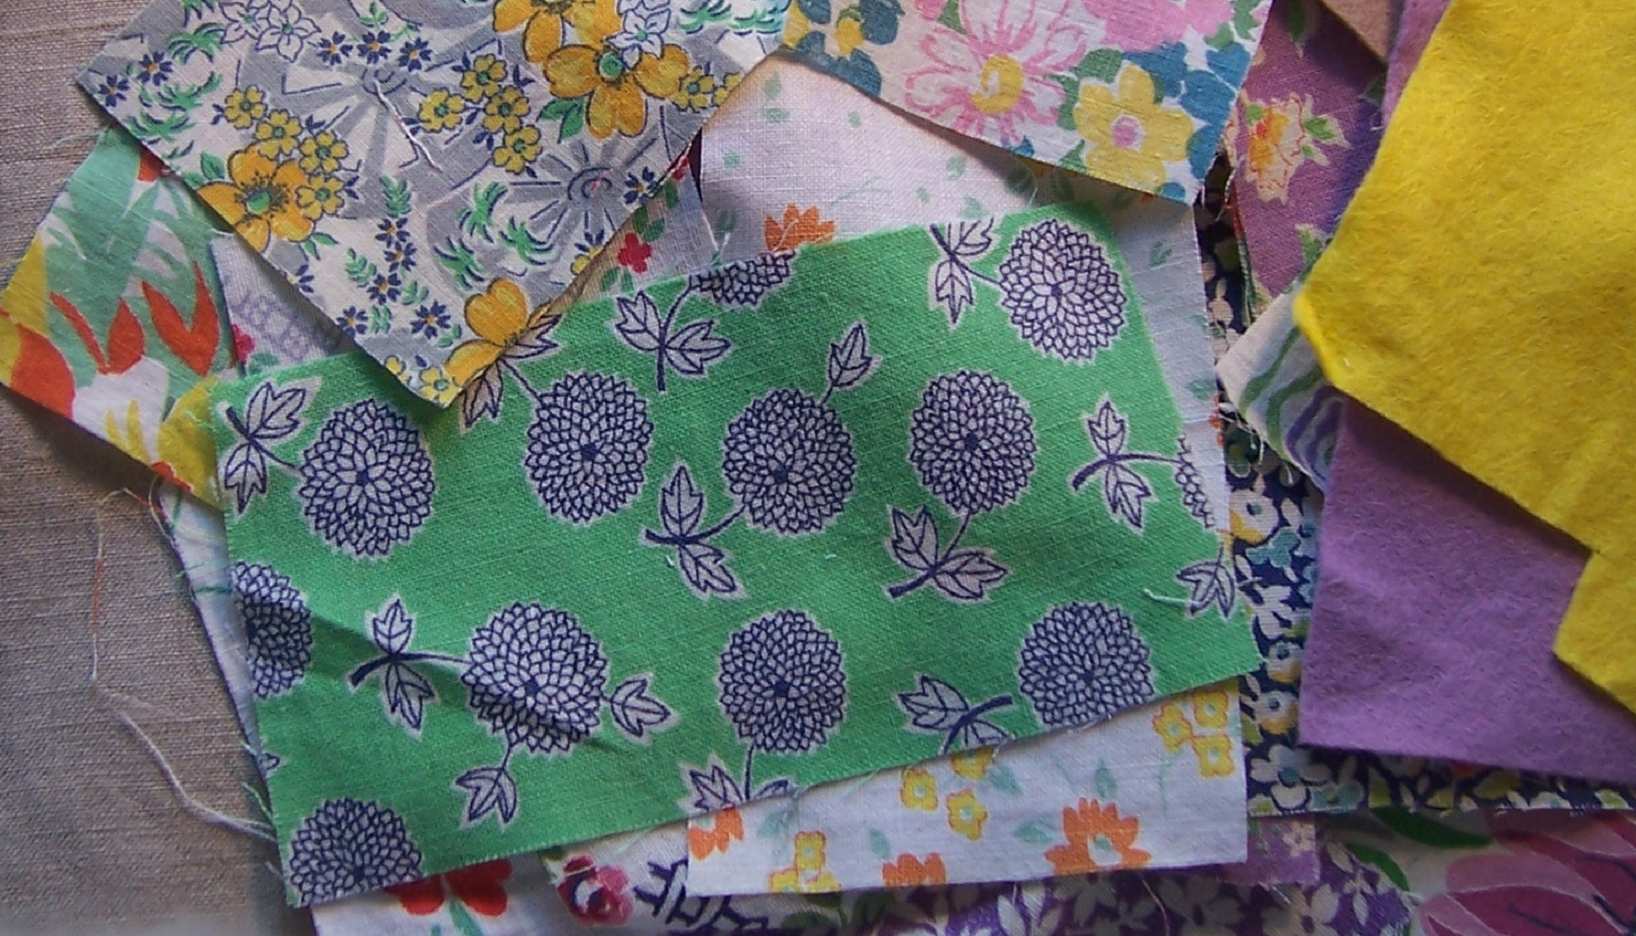
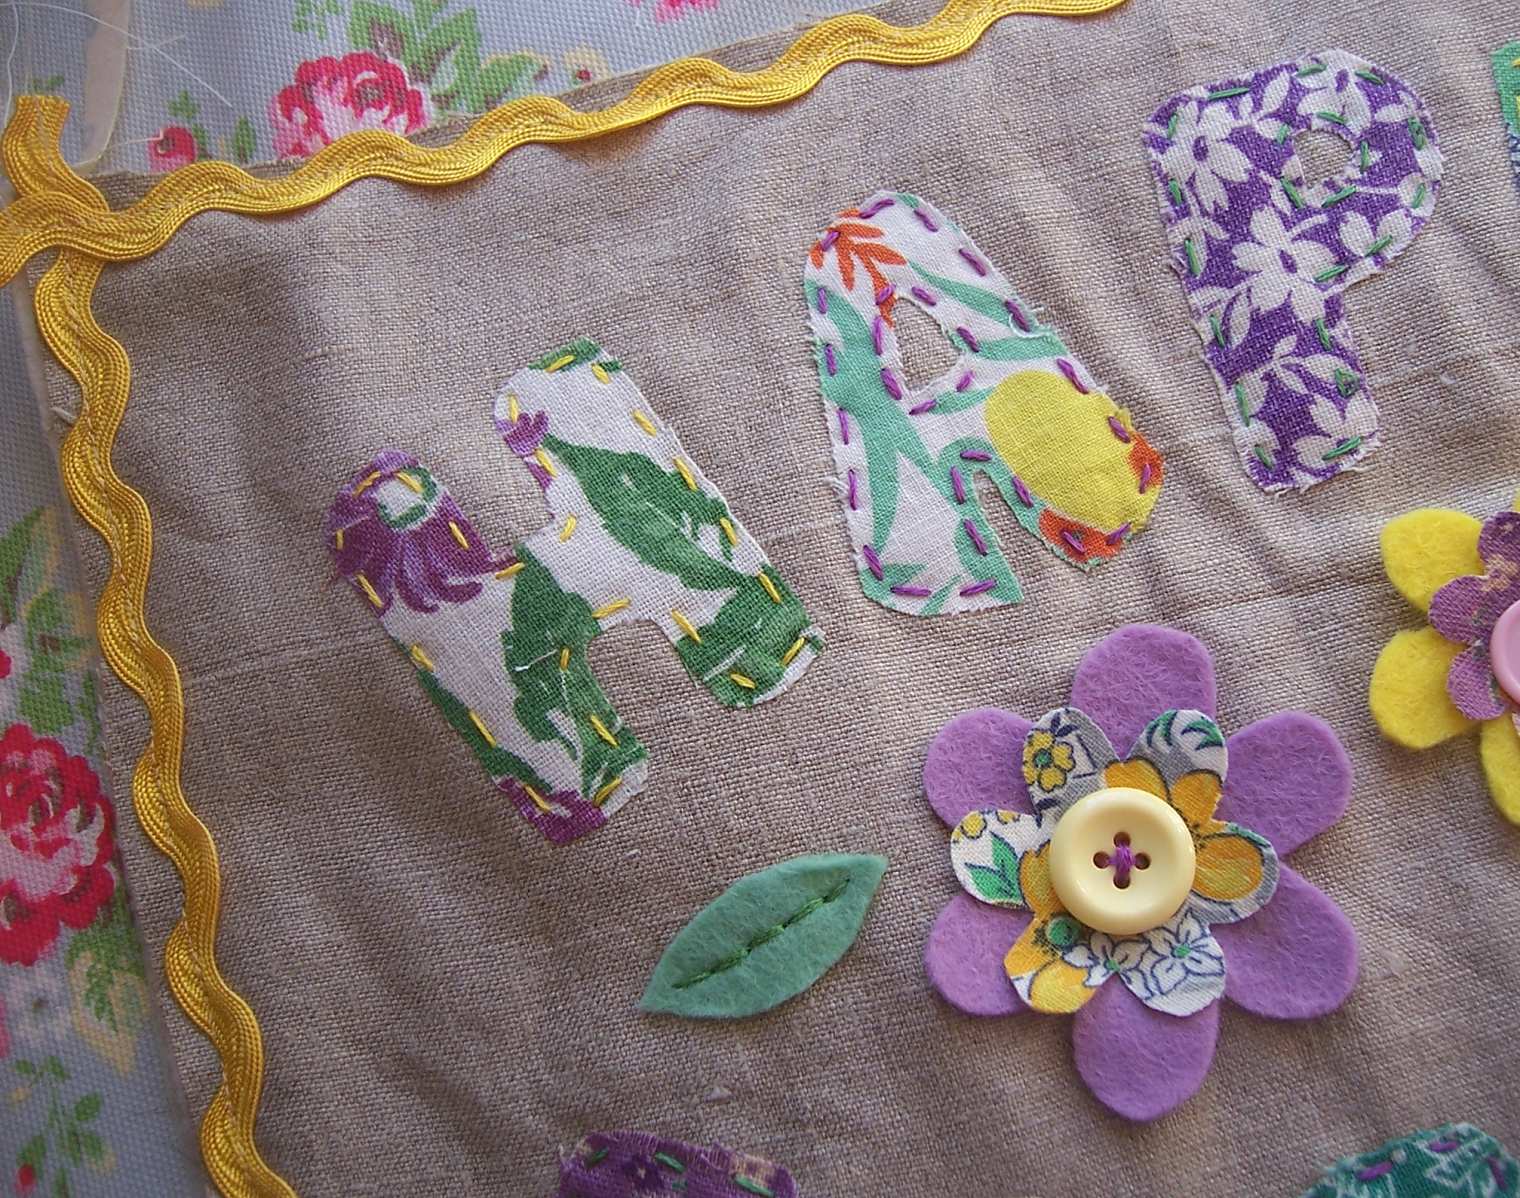
When choosing your fabric scraps try to keep to 3 main colours. I chose lilac, yellow and green which to me are spring colours. It doesn’t matter if touches of other colours creep in, but don’t go mix and match mad, your finished panel will simply look bitty.
Make the applique design:
Fuse the bondaweb to the wrong side of the fabric scraps. Draw letters and cut out. If you have letter templates, you can trace.
Prepare the centres of your flowers in the same way. Do not fuse bondaweb to the reverse of the felt petals, simply cut out. Download the flower template here. Resize your templates to suit the size of panel you are making, but remember to adjust your fabric quantities accordingly.
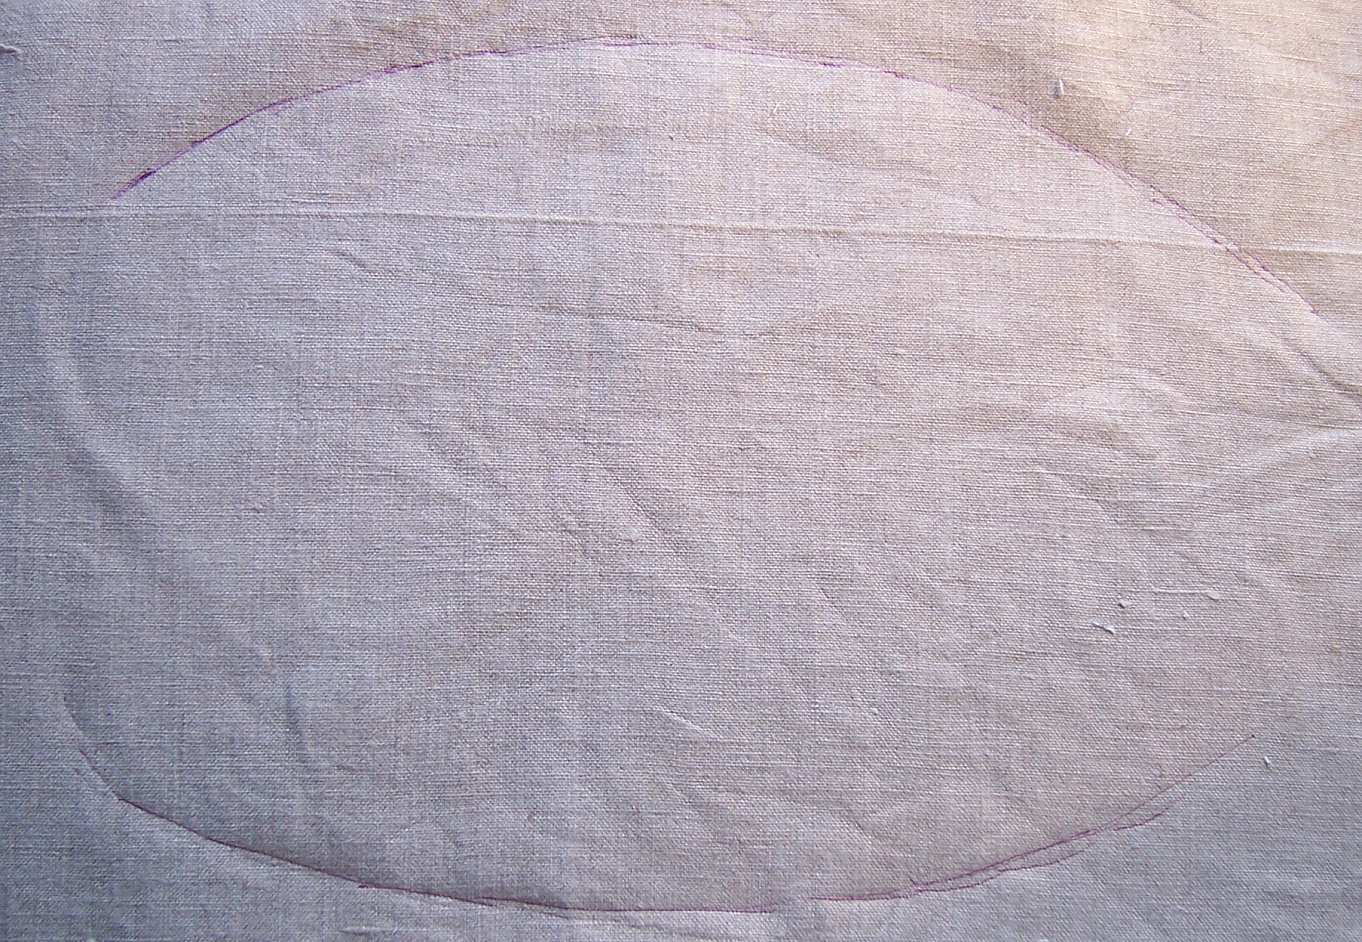
Using the air fade fabric marker pen mark out two curves on your main panel as shown above. I did mine free hand, but if you have a flexible curve then that would be better.
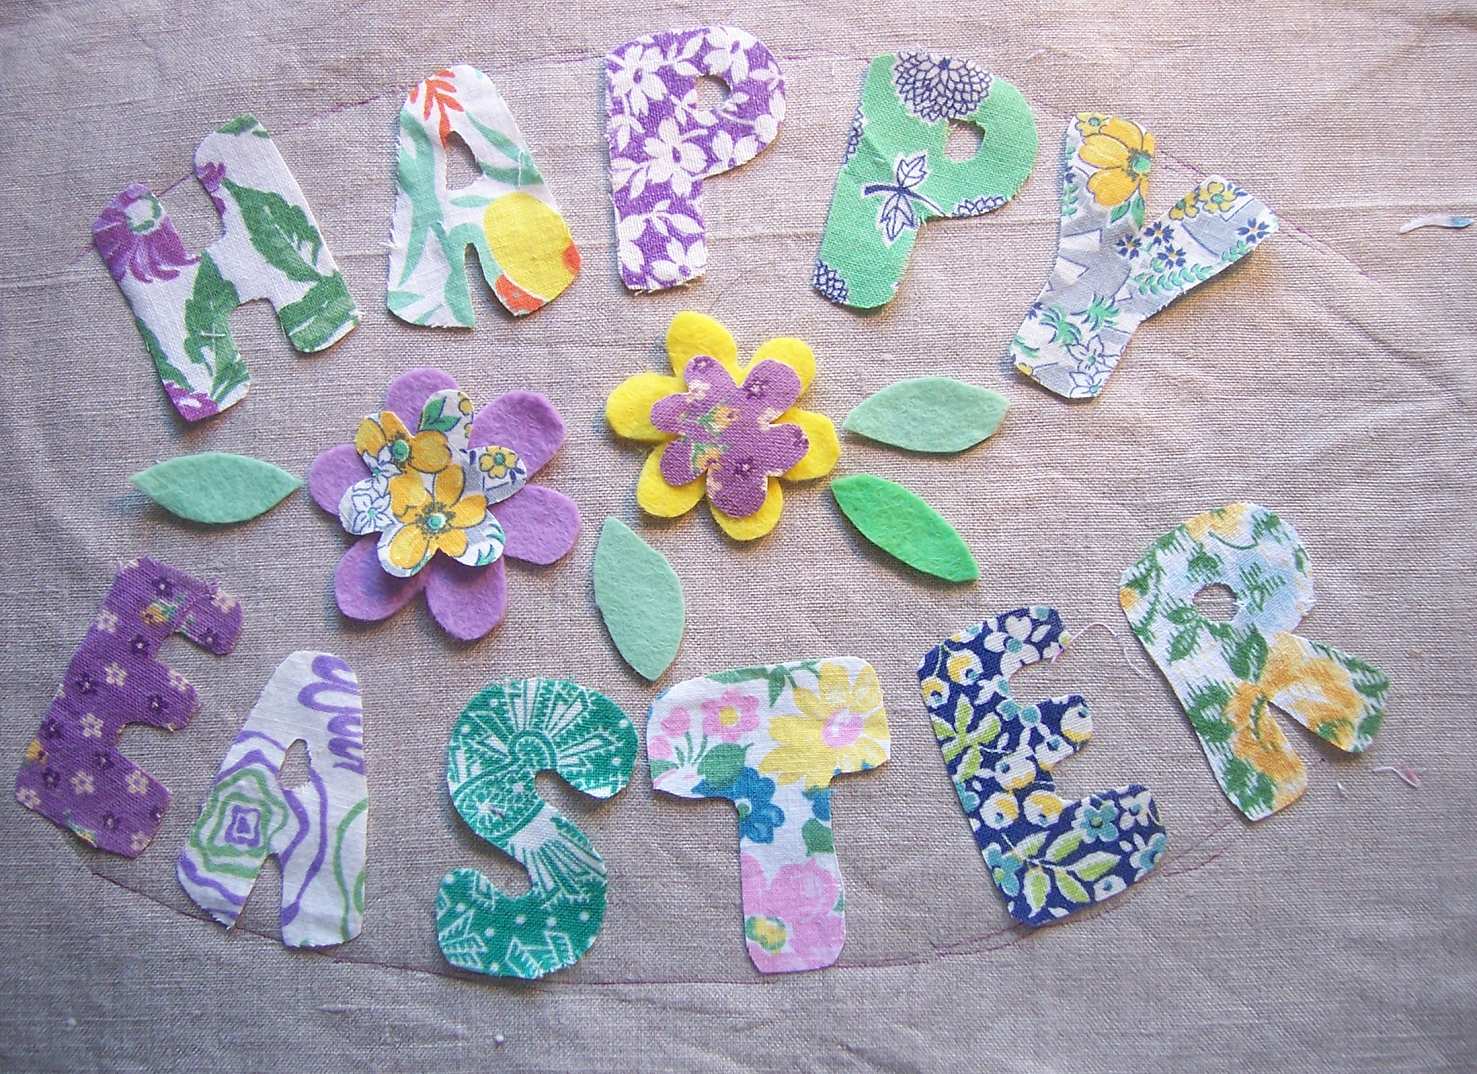
Position your letters and flowers using the lines you have drawn as a guide. When you are happy with their positions then remove the backing from the bondaweb and fuse the Letters only to the main panel.
Put the flowers and leaves to one side for the moment. (do not sit on them or lose them! I am not joking!)
Lay the main panel on top of the blanket/wadding and hold in place with either spray fabric adhesive or by tacking. When you are stitching you will stitch through the letter, main fabric panel and blanket/wadding. This will hold the blanket/wadding in place and also give your stitching a nice padded effect.
With your embroidery floss (3 strands) stitch simple running stitch around the edges of each letter. This is all you will need to do to keep them in place as there won’t be any wear and tear. If you’ve decided to make an Easter cushion (pillow) that is actually going to be used then I would recommend running a machine zigzag over the raw edges to hold the letters securely in place. Otherwise this really isn’t necessary.
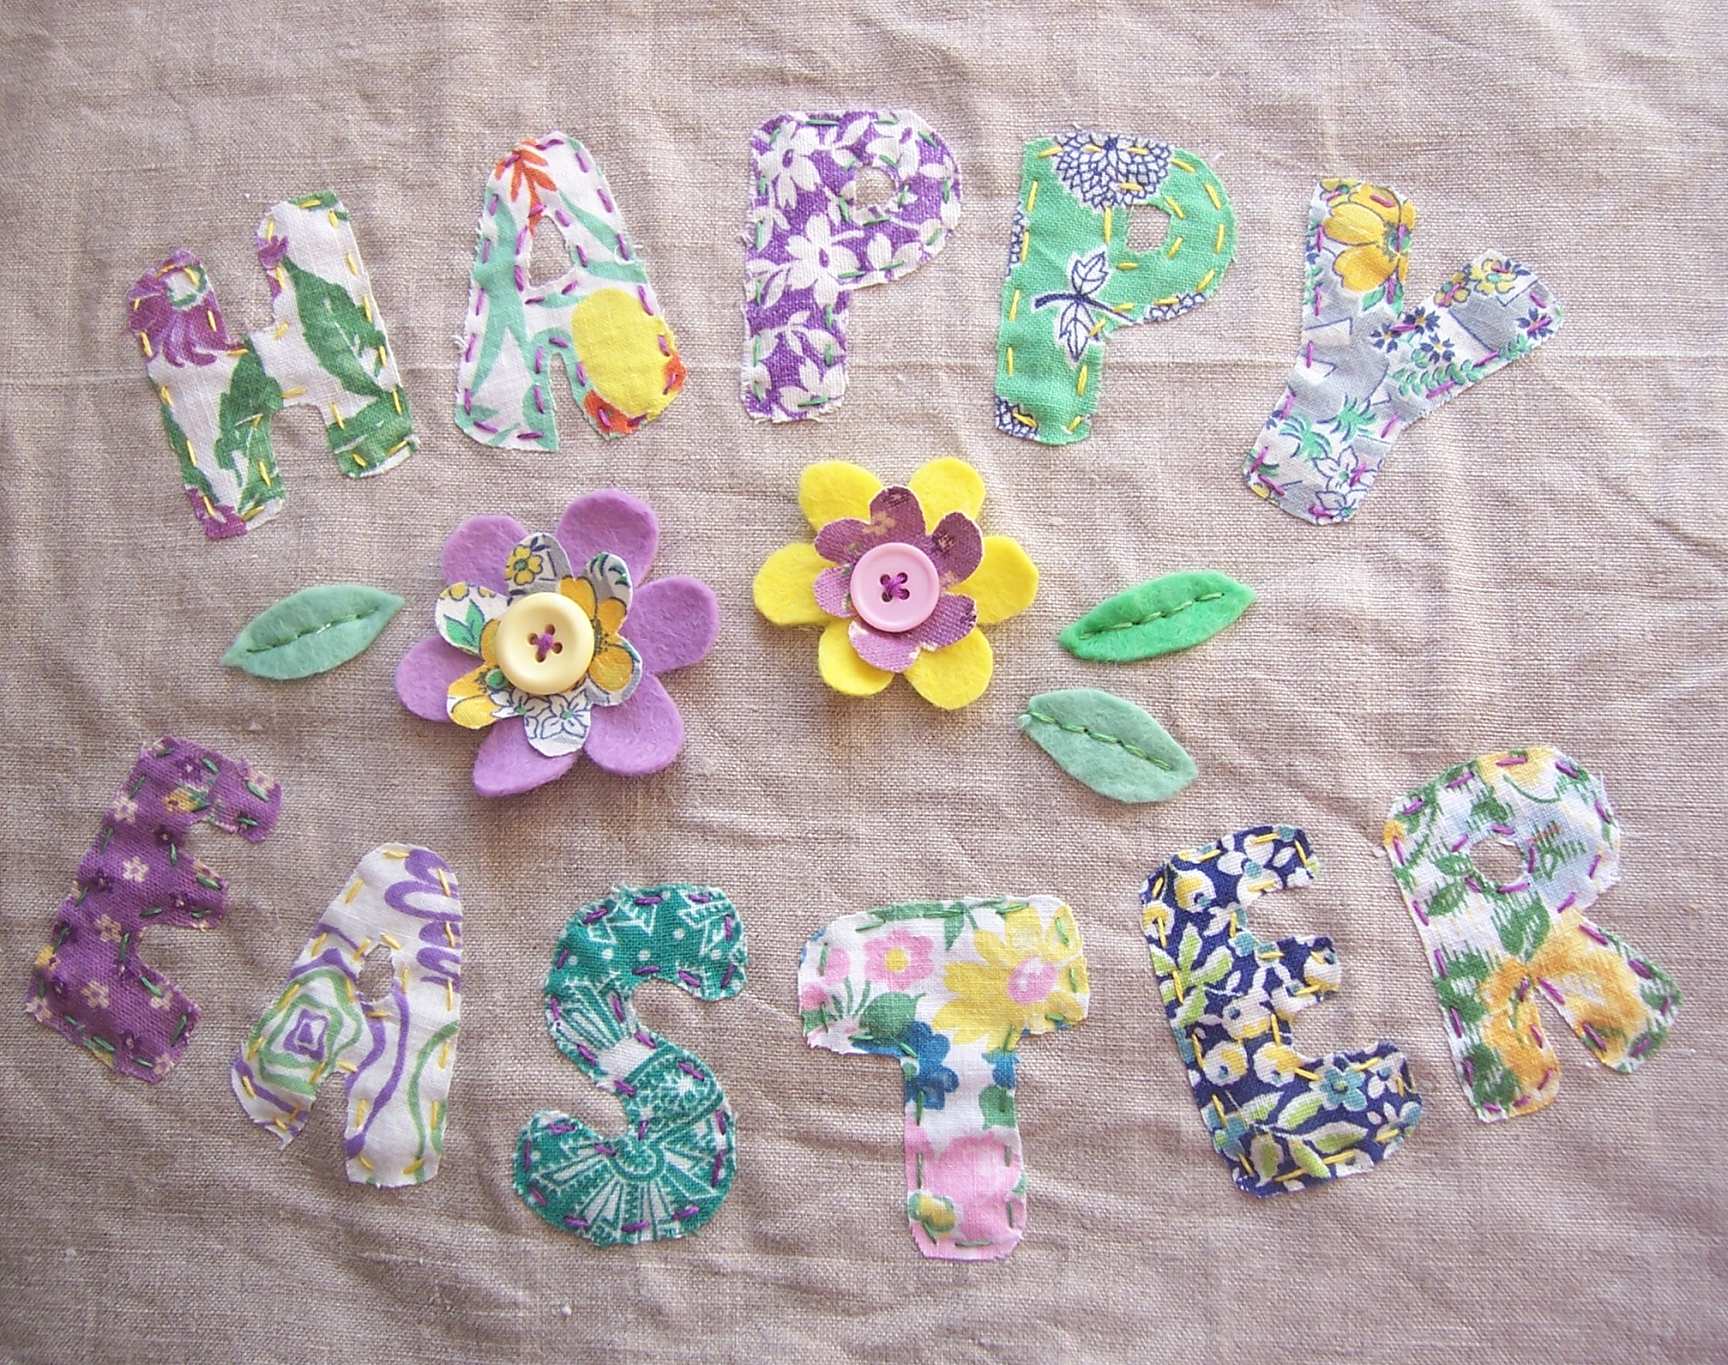
When you’ve done the letters, position the flowers. Do not remove the backing from the bondaweb on the central (fabric) petals as this will give them enough body and stiffness to stand up slightly making an attractive 3D effect. Hold the flowers in place by stitching on the central button.
Position the leaves. Hold in place with simple running stitch down the centres. Your applique panel is now completed. You may want to press it at this stage
Assemble your panel:
Position the jumbo ric rac braid around the edges of the panel as shown and machine or hand tack in place.
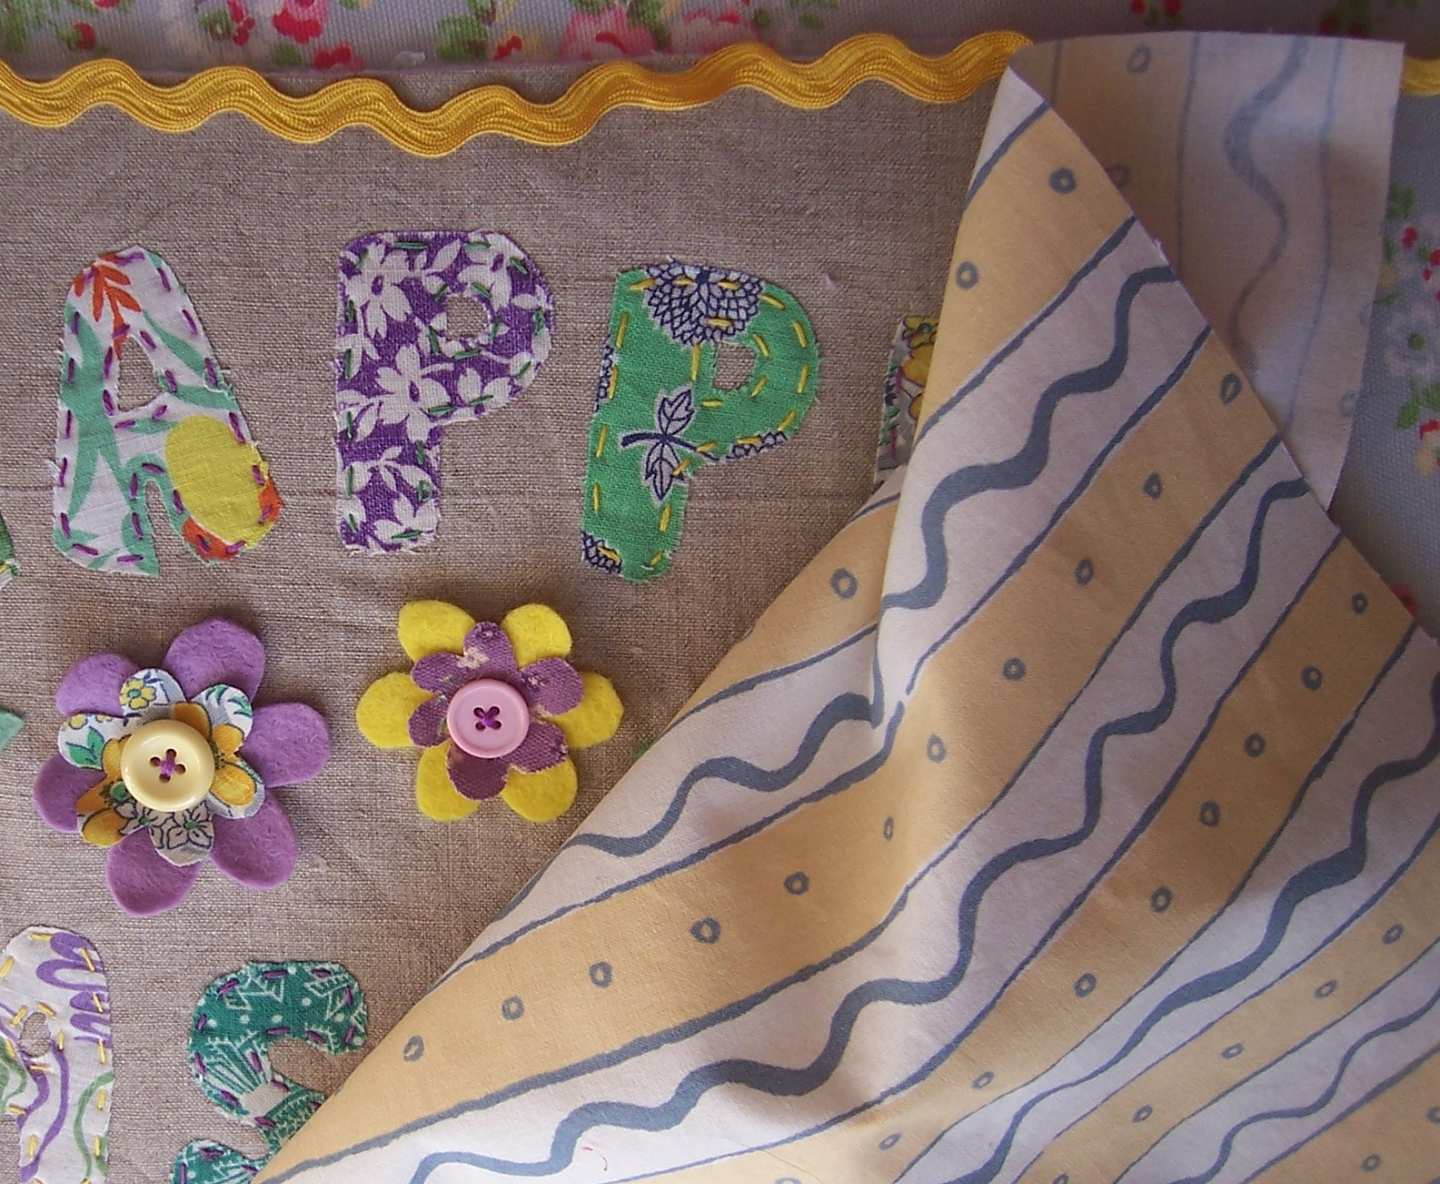
Place your backing fabric on top of your panel right sides together and pin or tack in place.
Machine around the edges stitching over the line of stitching where you attached the ric rac braid. Leave a gap of about 4” at the bottom of the panel for turning through.
Trim seam allowances and clip corners.
Turn through and topstitch gap closed.
Press.
Attach two plastic curtain rings to the back of your decoration for hanging.
Hang and enjoy!!
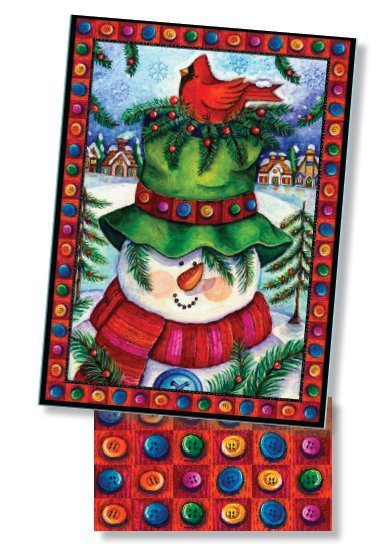
Read NextSnowman Quilt Wall Hanging