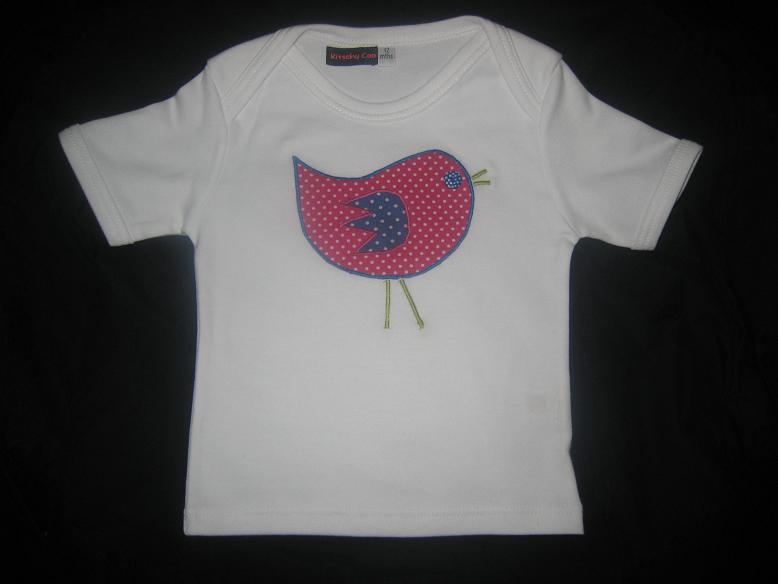
Easter Chick Applique Shirt
If you like this project, then you'll love the free sewing patterns featured in the eBook, 21 Easy Sewing Projects: DIY Designs and Sewing Craft Ideas. Download a copy today - it's free!
Learn how to create a very cool Easter shirt from a basic tee. While perfect for eggs hunts and other festivities, kids (and fun-loving adults) can wear this shirt throughout the spring.
Materials:
- Garment to applique
- Template
- Sewing machine capable of zig zag stitch
- Two contrasting scrap fabrics
- Double sided fusible web
- Tear away stabilizer
- Thread
- Button
Instructions:
-
Heat fuse both your scrap fabrics with double sided fusible web, with sticky side (the side without paper) facing the wrong side of your fabric.
-
Trace and cut the bird body from scrap one.
-
Trace and cut the bird wing from scrap two.
-
Peel off the backing paper and position on your garment.
-
Heat fuse the bird applique to your garment.
-
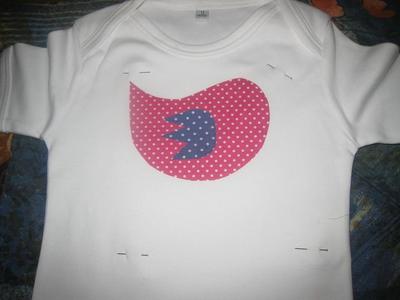
Cut the tear away stabiliser to a size bigger than your chick (including legs and beak).
-
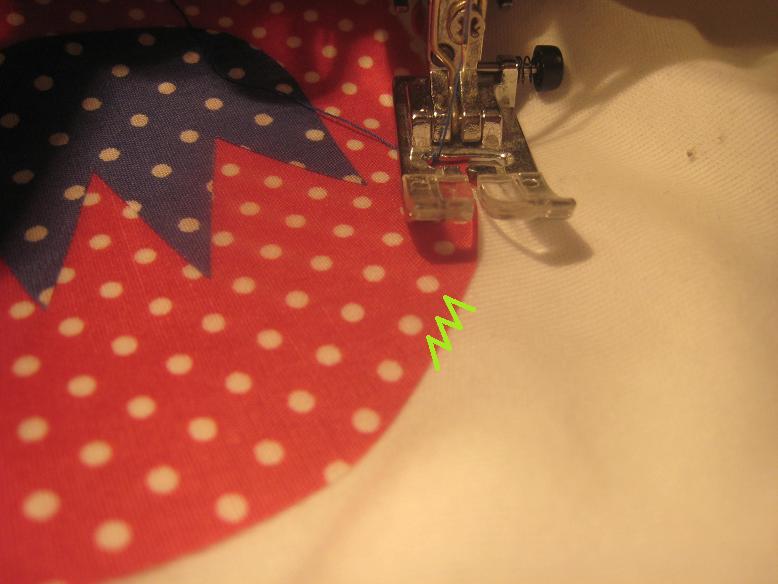
Pin the stabiliser to the underside of your garment. This picture shows your fused pieces, and the pins indicate the size of the stabiliser required.

-
Set your sewing to a machine to tight zigzag (I use 2.5 width and 0.5 length).
-
Stitch all the way around the body of the bird, with one side of the stitch on the garment and the other side of the stitch in your applique (binding and hiding the raw edges). The green lines in the picture show how your zigzag stitch straddles the raw edge. It helps to lessen the foot pressure of your machine so it is easier to turn around curves and it doesn't put as much pressure on the fabric causing waviness. Where you change direction or need a tighter curve, lower your needle down into the fabric, lift your foot and pivot.
-
Stitch all the way around your wing.
-
Draw your beak and legs onto the garment with washable fabric pen or tailor's chalk.
-
Set your machine to a wider zigzag (I use 3.5 and 0.5).
-
With your drawn lines at the center, zigzag stitch over the top of the lines to form your beak and legs.
-
Place your button for the eye and stitch securely with a needle and thread.
-
Rip off your tearaway stabilizer.
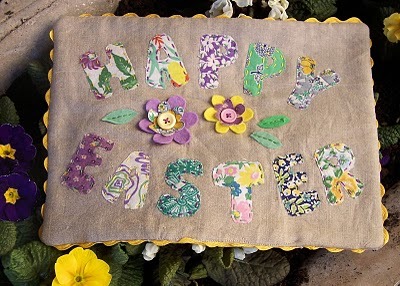
For more great Easter craft ideas for our favorite bloggers, check out our free Easter eBook.
Read NextFabric Advent Calendar