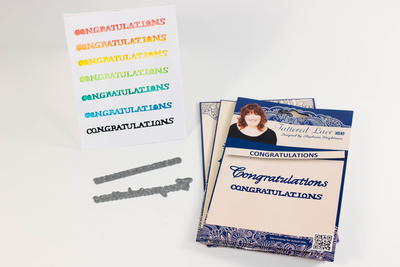
Easy Watercolor Die Cut Card
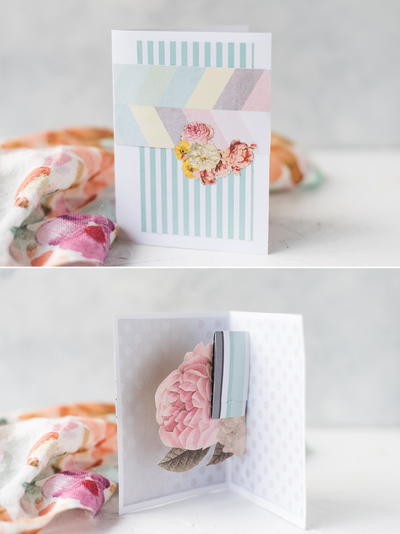
Watercolor techniques combine with die cuts to create the kind of DIY card that anyone would love.

Watercolor projects add a light and lovely touch to any of your crafting endeavors. If you are looking for simple paper craft ideas that have a big impact, consider creating this Easy Watercolor Die Cut Card. This homemade card project shows you how to combine die cuts, watercolor techniques, and paper crafts to create a simple sentiment that makes an impression. This DIY card is perfect for just about any occasion. Say congrats to a new grad or even a new couple. You could even use a gradient of blues or pinks to welcome a new baby into your family. The possibilities are endless for this homemade card idea.
Estimated CostUnder $10
Time to CompleteUnder an hour
Primary TechniquePaper Crafts
Project or Page SizeCard
Type of Paper UsedCardstock

Materials List
- Tattered Lace Baby Blue Machine
- White Cardstock Paper 4.25” x 5.5”
- White Watercolor Paper 4.25” x 11”
- Tattered Lace Congratulations Die
- Sakura Koi Watercolor Pocket Field Sketch Box
- 3L Scrapbook Adhesives 3D Foam Squares
- Black Cardstock
- Liquid Adhesive
Easy Watercolor Die Cut Card
Instructions
-
Score and fold the watercolor paper at 5.5”.
-
Fill your water brush from the Sakura Koi Watercolor Pocket Field Sketch Box with water.
-
Using limited water, create a rainbow of color on the front of the card. Allowing about a 1/2” of each color.
-
Place your Tattered Lace Congratulations Die on the white cardstock about a 1/2” from the top. Run it through your Tattered Lace Baby Blue Machine. Remove the die and place 1/2” lower and cut again. Repeat this process, cutting this die six times.
-
After your watercolor paper has dried, attached 3L Scrapbook Adhesives 3D Foam Squares to the back of the white cardstock. Make sure you place the squares between the words as well.
-
Adhere the cardstock piece to the front of the card.
-
Place the Tattered Lace Congratulations Die on a small piece of black cardstock and cut using the Tattered Lace Baby Blue Machine.
-
Adhere the black congratulations to the bottom of the front of the card using liquid adhesive.
Read Next64 Handmade Cards for Every Occasion