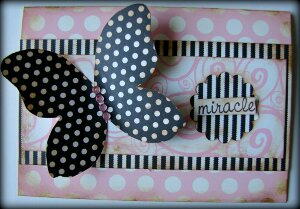
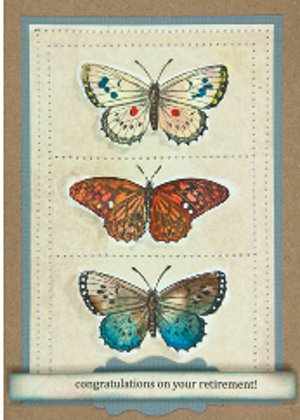
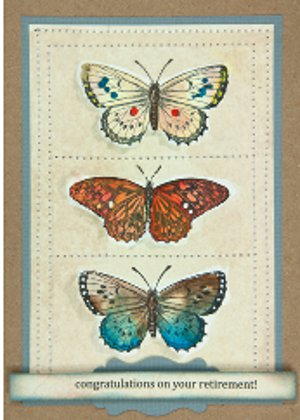
Butterfly Trio Card
This Butterfly Trio Card from Inkadinkado is perfect for any occasion, from birthdays to Mother's Day. With some simple butterfly stamps, you can create this card to your liking and there's no question that people will be impressed that you made it yourself!
Materials:
- 2 butterfly stamps
- Stamping surface
- Real Estate Sign, Large Punch
- Straight Edge Trimmer, Pink
- Scissors
- Glue Pen
- Dotto Permanent Dot Adhesive, Pink
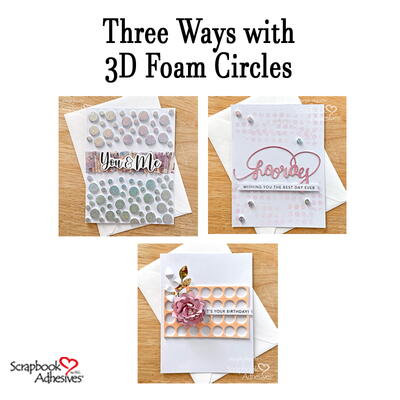
- 3-D 1/8 Foam Adhesive Circles
- Cardstock: kraft, grey- blue
- Watercolor paper
- Solvent ink: black
- Watercolor crayons or pencils
- Coffee
- Paintbrush
- Pencil
- Sewing machine and ivory thread
Instructions:
- Fold a 10" x 7" piece of kraft cardstock to create a 5" x 7" side-folding card.
- Cut a piece of the grey-blue cardstock 3/8" smaller all around than the card front. Center it on the card front and tack it in place.
- Cut a 4" x 6" piece of watercolor paper. Holding the panel vertically, use the pencil to lightly draw a box 5/16" in from the edge. Next, draw horizontal lines inside the box at these measurements from the top of the box: 1 7/8" and 3 1/2". Stamp the taller butterfly in the center of the top and bottom sections, and stamp the shorter butterfly in the center of the middle section.
- Use watercolor crayons to paint each butterfly. You can refer to a butterfly book or the internet to determine the coloring to make them look realistic.
- Make a cup of coffee (to use for painting). Experiment on scrap paper to determine the desired dilution with water—you’re going for the look of vintage paper. Paint the coffee in the background around the butterflies, but not touching them. Allow to dry before doing the next step.
- Stitch around the drawn in grid with a sewing machine, then attach the panel to the center of the card front and stitch through all layers to secure.
- Punch the Real Estate Sign shape from a piece of grey-blue cardstock. Cut in half, trim a section of the center away and adhere the pieces under the bottom butterfly as shown.
- Create the sentiment strip in your computer and print it onto watercolor paper. Trim to 4 3/4" x 3/8" and color the edges if desired.
- Attach the sentiment strip to the card with 3D-Dots.
Read NextEasy Embossed Greeting Cards
Your Recently Viewed Projects
Thanks for your comment. Don't forget to share!
mulberrygalprinces s
Jul 14, 2018
This is beautiful. The directions are a bit long and entailed but really not hard. Just plan on it taking awhile to complete. The finished product is going to be well worth your time. These would be great for welcoming spring or even Easter. Thank you for sharing this great idea.
Report Inappropriate Comment
Are you sure you would like to report this comment? It will be flagged for our moderators to take action.
Thank you for taking the time to improve the content on our site.