Sweet Vintage Bow
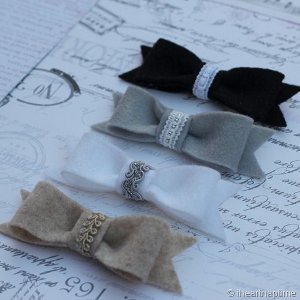
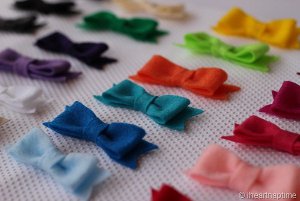
Try making one of these Sweet Vintage Bow projects and you’ll soon have homemade baby hair bows in all colors of the rainbow! These vintage inspired felt bows are great no sew projects that are perfect for babies, teens, and even adults!

Find this project and more in our free eBook, How to Make Bows, Hair Pins and More: 33 DIY Hair Accessories.
Materials:
- Felt
- Hot Glue
- Scissors or rotary cutter
- Measuring tape
-
Trim or lace
Instructions:
-
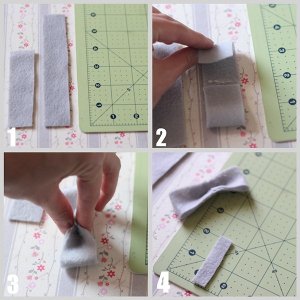
To start the felt bow, cut 2 pieces of felt (A) 1in x 6in and (B) 1in x 4in.
-
Take piece (A) and fold one edge into center and glue. This should measure 1 1/2 inches. Then take the other end and fold into center, bumping heads with the other edge.
-
Put a dab of glue in the center and pinch together. Hold for 10 seconds.
-
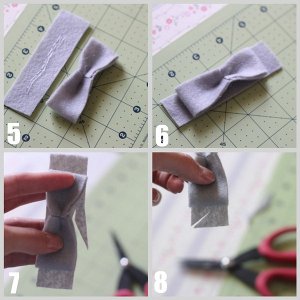
Cut a small piece of felt (C) 1/2in x 2in.
-
Put hot glue on piece B.
-
Lay piece A on top of B. Make sure you have enough glue on there to make it stick well.
-
Cut off the extra felt (into the curve) with your scissors.
-
Cut ends to a point.
-
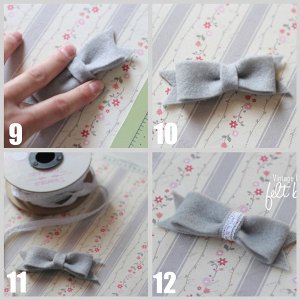
To finish the felt bow take piece C and wrap around the center of the bow.
-
Glue the two ends on the back side.
-
Attach trim, lace, rhinestones to center (optional).
-
Attach elastic, pin or hair clip to the back of the felt bow if desired.
-
Enjoy your new felt bows! Felt comes in a variety of colors, so you can have one in every color!
-
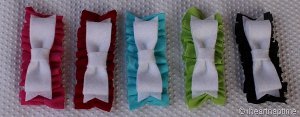
Another fun way to dress them up is to sew or glue a ruffle on the back of the bow.
-
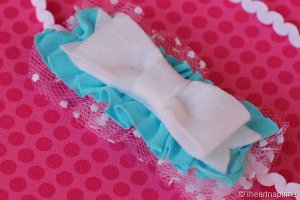
You can even get a little more creative and add some tulle!
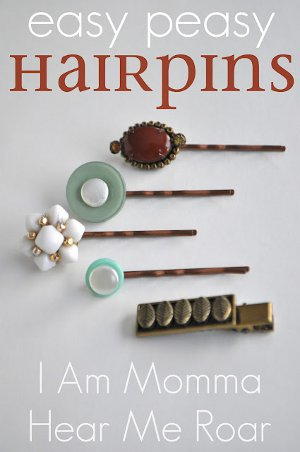
Read NextEasy Peasy Hairpins
Your Recently Viewed Projects

Thanks for your comment. Don't forget to share!
Marilyn B
Apr 24, 2017
These bows definitely remind me of vintage bows that actually were on some shoes I had back in the day. They were made of a very thick crossgrain ribbon but had the same look, so I could see making these with the extra use on some dressy shoes! An option to create these would be to use a gathering stitch in the center and also to secure the band, if you didn't want to,use the glue method. Can be used for a dress clip or pin in addition to hair adornment! Or even as a bow on a package, which then becomes part of the gift! Super!
Heidi Lorene
Apr 08, 2016
I love making these little bows. They are cute on there own but also fun to dress up and see what different looks you can come up with. I like to put them in my little girls hair when i do pig tails or as a simple clip to the side to keep hair out of her face. I recommend a rotary cutter to to cut these with so you can get a nice straight cut.
Ask93 7929298
Mar 16, 2016
A Very well explained how to for sure. The bows are very cute and I can see so many uses for them. I don't have a pet dog, but I would like to make some for a furry little dog. LOL. Wouldn't these look cute on a doggie? I appreciate the well written and explained instructions. The step out pictures are very helpful too. This is a definite must do.
Report Inappropriate Comment
Are you sure you would like to report this comment? It will be flagged for our moderators to take action.
Thank you for taking the time to improve the content on our site.