How To Make A Colorful Braided Headband
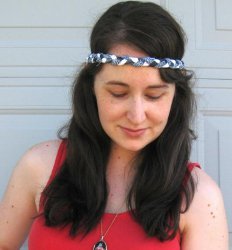
Learn how to make a colorful braided headband with this sewing tutorial from Megan Nielsen. You'll see that learning to make your own clothes, and this case, accessories, can be really rewarding!
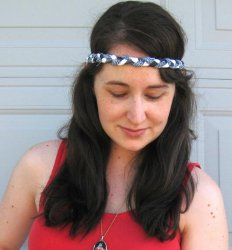
Materials:
- 3 scrap strips of fabric
- Elastic
Instructions:
- Cut your fabric into 3 strips measure 20 inches by 2 inches. To get a slightly rougher look, rip your fabric rather than cutting.
- Place the ends over each other and sew to secure.
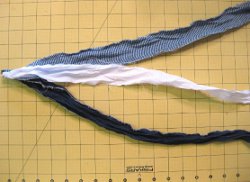
- Braid your fabric until you reach the end, and then sew over all 3 pieces again to secure. Make sure you braid consistently, ie. If you start braiding tightly, make sure you braid the entire length tightly.

- Measure your braid and measure your head. Now subtract your braid measurement from your head measurement – this will give you how long your elastic should be. Cut your elastic. You can really use any elastic, but I used fold over elastic because it comes in lots of cute colours.
- Attach your elastic to the ends of the braid by using a zig zag stitch.
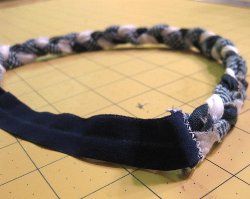
- I also made another thinner head band using ½-inch-wide strips. For this one instead of laying the elastic flat over the braid before sewing, I folded it over the ends encasing them, and hand stitched it closed.

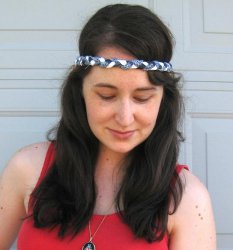
And there you have it! An adorable braided headband you can wear a million ways!
Read NextEasy Peasy Hairpins

