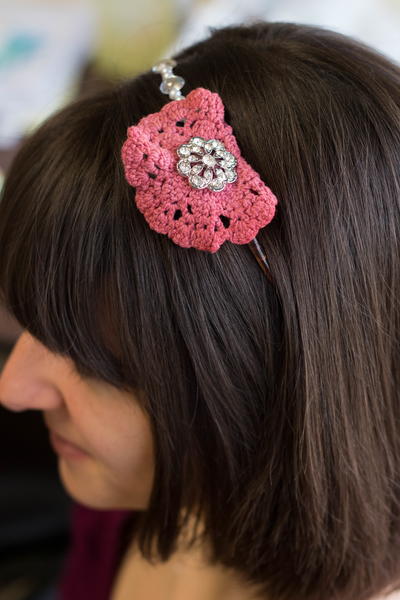
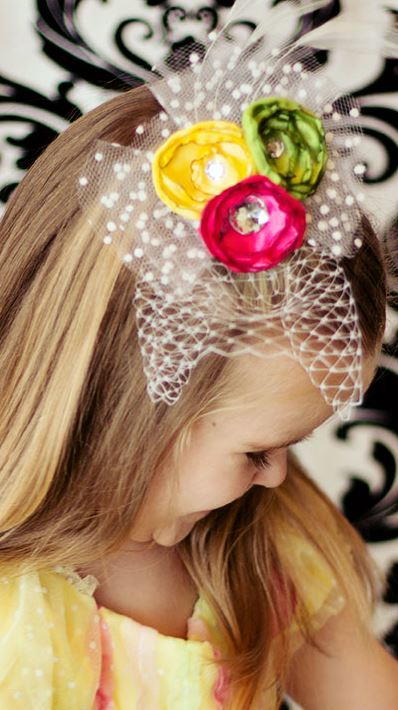
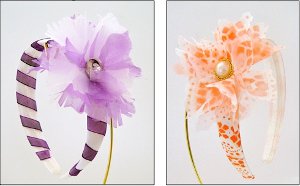
Doily Stenciled Headbands
Use a simple doily to create a beautiful pattern on a regular satin headband. These Doily Stenciled Headbands are great gifts for young girls and a sure fire way to add a little pop of color to your favorite outfit. The cute colored flowers are so easy to make and can also be used to jazz up purses, scarves, jackets, and much more.

Find this project and more in our free eBook, How to Make Bows, Hair Pins and More: 33 DIY Hair Accessories.
Materials:
- Aztek airbrush
- Grape Purple paint
- Orange paint
- White paint
- Plain white satin headband
- Organza fabric - approximately 5” x 45”
- Fast Finish Decoupage
- Fabri-Tac glue
- Wide brush
- Scissors
- Rotary Cutter with decorative edge wave blade
- Scotch tape
- Craft sticks
- Painters tape
- Decorative button
- Wire cutters
- Small piece of felt or fleece
- Repositionable stencil adhesive
- Rectangular paper doily
- For Purple Headband - Sheer white ribbon 3/8” x 36”
- Freezer paper
Instructions:
-
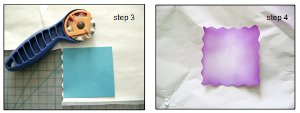
Decoupage is used in this project to change the texture of the delicate fabric, giving the flowers on each headband body and preventing their edges from fraying. Applying the decoupage is easy work if you first bond the fabric to freezer paper. Do this by ironing the shiny side of the paper to the wrong side of the fabric. This only takes seconds.
-
After bonding, pour some decoupage in a shallow container and use a wide brush to apply it evenly to the fabric. Let it dry completely.

-
Using a rotary cutter with a decorative wave blade, cut seven 3” squares from the bonded fabric by tracing a Post-it note. Cut an eighth square slightly smaller than the others.
-
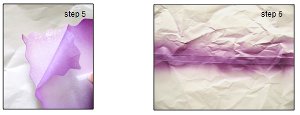
Spray four of the large squares and the smaller one, applying purple paint more heavily on the outer edges and fading to no paint in the centers.
-
When the painted squares are dry, remove the fabric from the freezer paper by attaching a piece of tape to one of the fabric corners and pulling. Also remove the paper from the unpainted fabric squares.
-
Spray paint the sheer ribbon purple. Set aside while you create the flower.
-
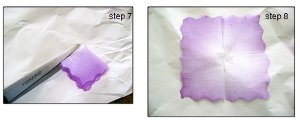
Fold all squares in half twice and cut along the folds to within 1/8” of the center. This will create the four petals of each flower section. Make several ¼” deep cuts close together on some of the wavy edges.
-
Lay all petals flat and apply a thin line of Fabri-Tac to one side of each near the center.
-
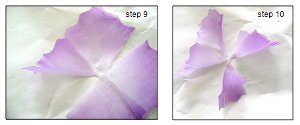
Fold the center edges of the petal together until they hold.
-
Repeat on all four petals of each flower section.
-
Cut a piece of felt into a small square measuring about ½”. Using the glue, attach the center of a large painted flower section to the center of the felt. Add three more sections with centers facing each other. Attach the unpainted flower sections on top of the painted ones in the same way.
-
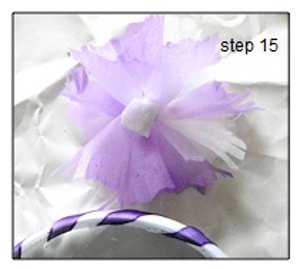
Finish assembling the flowers by centering the smaller painted section over the others. Apply pressure in the center with a craft stick to adhere all layers.

-
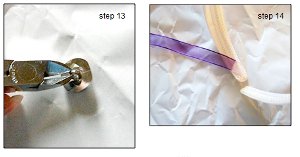
Cut the shank from the back of a decorative button with wire cutters. Glue the button to the center of the flower.
-
Glue one end of the painted ribbon to the inside of the headband and wind it around the band leaving ½” between each wrap. Glue the opposite end of the ribbon to the inside of the band.
-
Mix white paint with orange to achieve the shade you like.
-
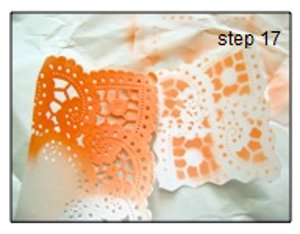
Cut a corner from a rectangular paper doily large enough to cover a three-inch square. Spray stencil adhesive to the right side of the doily.
-
Glue the felt base flower to the side of headband.
-
Press the doily piece on top of a fabric square with three corners matching. Spray with orange paint. Repeat with all squares. When the squares are dry, remove the fabric from the freezer paper.
-
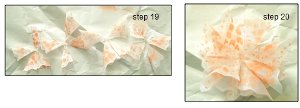
Fold all squares in half twice and cut along the folds to within 1/8” of the center. This will create the four petals of each flower section. (see step 7 photo)
-
Apply a small line of Fabri-Tac to one side of each petal near the center. Fold the edges of the petal together until they hold. Repeat on all four petals of each flower section. Cut a piece of felt into a small square measuring about ½”. Using the glue, attach four large flower sections to the middle of the felt with centers facing each other. Attach four more on top.
-
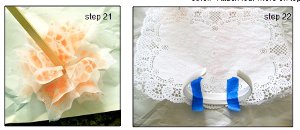
Finish assembling the flowers by centering the smaller painted section over the others. Apply pressure in the center with a craft stick to adhere all layers.
-
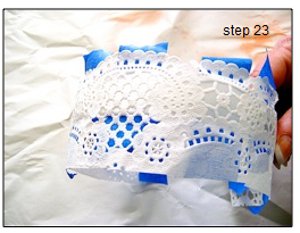
Spray the front of one lacy edge of the doily with stencil adhesive. Place the sticky side against the headband with the center of the doily and center of the headband matching. Use painters tape to hold in position if necessary.
-
Cut away excess doily and cover the headband completely with the decorative paper. Mask off the under side of the band with painters tape which will also help to hold the doily strip in place. Spray the doily with orange paint.
-
When the paint is dry, remove the tape and doily and glue the felt flower base to the side of the headband.
- Cut the shank from the back of a decorative button and glue it with the cut side down into the center of the flower.
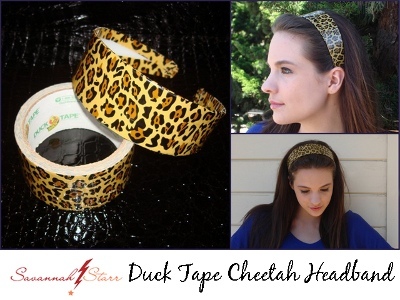
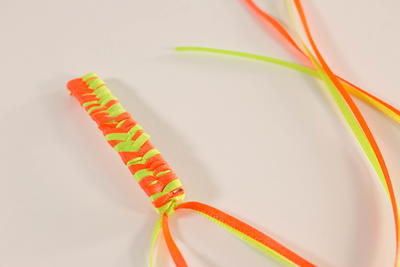
Read Next80s DIY Ribbon Barrette
Your Recently Viewed Projects

Thanks for your comment. Don't forget to share!
jayell5
Mar 31, 2013
Great idea. Will use for my sisters wedding in August for the flower girls. Ages 20 months, 4, 5 & 7 years. Will sew the flowers instead of glueing and also make extra and stem them to go in my sisters bouquet. She will be having silk flowers. Thank you for a very timely inspiration, I have plenty of time to practice.
Report Inappropriate Comment
Are you sure you would like to report this comment? It will be flagged for our moderators to take action.
Thank you for taking the time to improve the content on our site.