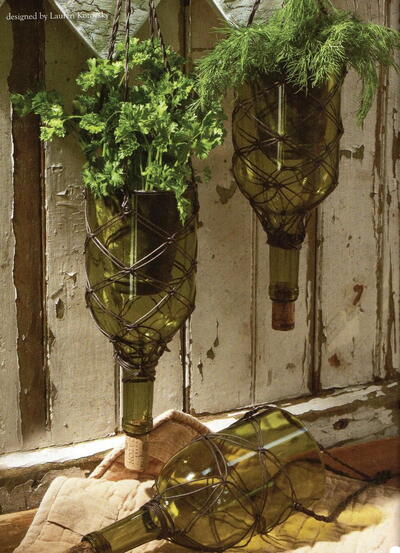
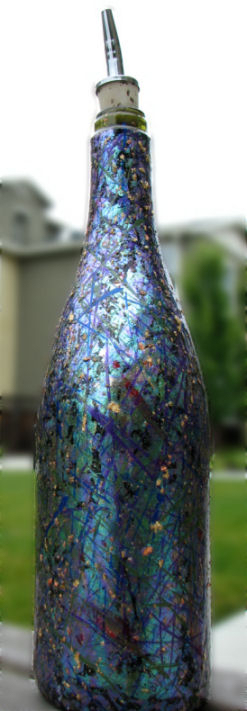
Faux Dichroic Glass Recycled Bottle
This wonderful project comes to us from Michelle Zimmerman of Http-Design. With the help of polymer clay, recycle an old wine bottle, perfume bottle or other glass bottle into a decorative container. The techniques makes the bottle look like colorful dichroic glass with no glasswork experience necessary. Use the container as a vase or a liquid container for oil, vinegar, or other.
Tools
- Pasta machine or clay roller
- Tissue blade
- Large discarded plastic bucket or container
- Discarded plastic container to stand the bottle on
- For mixing Envirotex Lite: 2 disposable mixing cups, 2 wooden popsicle sticks, gloves
- Disposable paintbrush
- Curing oven
Materials
- Recycled wine bottle
- Bottle pourer (available from www.fantes.com/stoppers.htm)
- 12 oz black Fimo Soft polymer clay
- 2' x 8" Mylar backed foil – Oil Slick color (from www.coveredinclay.com/foil.htm)
- Jacquard Piñata ink – Santa Fe Red and Sunburst Yellow
- Lumiere paints in Metallic Olive, Pearl Blue, Pearl Violet
- Envirotex Lite
- Houston art foil – variegated leafing flakes
- PearlEx powder - Brilliant Gold
Instructions:
-
Condition clay. Roll sheets of clay at #1 (thick) setting approximately 3/8 inch thick. Use clay pieces to cover bottle – trimming away excess clay with a tissue blade and sealing joints to get an even coverage. Cover bottle to within ½ in of opening (polymer clay should not come in contact with surfaces which touch food). Remove any air bubbles by slicing into the air bubble with a tissue blade or craft knife held at a 45 degree angle, press out the air and reseal the clay. It’s essential you get a good even coverage.
-
Apply the Mylar backed foil to the clay decorative side facing up. Rub the foil lightly but firmly with your hand repeatedly to warm the foil and then lift the plastic leaving the foil behind – foil adheres to clay with heat and friction. Continue and apply foil all over the bottle. Aim for just less than 100% coverage – small areas of black clay are desirable.
-
Using Lumiere paints and a small paintbrush, paint random long brushstrokes across the bottle. Cross the colors over each other – you’re aiming to give the project more dimension and color.
-
Using the Piñata inks, dip a brush into the inks and touch the brush to the surface of the bottle to make small dots. The inks spread on the clay so a little ink goes a long way.
-
Place the bottle into a cold oven preferably standing upright. Heat the oven to the required temperature with the bottle in it and then cure for the amount of time and at the temperature recommended by the manufacturer. Allow the bottle to cool in the oven before removing it.
-
Mix the Envirotex Lite according to manufacturer’s instructions. It works best if you pour both parts into one container and stir to mix. Pour the mix into a second container – do not scrape the excess off the sides of the first container when you do so. Continue to mix in the second container using a fresh stirring stick.
-
Stand the cured bottle on top of an upturned discarded container in the large bucket. It works best if the bottle is standing on a container slightly smaller than the bottom rim of the bottle. As the excess Envirotex Lite won’t be able to be removed from the containers, use containers you don’t mind damaging.
-
Add approximately 2 tablespoons of the variegated foil pieces and 1/8 teaspoon of gold PearlEx powder to the Envirotex Lite and mix in.
-
Place an old cork into the wine bottle to seal it. Working over the bucket, pour the Envirotex Lite over the surface of the bottle and work it in so it covers the surface of the bottle. This is best done with a disposable paint brush or a gloved hand. You must completely cover the bottle with the Envirotex Lite.
-
When the bottle is covered, stand it on the upside-down container in the bucket, remove the cork and leave it until set. Perching it on a container ensures that excess Envirotex Lite runs off the bottom of the bottle and won’t adhere to it.
- When dry, remove the bottle from the bucket and remove the plastic container from the bottom of the bottle. If you need to smooth the bottom of the bottle, sand the excess set Envirotex Lite with coarse sandpaper. Insert the bottle pourer cork.
Designer note: This is a fun effect and it’s fairly easy to achieve. The Envirotex Lite gives the bottle a wonderful glossy seal. For best results, follow the two step mixing process and don’t scrape the first container however tempted you are to do so! The product must be mixed thoroughly so it sets to a hard finish, if you don’t mix it well and if you scrape the sides of the container, you risk it remaining slightly tacky instead of glass like – believe me, I’ve done it before!
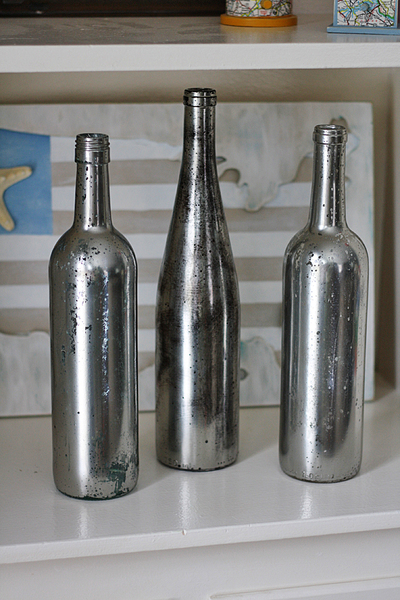
Read NextUpcycled Looking Glass Wine Bottles


Thanks for your comment. Don't forget to share!
dmerkick 5444275
Jan 23, 2012
I don't think you should be telling your readers to use anything that you have used Envirotex Lite Resin and Hardener on for food or beverages. I don't believe it is food safe. BE CAREFUL.
Report Inappropriate Comment
Are you sure you would like to report this comment? It will be flagged for our moderators to take action.
Thank you for taking the time to improve the content on our site.