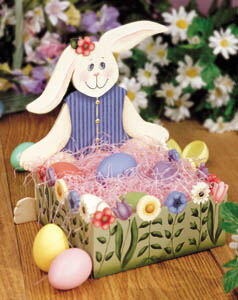
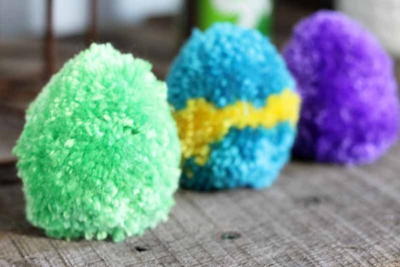
Egg Fabric Bunnies
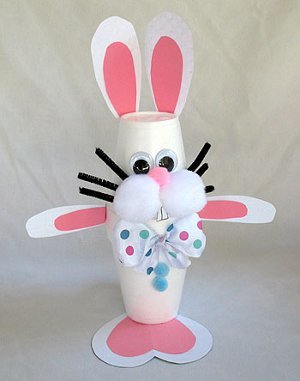
Use foam eggs and spring fabric to create Easter bunnies this season. These Easter bunnies are easy to make, inexpensive and just adorable when sitting on any table of your home. Project designed by Heidi Borchers.

Materials (for each):
- Serrated knife
- Styrofoam ™ egg- 6”
- Fabric- square of print 19”
- Pinking shears
- Aleene’s Tacky Glue
- Chenille Stems- 2
- Small Basket
- Easter Grass
- Small Easter eggs
- Embroidery Floss- black
- Pom-pom- ½” diameter
- Bead eyes- half round- ¼”diameter-2
- Small hat
- Cardboard squeegee
- Ribbons and trims to decorate hat
Instructions:
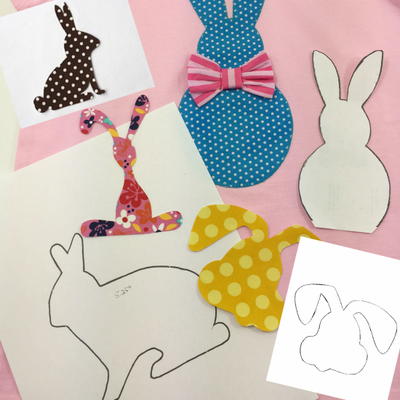
For each, using the serrated knife, slice small section off wide end of egg to flatten for bottom of bunny. Transfer patterns to fabric on bias and cut 3 body pieces, using pinking shears. Cut 3 more body pieces on bias using scissors. From remaining fabric, cut 1 (1-½” x 13”) strip of arms and 4 (2” x 4-¼”) pieces for ears, using scissors.
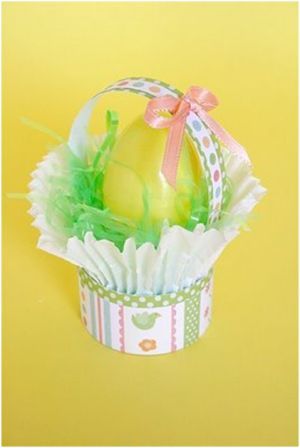
Starting at top edge and placing evenly around egg, glue the three body pieces with smooth edges and wrong sides to egg. Let dry. Glue the 3 body pieces with pinked edges to egg, covering uncovered areas. Let dry. Squeeze a thin line of glue on right side of 1-½” x 13” strip along 1 long edge. Fold over and overlap long edges of strip to form ½” wide tube and press into glue. Let dry. Insert 1 chenille stem into tube. Thread arm piece through handle of basket. Knot center of arm piece around basket handle. Glue ends of arms piece around basket handle. Glue ends of arms to egg near top. Glue Easter grass and eggs to inside of basket. Let dry.
For whiskers, cut 4 (3-½” long) strands of embroidery floss. Using photo as a guide for placement, glue floss whiskers, pom-pom nose and bead eyes to egg. Glue hat to top of egg. Let dry.
For each ear, cut 1 (2-¾” length from remaining chenille stem. Apply thin layer of glue to wrong side of 1 (2” x 4-¼”) piece of fabric, using squeegee. Center 2-¾” long chenille stem lengthwise on glued piece, with l end of stem ½” from 1 short end of fabric. With wrong sides facing and stem sandwiched between, place another 2” x 4-¼” piece on top and press into glue. Let dry. Transfer pattern for ear to glued piece with chenille aligned with placement line. Cut out.
Glue ears to hat at back, Glue ribbon and trims to hat as desired. Let dry. Shape ears as desired.
Find this project and more Easter crafts in the 30-page Easter Crafts: Blogger Edition 2010 eBook.
Read NextGarden Bunny Easter Box
Your Recently Viewed Projects

Thanks for your comment. Don't forget to share!
Weberme
Apr 04, 2017
Why not make a whole village of these eggtravagent little egg bunnies with their cute fabric attire. So cute and very different and so easy to make and you are using strofoam eggs so they will not break. I love the little baskets they are carring and their cute hats. This will sure be a head turner. A super tutorial and easy to make.
Report Inappropriate Comment
Are you sure you would like to report this comment? It will be flagged for our moderators to take action.
Thank you for taking the time to improve the content on our site.