Cute Styrofoam Cup Bunny
Try this cute, simple homemade craft for kids...an adorable bunny made out of a styrofoam cup from Amanda Formaro! Bring your bunny to life with creativity and flair. Get ready to hop into spring with this great craft idea.

Materials:
- 2 white styrofoam cups
- White and pink paper or construction paper
- 3 cotton balls or white pom poms
- 1 small pink or black pom pom
- 2 small light blue pom poms
- 2 large wiggle eyes
- 1 black chenille stick
- Scissors
- White craft glue or hot glue gun
Instructions:
- Note: Before starting, to add some weight to this craft, you can fill one of the styrofoam cups halfway with sand or add a handful of pennies. This step is not a necessary one, it is optional.
- Glue the tops of the 2 styrofoam cups together. You can use white craft glue for this step, but if you do you will need sufficient drying time. Otherwise, for quick assembly, use hot glue.
- From white paper, cut out a heart shape, about 4" x 4". From pink paper, cut out heart shape, a little smaller than the white, about 3.5" x 3.5". Glue the pink heart on top of the white heart, then glue to the bottom of one of the styrofoam cups, these are your feet.
- Cut out 2 tear drop shapes from white paper (approximately 4.5"), and two smaller tear drop shapes from pink paper (approximately 3.5"). Glue the pink tear drop shapes to the white tear drop shapes, these are your ears. Glue to the top of your styrofoam cups, just at the back.
- Make the arms by cutting out 2 round cornered rectangles from white paper, and a little smaller of the same shape from the pink paper. These should be approximately 3" and 2" respectively. Like with the feet and ears, glue the pink to the white. Bend the short ends of the arms about 1/2" in, glue the folded end to the side of the bunny, where the cups connect.
- Glue a white pom pom or cotton ball to the back for the tail.
- Glue 2 large wiggle eyes to the front of the cup in the head area. Glue 2 white pom poms or cotton balls (you can also use pink pom poms) on just below the eyes for the cheeks. Glue a small pink pom pom in between and above the cheeks for the nose (if using pink cheeks, use a black nose).
- Cut the black chenille stick in half. Cut both halves into three sections each, you should have six small pieces. Glue three on each side, behind the cheeks as whiskers.
- Optional Steps: Older kids may enjoy adding a few details as we have. To add a bowtie, tie a piece of colorful ribbon into a bow and glue just under cheeks. To add buck teeth, draw teeth onto a scrap of white paper, cut out and glue on. You can also add buttons by using small pom poms or real buttons.
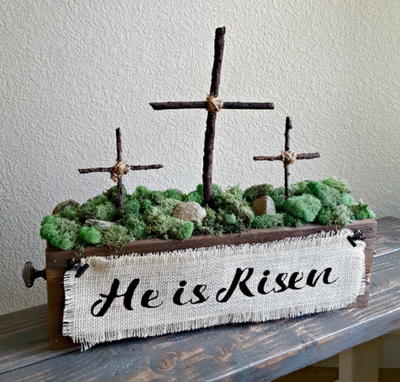
Read NextRustic Cross Centerpiece


Thanks for your comment. Don't forget to share!
lpalmer59 7490208
Mar 05, 2016
This is so cute, and would be such a great project for a teacher or a group leader to do with a group of children. I would have all the materials ready to be used, so there would be no scissors. And the children could just sit down and have fun.
Weberme
Feb 18, 2017
I so agree with you and was thinking the same thing about pre-K Kindergarten class or a mom play date to make these adorable Styrofoam cup bunnies. They are so easy to make. I would also cut the pieces out and maybe use felt for the feet and ears and whiskers and pipe cleaners for the arms. Maybe even do bowties on the boy bunnies and the ribbon on the girls. They can have a lot of fun making these. Did you make any?
dolling2001 766091 8
Mar 13, 2014
I made this bunny but changed it somewhat and it' just adorable. Going to senior citizens and have a class with the toile paper roll bunny and the styro cup bunny.
Report Inappropriate Comment
Are you sure you would like to report this comment? It will be flagged for our moderators to take action.
Thank you for taking the time to improve the content on our site.