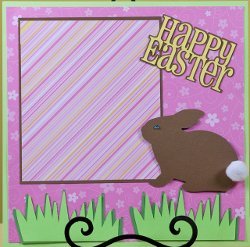
Easter Page Layout
Take many pictures with your family at Easter time. Then you can fill this page layout with them. Cardstock and fun accessories are used. Add this layout to your scrapbook.

Materials:
- Cricut Expression® Personal Electronic Cutter with Plantin SchoolBook and Accent Essentials® cartridges [290300]
- Cricut® Easter cartridge [2000100]
- Cardstock: green, medium green, yellow, brown, pink patterned, pink striped
- White pom-pom
- Blue rhinestone
- Paper trimmer
- Foam squares
- Adhesive
Steps:
- Use one 12" x 12" sheet of green cardstock as layout base. Cut one 11 ½" x 11 ½" block of pink patterned cardstock. Adhere to layout.
- Cut one 7" x 8" block of brown cardstock. Cut one 6 ¾" x 7 ¾" block of pink striped cardstock. Layer and adhere to layout as shown.
- Cut grass. Using Easter cartridge and green cardstock, cut two 3 ½" <Border2>. Using medium green cardstock, cut two 3 ¾" <Border2>. Layer and adhere to layout as shown.
- Cut bunny. Using brown cardstock, cut one 4" <Bunny4>. Adhere to layout using foam squares. Adhere pom-pom and rhinestone to bunny as shown.
- Cut Happy Easter. Using yellow cardstock, cut one 2 ½" <HpyEastr>. Using brown cardstock, cut one 2 ½" <EstrShw>. Layer and adhere to layout as shown.
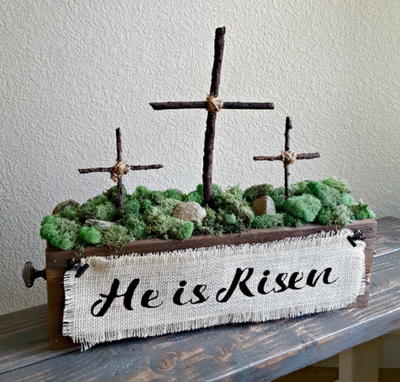
Read NextRustic Cross Centerpiece