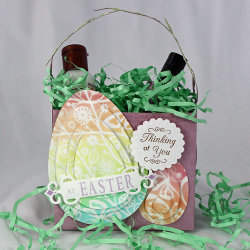
3D Easter Bag
Make a 3D Easter Bag this year! This fun spring craft is perfect for anyone that loves cool paper arts. Celebrate the season with this cool project.

Materials:
- Wizard Die Cut Machine
- 2-1002 Butterflies Impressabilities
- S4-264 Nested Eggs
- S7-004 Illumination Border Grand
- S4-235 Fancy Tags
- S4-124 Classic Scalloped Circles LG
- My Mind’s Eye Penny Lane Paper
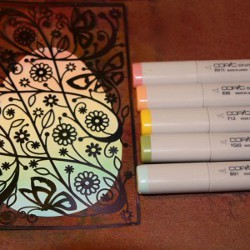
- Copic Sketch Markers
- B01, YG03, Y13, #95, RV11, R85
- JustRite Stampers
- Custom Design Card Making Kit stamp
- Times New Roman Font
- Horizontal Stamper
- Clearsnap ColorBox Chestnut Roan chalk ink
- White color copy paper
- Lavender dye ink
Instructions:
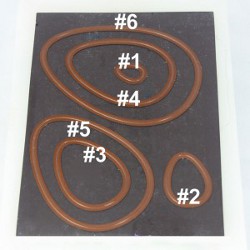
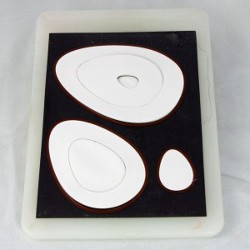
- I began by cutting one of our new die templates S4-264 Nested Eggs. Here is how I laid out the die templates on the Magnetic Spacer Plate, using all of them.
- Because I stacked the pieces, cutting them in the center was not a problem and it allowed me to just make one pass in the Wizard to cut them all. The thickness of paper will determine whether you can do this or not. You may need to take two passes. I used a sheet of color copy paper that works great with Copic markers. It was an 8 1/2 x 11″ regular sized sheet that I folded in half to cut both layers at the same time.
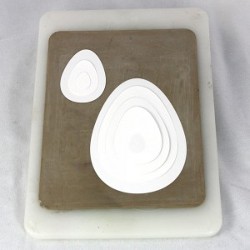
- I layered a large egg with four of the largest eggs and three small ones. Note that the #3 egg is used twice.
- I added the I2-1002 Butterflies Impressabilities™ template to the top along with the second White Master Mat and embossed in the Wizard.
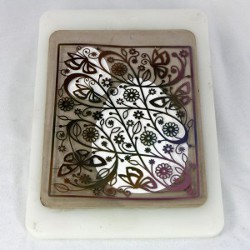
- Next came my airbrush board (12×12″ lightweight chipboard that I use for airbrushing). I placed the I2-1002 Butterflies Impressabilities™ on top of the layered eggs and placed my Magnetic Spacer Plate underneath to help hold the template in place while airbrushing. I airbrushed small strips of color onto the two eggs.
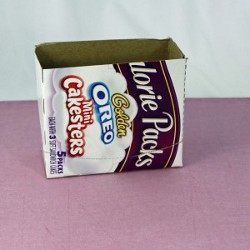
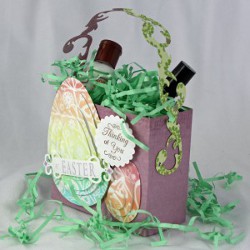
- I layered the eggs using dimensional adhesive. I wanted to add the eggs to a basket but I couldn’t find what I wanted in my house so I cut down a snack box, covered it with coordinating paper and cut S7-004 Illumination Border Grand to use as a handle.
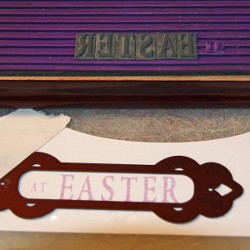
- For the final step, I used JustRite Stampers for the stamped sentiments. The round sentiment was cut/embossed with S4-124 Classic Scalloped Circles LG (#1, the center). The “at EASTER” was cut/embossed with S4-235 Fancy Tags.
- I put it all together with my favorite adhesive, added some paper “grass”, a small lotion and nail polish. It’s ready for grandma, my daughter’s teacher or her Sunday School Director. I guess I’ll have to make two more.
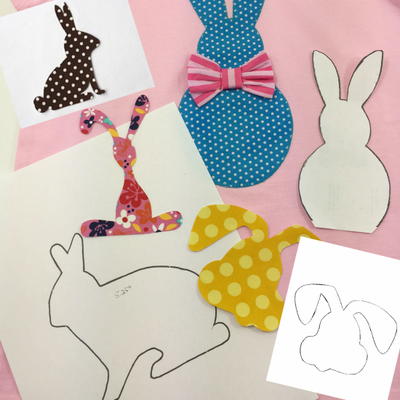
Read NextBunny Printable Appliques