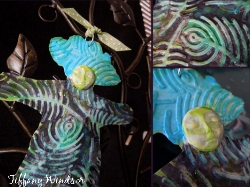
Cool2Cast Art Doll
When you think of dolls, you probably think of crafts for kids. This project certainly breaks that mold! Create a Cool2Cast Art Doll from Tiffany Windsor and use it to decorate your space. This art doll tutorial is actually very simple and so much fun.

Materials:
- Cool2Cast – available at shopcool2crft.com
- Zip bag, measuring cup and water
- Texture plate
- Face mold
- Fine sandpaper
- Large jumprings
- Drill and small drill bit
- Alcohol inks
- Alcohol ink extender or blending solution
Instructions:
- Place texture plate on smooth level surface. Mix Cool2Cast with water in a plastic zip bag according to package directions. For the technique of free pouring Cool2Cast on a texture plate, you need to wait until the Cool2Cast starts to thicken before pouring. After mixing, this can take anywhere from 5 – 15 minutes for the Cool2Cast to thicken to a thick paste. (Don’t wait too long or it will start to solidify.)
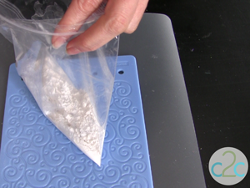
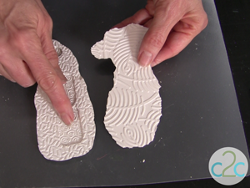
- Cut corner from zip bag and begin to squeeze Cool2Cast into head and body pattern.
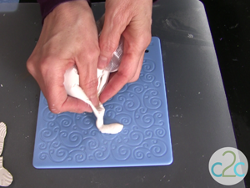
- Make your head and body pattern smaller than your desired finished doll because in the next step, you will be tapping the plate.
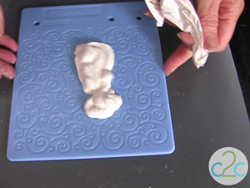
- Repeat process to create two legs. Next, gently tap the sides of the texture plate so that the Cool2Cast begins to settle. This is where it will also spread out. Leave plate undisturbed for at least one hour for Cool2Cast to harden.For face, pour Cool2Cast into face mold and let set for one hour to harden. Then release from mold.

- Gently turn plate over to release Cool2Cast designs.
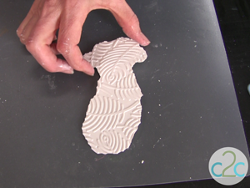
- At this point, the design will have rough edges. To smooth the edges of the body, lightly sand.
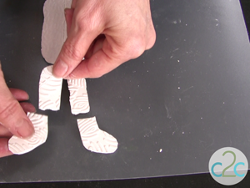
- I wanted to show you this example because I accidentally broke one of the legs when I released it from the texture plate (in a rush and didn’t leave it to set until hardened.) So, I took advantage of the design opportunity and I purposely broke the other leg in the same place. Now I can join these two pieces together with jumprings. Let all Cool2Cast pieces dry overnight.
- Apply ink directly from bottles or dilute with Extender and brush onto Cool2Cast shapes.Drill holes in top of head, body and legs and attach with large jumprings.
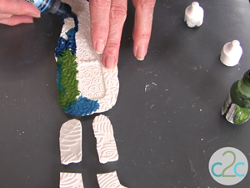
- Glue face in place.

For a comprehensive video tutorial of this project, check out How to Make a Cool2Cast Textured Art Doll.
Read NextPenguin