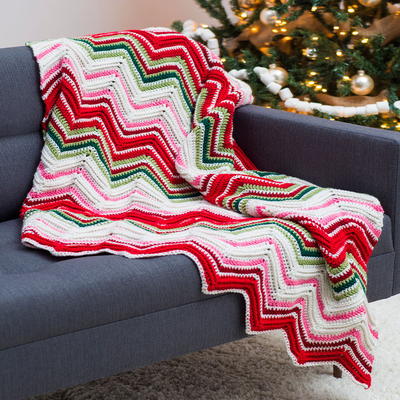
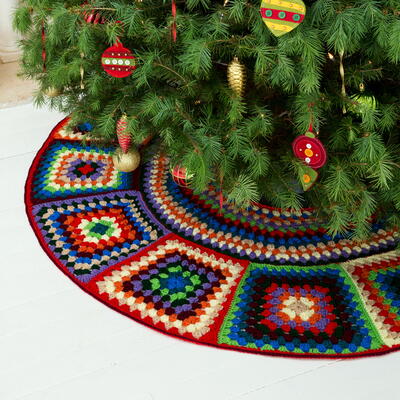
Lily Sugar'n Cream Crochet Stocking
Everyone needs stockings for Christmas, so why not make your own? They will be even more special if they're handmade. The Crochet Stocking from Lily Sugar n' Cream is a festive crochet project you're sure to love. Add a personal touch by embroidering someone's name on the stocking, or fill it with baked goods and hand them out as gifts to friends and loved ones. This stocking works up quickly...so you'll have plenty of time to make one for everyone on your list.

Materials:
- 1 ball Lily® Sugar’n Cream Yarn (2.5 oz) in Red (MC)
- 1 ball Lily® Sugar’n Cream Yarn (2.5 oz) in Hot Pink (A)
- 1 ball Lily® Sugar’n Cream Yarn (2.5 oz) in Sage Green (B)
- 1 ball Lily® Sugar’n Cream Yarn (2.5 oz) in Hot Green (C)
- 1 ball Lily® Sugar’n Cream Yarn (2.5 oz) in White (D)
- Size 5 mm (U.S. H or 8) crochet hook or size needed to obtain gauge
- 20.5 cm of satin ribbon 5⁄8 inch [.5 cm] wide for loop
Gauge: 13 sc and 14 rows = 4 ins [10 cm].
Instructions:
Measurements: Approx 15 ins [38 cm] long from cuff to heel.
Stripe Pattern
- With A, work 2 rnds.
- With D, work 1 rnd.
- With B, work 1 rnd.
- With C, work 2 rnds.
- With D, work 1 rnd.
- With MC, work 1 rnd.
- These 8 rnds form Stripe Pat.
Cuff
- With MC, ch 11.
- 1st row: (RS). 1 sc in 2nd ch from hook. 1 sc in each ch to end of ch. Turn. 10 sc.
- 2nd row: Ch 1. Working in back loops only, 1 sc in each sc across. Turn.
- Rep last row until work, when slightly stretched measures 14 ins [35.5 cm], ending on a WS row. Fasten off. Sew foundation edge and top edge tog.
Leg
- Join A with sl st to side edge of Cuff.
- Ch 1. Work 46 sc evenly around side edge of Cuff. Join with sl st to first sc.
- Next rnd: Ch 1. 1 sc in each sc around. Join D with sl st to first sc. First 2 rnds of Stripe Pat are complete.
- Cont in Stripe Pat, rep last rnd until work from bottom of Cuff measures approx 9 ins [23 cm], ending with 1 rnd of MC.
Shape Heel
- 1st row: (RS). With MC, ch 1. 1 sc in each of next 23 sc. Turn.
- Leave rem 23 sc unworked for instep.
- 2nd to 5th rows: Ch 1. 1 sc in each sc to end of row. Turn.
- 6th row: Ch 1. 1 sc in first sc. Draw up a loop in each of next 2 sc. Yoh and draw through all loops on hook – sc2tog made. 1 sc in each of next 6 dc. Draw up a loop in each of next 5 sc. Yoh and draw through all loops on hook – sc5tog made. 1 sc in each of next 6 sc. Sc2tog. 1 sc in last sc. Turn. 17 sts.
- 7th row: Ch 1. Sc2tog. 1 sc in each of next 5 sts. Draw up a loop in each of next 3 sts. Yoh and draw through all loops on hook - sc3tog made. 1 sc in each of next 4 sts. Sc2tog. 1 sc in last st. Turn. 13 sts.
- 8th row: Ch 1. 1 sc in first st. Sc2tog. 1 sc in each of next 2 sc. Sc3tog. 1 sc in each of next 2 sc. Sc2tog. 1 sc in last st. Turn. 9 sts.
- 9th row: Ch 1. 1 sc in first sc. Sc2tog. Sc3tog. Sc2tog. 1 sc in last sc. Turn. 5 sts.
- 10th row: Ch 1. Sc5tog. Fasten off.
Edging
- With RS facing, join A with sl st at side of heel at same sp as first sc of heel.
- Work 37 sc evenly along side edge of heel.
- Join with sl st in same sp as last sc of heel.
- Fasten off.
- Beg working Stripe Pat and proceed as follows.
Shape Instep
- 1st rnd: (RS). Join D with sl st in next unworked sc from instep. Ch 1. 1 sc in each of next 23 sc of instep. 1 sc in each of next 37 sc along heel edge. Join B with sl st to top of first sc. 60 sc.
- 2nd rnd: With B, ch 1. 1 sc in each of next 23 sc. Sc3tog. 1 sc in each of next 31 sc. Sc3tog. Join C with sl st to first sc. 56 sts.
- 3rd rnd: With C, ch 1. 1 sc in each of next 23 sts. Sc3tog. 1 sc in each of next 27 sc. Sc3tog. Join with sl st to first sc. 52 sts.
- 4th rnd: Ch 1. 1 sc in each of next 23 sts. Sc3tog. 1 sc in each of next 23 sc. Sc3tog. Join D with sl st to first sc. 48 sts.
- 5th rnd: With D, ch 1. 1 sc in each of next 23 sc. Sc3tog. 1 sc in each of next 19 sc. Sc3tog. Join MC with sl st to first sc. 44 sts.
- 6th rnd: With MC, ch 1. 1 sc in each st around. Join A with sl st to first sc.
- Keeping cont of Stripe Pat, rep last rnd until work from Heel measures 6 ins [15 cm].
Shape Toe
- 1st rnd: Keeping cont of Stripe Pat, ch 1. 1 sc in next sc. (Sc2tog. 1 sc in each of next 3 sc) 8 times. Sc2tog. 1 sc in last sc. Join with sl st to first sc. 35 sts."
- 2nd rnd: Ch 1. 1 sc in each st around. Join with sl st to first sc.
- 3rd rnd: Ch 1. 1 sc in first sc. (Sc2tog. 1 sc in each of next 2 sc) 7 times. (Sc2tog. 1 sc in next sc) twice. Join with sl st to first sc. 26 sts.
- 4th rnd: As 2nd rnd.
- 5th rnd: Ch 1. 1 sc in first sc. (Sc2tog. 1 sc in next sc) 7 times. (Sc2tog) twice. Join with sl st to first sc. 17 sts.
- 6th rnd: As 2nd rnd.
- 7th rnd: Ch 1. 1 sc in first sc. (Sc2tog) 8 times. Join with sl st to first sc. 9 sts. Fasten off leaving a long end. Weave end tightly through rem sts and fasten securely for toe end.
Loop
- Fold Satin ribbon in half and sew to top edge of Stocking.
Up Next:
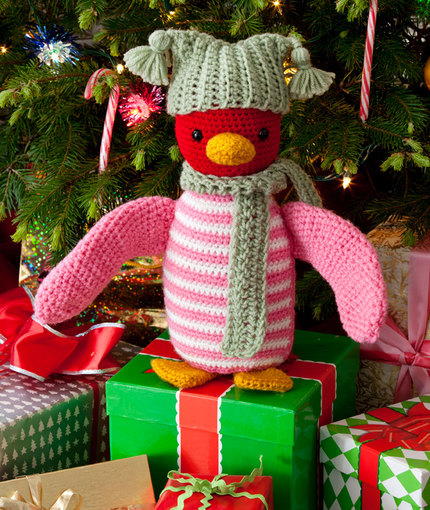
Read NextHuggable Happy Colors Penguin
Your Recently Viewed Projects

Thanks for your comment. Don't forget to share!
lovelove
Mar 09, 2014
Start working part time. I kept hearing other people tell me how much money they can make online so I decided to look into it. Well, it was all true and has totally changed my life. This is what I do. JOBS39
Melissa Ryan
Nov 16, 2012
I can't wait to crochet this stocking for my family this Christmas! I also love the bright yarn colors!
Report Inappropriate Comment
Are you sure you would like to report this comment? It will be flagged for our moderators to take action.
Thank you for taking the time to improve the content on our site.