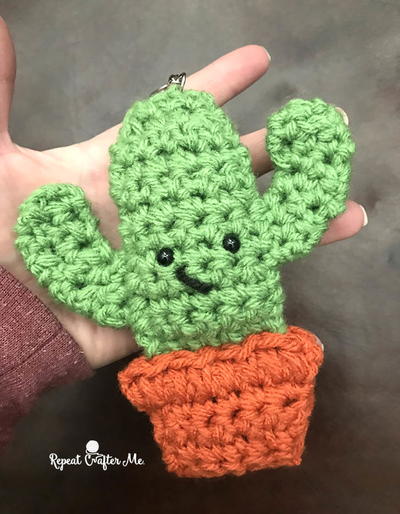
Crochet Cactus Amigurumi

Crochet cacti and succulents are the latest trend. After all, who wouldn't want to have their own cuddly cactus that you absolutely never have to water?
This easy crochet cactus can be yours in a hurry! The cactus pattern is worked flat in rows. Once you make two of them, you just sew them together with a little bit of polyfil and you're good to go! The terracotta pot is made the same way, so once you've gotten the hang of it, you'll be zooming through the pattern. Don't forget to add a keyring to the top of your pattern so you can attach it to your bag or keys and carry it anywhere.

Crochet HookH/8 or 5 mm hook
Yarn Weight(4) Medium Weight/Worsted Weight and Aran (16-20 stitches to 4 inches)
Materials List
- Bernat Super Value Yarn in Lush Green and Pumpkin Orange and small strand of Black.
- Size H Crochet Hook
- Poly-fil Fiber Stuffing
- Tapestry Needle
- 6mm Safety Eyes
Watch the Crochet Cactus Keychain Video Tutorial!
Crochet Plant Pattern (make 2)
-
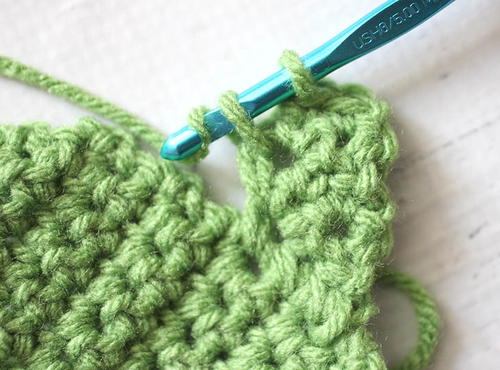
With green yarn, Chain 7, SC in 2nd chain from hook and the rest of the way down chain 1, turn
-
Row 2-10: SC in each stitch across, chain 1, turn (6 SC)
-
Row 11: SC Decrease, SC in next 2 stitches, SC Decrease, chain 1, turn
-
Row 12: SC in each stitch across (4 SC), fasten off and weave in ends.
-
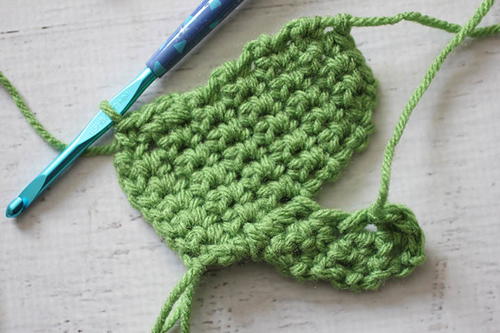
Join yarn along right edge of piece 4 rows up from bottom.
-
Chain 1 and make 3 SC along edge, chain 1, turn
-
Row 2: SC in first stitch, SC Decrease in last two, chain 1, turn
-
Row 3: SC in both stitches, make a 3rd SC stitch in edge of cactus arm, chain 1, turn
-
Row 4: SC in first, SC decrease over last two, chain 1, turn
-
Row 5: SC in both stitches, make a 3rd SC stitch in edge of cactus arm, chain 1, turn
-
Row 6: SC in first, SC decrease over last two, chain 1, turn
-
Row 7: SC in both stitches, make a 3rd SC stitch in edge of cactus arm, fasten off, weave in ends.
-
Now working on other edge (left edge of main cactus), Join yarn 4 rows up from bottom
-
Chain 1 and make 3 SC along edge, chain 1, turn
-
Row 2: SC in each stitch across (3 SC)
-
Row 3: SC in first stitch, SC Decrease in last two, chain 1, turn
-
Row 4: SC in both stitches, make a 3rd SC stitch in edge of cactus arm, chain 1, turn
-
Row 5: SC in first, SC decrease over last two, chain 1, turn
-
Row 6: SC in both stitches, make a 3rd SC stitch in edge of cactus arm, chain 1, turn
-
Row 7: SC in first, SC decrease over last two, chain 1, turn
-
Row 8: SC in both stitches, make a 3rd SC stitch in edge of cactus arm, Fasten off, weave in ends.
-
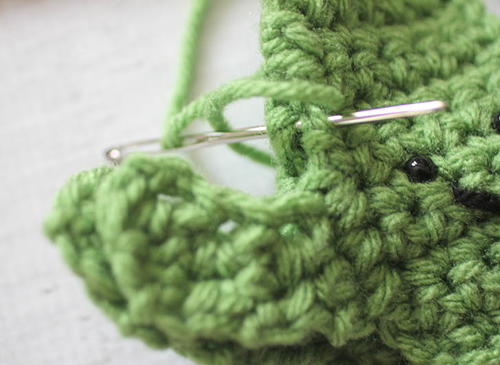
Add 6mm safety eyes and tiny black strand for mouth on one cactus piece.
-
With long strand of green yarn and tapestry needle, place the two cactus pieces together and stitch edges together using the whip stitch. Stuff lightly with poly-fil fiber stuffing before completely closing.
Terracotta Pot Pattern (make 2)
-
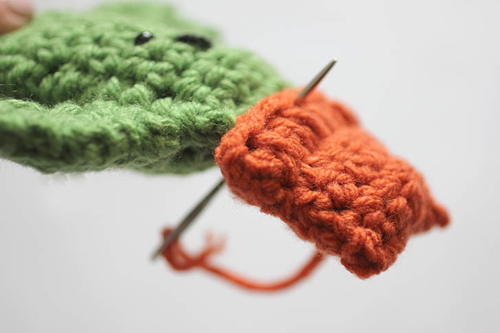
With orange yarn, Chain 7, SC in second chain from hook and rest of way down chain, chain 1, turn
-
Row 2-4 SC in each stitch across chain 1, turn (6 SC)
-
Row 5: 2 SC in first, SC in next 4, 2 SC in last, chain 1, turn (8 SC)
-
Row 6: Long SC in each stitch across (8 SC)
-
Fasten off, weave in ends.
-
With long strand of orange yarn and tapestry needle, place the two terracotta pot pieces together and stitch edges together using the whip stitch but leave the top open. Insert bottom edge of cactus and stitch top of terracotta pot closed with cactus inside.
Add key ring to top of cactus!


Find more of Sarah's patterns at repeatcrafterme.com.
How have you crafted with cacti or succulents lately? Let us know in the comments!
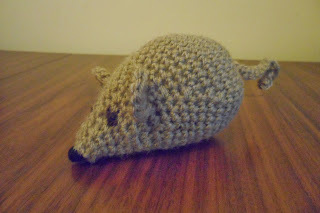
Read NextNot So Creepy Crochet Mouse
Your Recently Viewed Projects
Thanks for your comment. Don't forget to share!
flowergirl
May 29, 2018
How cute is this cactus keyring. It's super easy to follow this pattern and I love the additional video incase you haven't mastered reading patterns yet. It makes the cutest gift item to make last minute because it uses very little yarn, it won't cost you alot incase you already have this yarn.
Report Inappropriate Comment
Are you sure you would like to report this comment? It will be flagged for our moderators to take action.
Thank you for taking the time to improve the content on our site.