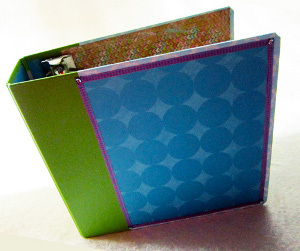
Collage Corkboard
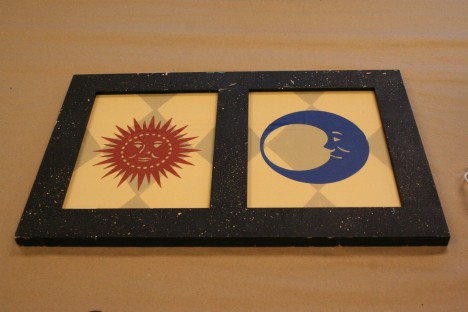
Turn a double frame into a collage and corkboard combination with this project from Amy Anderson. Amy uses a mixed media kit from Gauche Alchemy for this creative craft project. You can easily purchase a sheet of cork from the craft store to fit inside a picture frame.

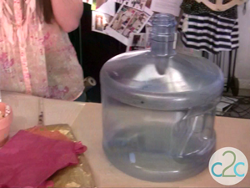
Before
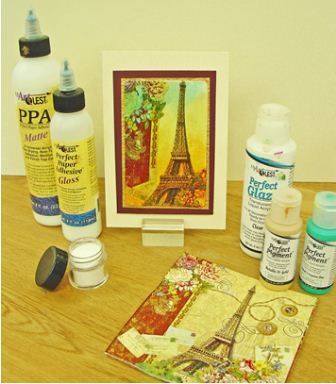
Materials:
- Old Frame with two picture windows, any size
- Cork to fit one of the open slots (you can purchase from a craft store)
- Mod Podge, 8 oz.
- Acrylic Paint in a coordinating color, I used FolkArt Calypso Sky
- Gauche Alchemy mixed media kit, I used Happy Housewives
- Craft Glue
- Scissors
- Flat Paint Brush
- Additional Embellishments or Tools, I used a floral craft punch and some extra buttons
- Sandpaper, Medium Grit
Instructions:
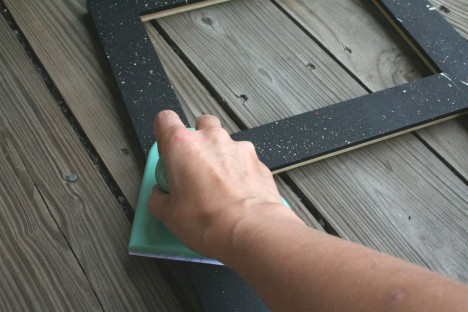
Start by removing the backs from your frame and setting aside. Sand the frame with medium grit paper – you just need to rough up the surface so that the paint will adhere. Wipe the frame clean when you are done with a dam paper towel.
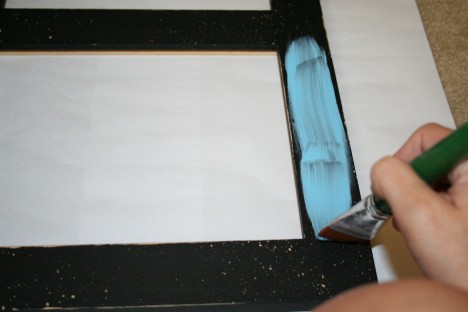
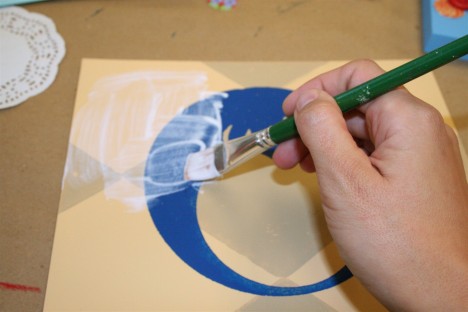
I set the frame down on some extra paper I had and began painting. Start with the front – coat thoroughly. Allow to dry for about 15 – 20 minutes and turn over. Keep doing this until the frame is covered completely. How many coats you will need depends on the color of your frame before it’s painted and the color you are using to paint. Note that you will more than likely need at least three coats. Set the frame aside to dry when you are done painting.
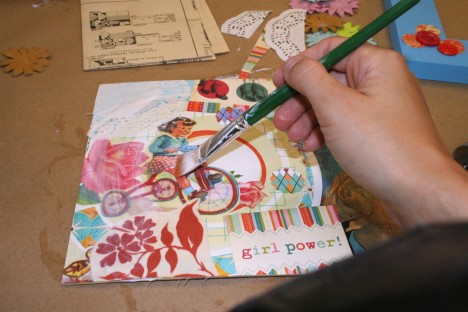
We are already to the most fun part! We are going to start collaging. What I did is use the insert as my background to layer the paper and goodies. I started by covering the background with one sheet of paper as my “base layer.” Grab your paint brush and your Mod Podge and starting “Podging.” Paint a medium layer of Mod Podge down on the surface of your insert. Paint the entire insert and make sure to get the corners well.
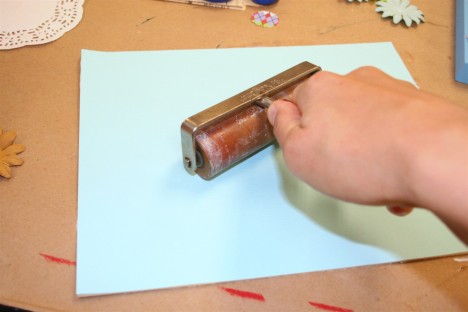
Smooth the paper down. I have a brayer – you can also do it with your fingers. Smooth, smooth, smooth! Keep going, pressing all over for a few minutes. Get the sides well. If Mod Podge comes out the side, that is fine – wipe it away with your brush or a paper towel. Let the paper dry for 15 – 20 minutes.
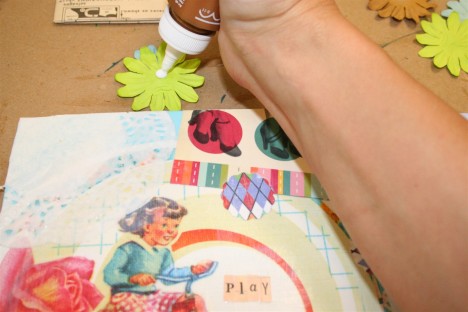
I grabbed my kit and dove in! I spread the goodies out on a tabletop and started putting them together. Lay a medium layer of Mod Podge down, press papers down and smooth.
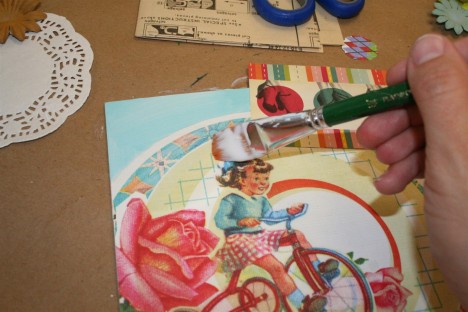
Continue layering. Note that I let some of the papers go off the edge. That is okay. It gives you the fun collage look! I also grabbed a flower punch I had and started punching out some paper shapes to layer onto my collage. Keep going until you are satisfied.
Tip: If you aren’t as gung-ho as I am, cut everything out FIRST before Mod Podging and lay out a “practice round.”
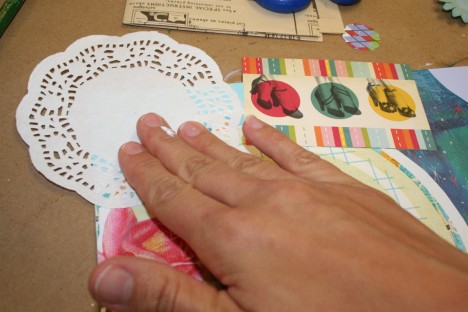
Don’t be afraid to get sticky! I have some Mod Podge on my fingers in this one. I kept applying Mod Podge and layering. When I was done with the layering, I left my insert to dry for 15 – 20 minutes. Then I cut the extra off around the side.
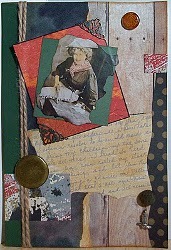
You see that my collage is coming together! Notice that I even used some fabric. After everything had dried for 15 – 20 minutes from the last step, I coated the entire top with Mod Podge. I waited 15 – 20 minutes and then put a second layer of Mod Podge over everything.
This is where the 3-D embellishments come in! I used my craft glue to attach flowers, brads, buttons and stickers from the kit to the front of my collage. Fill empty areas with fun stuff, and even check your own stash! I used some of my own buttons to complete my collage.
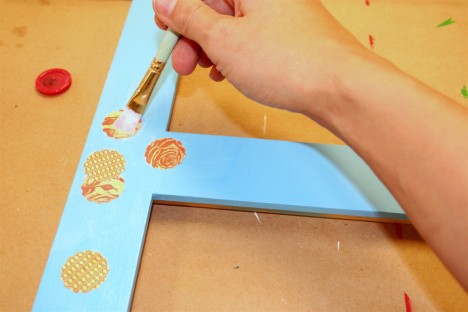
I realized after I completed the collage insert that I needed to go back to the frame and finish it. If you want to, you can leave the frame plain painted and just coat it with Mod Podge to seal (don’t forget the back). You can also do what I did – cut or punch some additional shapes to add flair to the frame itself. Notice that I added some flower cutouts, which I layered and then let dry. After the first layer of Mod Podge is dry, go ahead and coat one more time for good measure. When the frame was completely dry, I went back and added buttons for good measure.
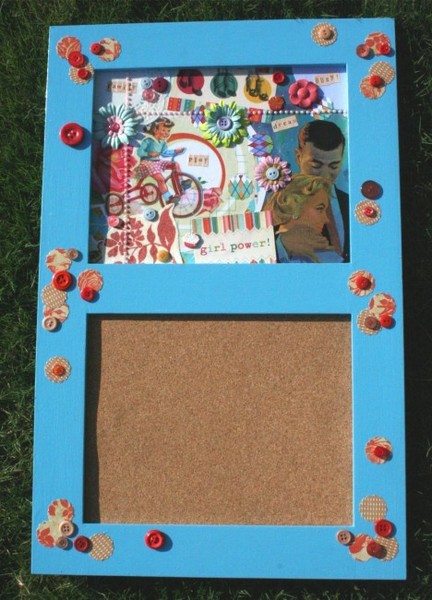
The last step of the process was the cork, which was very easy. I had the second insert pulled out that I didn’t collage on – I simply took the piece of cork and used scissors to cut it to fit the insert. I glued the cork to the insert and allowed to dry. Put both inserts back into the frame and voila, your frame is complete!
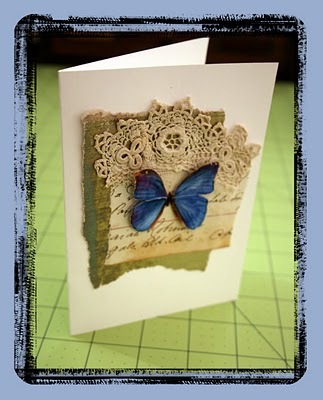
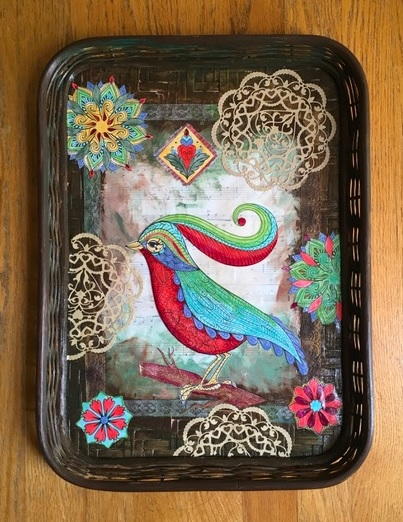
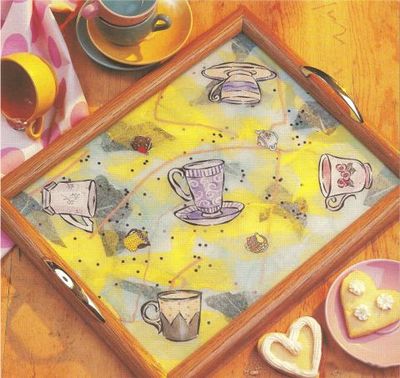
Read NextReverse Collage Tea Tray
Your Recently Viewed Projects
Thanks for your comment. Don't forget to share!
Weberme
Aug 10, 2016
This will make a great project for anyone to do and you can use these cork board in any room in the house. I see scrapbook paper that I love and always think what can I do with this and buy it and put in my stash pile. Now I will use my stash to make some of these cute cork boards for family and myself and I will keep some for last minute gifts. I am going to keep an eye out at thrift stores,dollar stores and yard sales to make these to keep cost down. Have cool would this look in a classroom Teachers?
Report Inappropriate Comment
Are you sure you would like to report this comment? It will be flagged for our moderators to take action.
Thank you for taking the time to improve the content on our site.