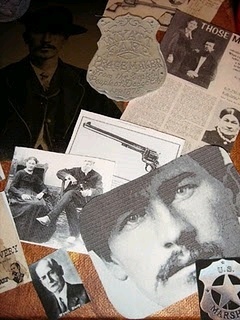
Vintage Collage
Use these collage ideas from Marie Segal to make your own vintage collage. She'll show you her acrylic paint background technique.

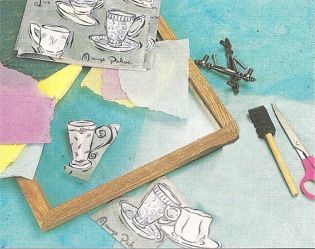
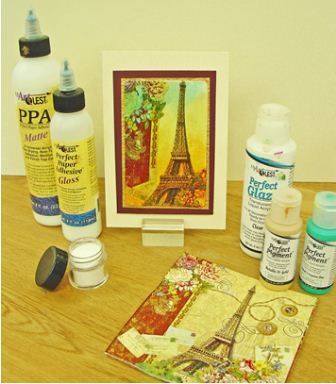
Materials:
- Clean canvas- I used a stretch canvas
- Lumiere gold-true gold #550
- Ne-Opaque Brown-#592
- Flat soft 1/2" brush
- Cotton printable paper
- Silk printable paper
- Flowable extender
Instructions:
- I printed the pictures I was going to use on the cotton paper. It is sheet of paper with fabric attached to it so you can run it through your Ink Jet Printer. I printed the dates and words on a sheet of the silk paper. I used the silk for this because when I used the flowable extender the silk tends to fade away and the words are just left. This works with encaustic collage too! I do these first to give the ink a chance to dry before I use it. Otherwise it gets on my hands and comes off in my brush too!
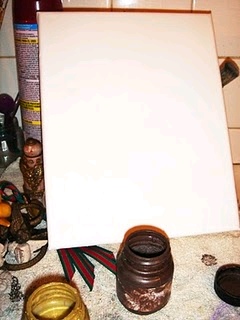
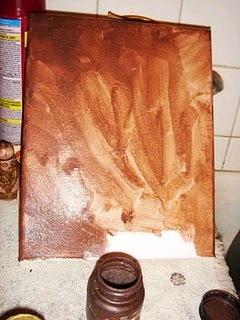
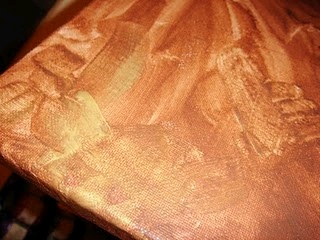
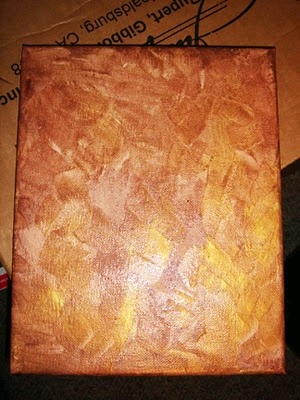
- Flowable extender is a gel medium and if you want a thicker one you can use the Jacquard Silk screen flowable extender. The one for the Lumiere and the Ne-opaque is thinner and is nice for thinning the Ne-opaque and Lumiere and for using as a stand alone product too. I like this as a thinner more than water, even though water does work also. I took the canvas and thinned the Brown Ne-opaque with the flowable extender and slapped it haphazardly on to the canvas. That means quickly and with no deliberation, Just do it. Roughly looks best and you can scrub it on in places and add it on like painting a coat of paint too.
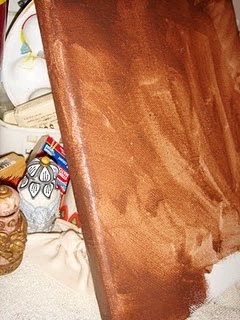
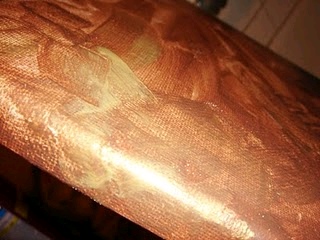
- I even painted the sides of the canvas too! That way they can be hung right away while looking for the perfect frames.
- While the brown was still wet and workable and added the Gold Lumiere. In patches according to taste. I did not want the whole thing goldy, but for it to have highlights of gold in different light.
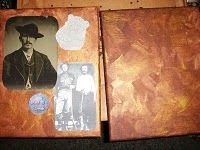
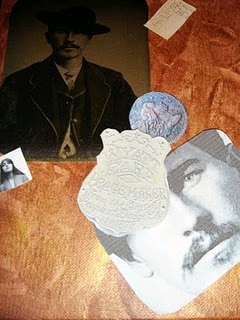
- I messed around with the placement of the pictures before I started "gluing" them on with the flowable extender.
- I had some scraps of the fabric paper left over so I thought I would use a fine point Tee-juice pen and see if I could draw on the paper fairly well and you can and I am probably going to pursue this one later on. Just think Zentangle quilts, wall hangings, or fabric collage!!! I am thinking too I could draw my own stuff heat set it and then use it in the encaustic.
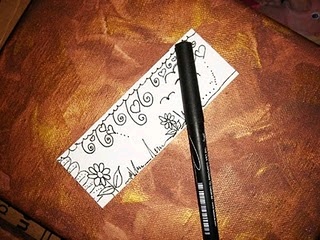
- First thing you want to do when starting to use the paper is get the backing off of the fabric. I use my scissors for this and stick the end under the fabric and pull it back from the paper. I lift it up around it and then get a big piece of it and pull away! If your scissors are really sharp be careful of cutting yourself and the fabric.
- I paint the back and the front of the fabric with flowable extender and then paint the canvas where I want my fabric to go. I then lay the fabric picture on the canvas. I then brush more extender on and brush out any air bubbles underneath the fabric picture.
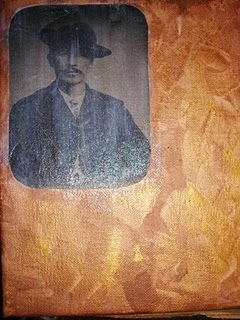
- Add more pictures overlapping them, this same way.
Read NextHow to Reverse Collage