Silk Kimono Robe
This beautiful Silk Kimono Robe is perfect for lounging around the house on a weekend afternoon. You can make this handmade kimono with ease by following these instructions from Catherine Haley. You could even make a kimono for your mom and sister, too. They make great gifts when paired with soft scented bath soaps or fuzzy slippers.

Materials:
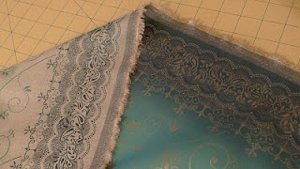
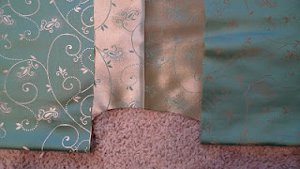
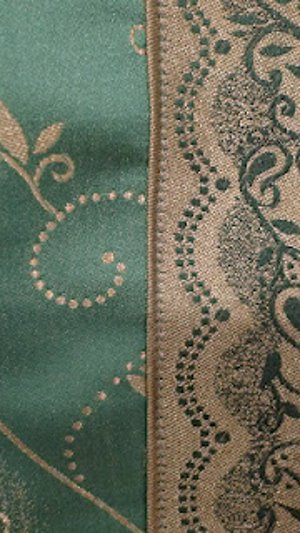
- 2 1/2 yards silky brocade fabric (44" wide) (If you want a contrasting trim like mine, choose a fabric that has a pattern on the edges and is completely reversible. Most brocades are.)
- Matching thread
- Sewing machine, scissors, quilting ruler, and other sewing tools as needed
Instructions:
- Cut a length of fabric that is 74".
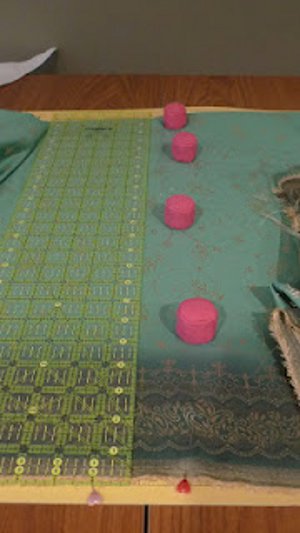
- With slippery fabric like this, pin pin pin! I also used fabric weights to hold it in place while cutting. Rotary cutters work best for this type of long cut.
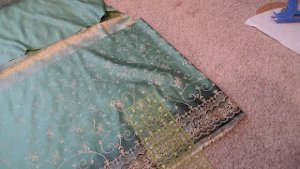
- Fold the fabric in half along the widest side and pin the edges together to prevent slipping. I did this on the (thread/scrap covered) floor to give myself lots of room! Hopefully yours has this handy crease down the middle from being on the bolt. If not, you may want to iron one in to help with the next few steps!
- Cut the center and neck out. Measure out 3" from either side of the crease and mark all the way to the bottom hem. (In other words, 6" out of the center.) Then cut- this is for the TOP LAYER ONLY! I used my hand-held Gingher shears for this since I needed to cut the top layer only.

- Cut out the neck. Mark a very slight half-moon shape for the neck and cut.
- Don't stress if it isn't perfect- you will be covering this with a very wide binding. (Can you see how wonky mine is, haha!)
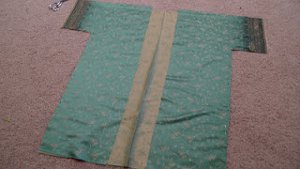
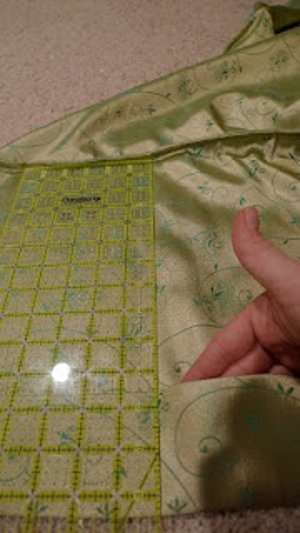
- Mark sleeves and body. I used a large quilting ruler for this- once again that fold going down the center will come in handy! For the sleeve shape, measure 10" down from top fold (the shoulder/arm) and 15" out from the center crease. Mark. Then continue marking the 15" mark to the bottom hem.
- If you want an even wider sleeve, feel free to go 11" or 12" down. I found that 10" was just right for me though.
- Carefully cut out the L-shaped marking. It is looking like a Kimono already!!! (SAVE YOUR SCRAPS- we will be using them!)
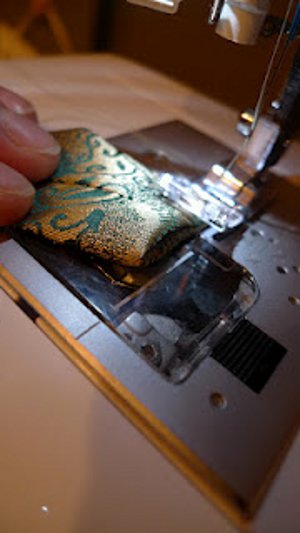
- Pin the bottom side of the sleeve and down the sides. Yes, we are pinning on the RIGHT side of the fabric- because a French Seam is a MUST with this kind of silky, stringy fabric. (You certainly could use a serger, but it would be a little scratchy and you still could get a few loose strands. Therefore, my seam allowances are for French seams). Usa a lot of pins because this is slippery fabric! Normally I like to pin horizontal to the seam, but to prevent slippage I find that vertical is better with this type of fabric.
- Sew a very scant 1/4" seam. Curve carefully at the armpit.
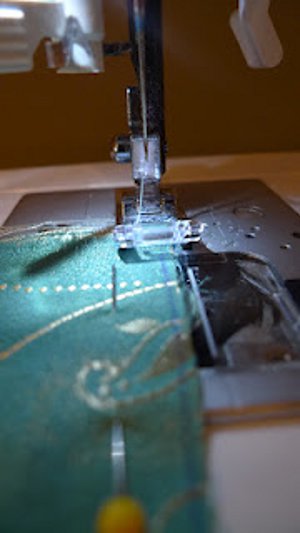
- Note how the fabric is inside the edge of the presser foot.
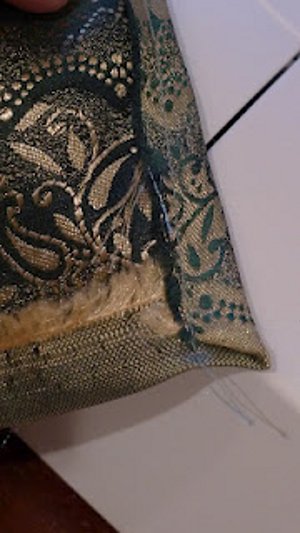
- Trim any stringy things hanging off and press the seam. Then turn the robe inside out.
- Sew a generous 1/4" seam to be sure you have encased the raw edges.
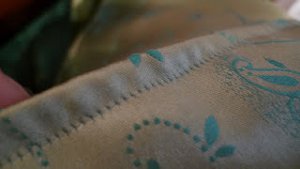
- Hem the arm holes and bottom. Simply fold over 1/4" and press, then another 1/4" and tack down.
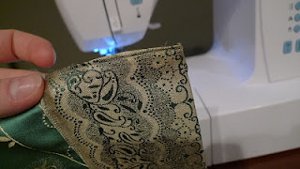
- Make the trim. This part is cool, because you simply use the parts you cut out to make the arms and body. You should have 4 identical pieces sitting there. Simply sew them end to end! I used the gold side of my fabric as the "right" side for the trim so it would have a pretty contrast to the robe. It also utilizes that pretty pattern on the edges of the fabric! You will need to iron it like bias tape- in half, then fold in each side about 3/4" (NOT all the way to the center crease as you would bias tape- we want to see that pretty pattern!) This will be a little bit longer than what you need, but we will cut off the extra at the end. For now, mitre in the corners and fold over one end. Baste in place.
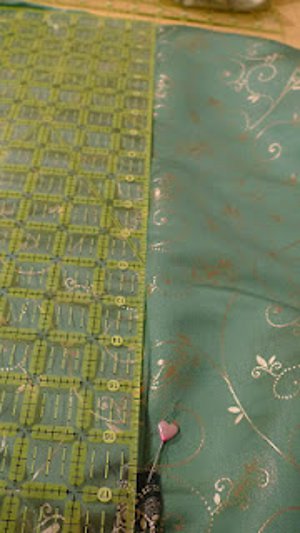
- Pin on trim. Pin very carefully! I placed it so the raw edge of the robe was about 3/4" inside. This makes it nice and stable when you attach it. When pinning around the neck it will be a challenge to get it to lay flat, but do your best.
- I used my quilting ruler again to be sure the trim was going on evenly as I pinned.
- Sew the trim on carefully. I went nice and slow to be sure it was going on smoothly- especially around the neck! You may find that the trim stretches a bit as you go around and you need to adjust your pinning for the second side. This is fine, and that is why we didn't cut the excess off yet! Stop with about 3" to go on the bottom of the second side.
- Stick as close to the edge as possible! You can always go back on the "wrong" side and be sure you caught the edges there too.
- Finish off the bottom edges of the trim. When you get to the bottom of the second side, you will have excess fabric. Cut it off leaving about a 1" overhang. Mitre the corners as before and fold under, then baste down. You can then finish that last 3" that you left unsewn. Sew along the very bottom edge of the trim, being sure both sides are lined up perfectly. Do this for both sides.
- Make the belt. Cut two 3" wide strips running the entire width of the fabric (44"). Sew them end-to-end, making the color you want as the right side (I again used the gold for contrast). Then sew a 1/4" seam down the length, reinforcing with a zig-zag stitch or serger. Turn this tube inside out, press, then turn ends to the inside at a slight angle and press then stitch down.
- The ends of the belt will be turned to the inside and sewn down.
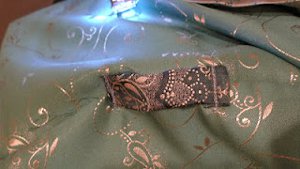
- Make and attach the belt loops. Cut a 2"x10" piece. Turn it inside out and sew a 1/4" seam. (Make whatever side you want the right side- I wanted the green to blend the belt loops in). Turn the tube inside out and press, then cut in half so you have two 5" pieces. Turn the ends to the inside like you did with the belt ends- be sure both belt loops end up the same length after doing this! Then put your robe on so you can figure out where you want your loops to be. Pin in place at the center of the loop. Measure to check that they are even. Then fold under the edges about 1/4" and sew in place. I went over it a couple times to be sure it was tacked down securely.
- Be sure to measure and adjust as needed so your loops are even on both sides!
- You may want to iron out that crease down the back, but it will eventually go away. Enjoy your comfy, silky, Kimono Robe!
Read NextEasy Breezy Skirt