Reversible Scrap Fabric Apron

If you like this project, then you'll love the free sewing patterns featured in the eBook, 21 Easy Sewing Projects: DIY Designs and Sewing Craft Ideas. Download a copy today - it's free!
Create an adorable half-apron with scraps of fabric from around the house. Reverse the apron when you are bored of the design or find yourself with a stain. This Reversible Scrap Fabric Apron is a great gift for an aspiring chef - give one for a birthday or during the holiday season. The stylish, old-school look makes this design a true original.

Materials:
- Fabric Scraps
- Various Trims
- Sewing machine
- Iron
- Needle and Thread
- Scissors
Instructions:
-
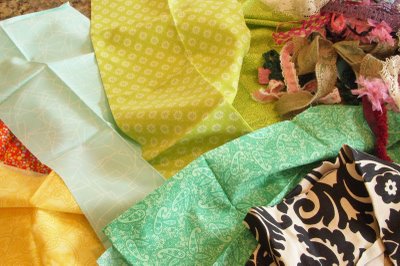
I worked out this project with my girlfriends, and we decided to pool our scraps of fabric and trim, to mix it up a little. I think most people can make this apron with the extra fabric and trim they have on hand. If you need something, consider getting some fat quarters in the quilting section of your local fabric store.
-
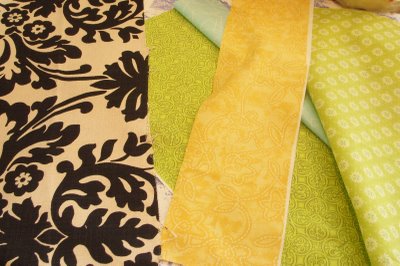
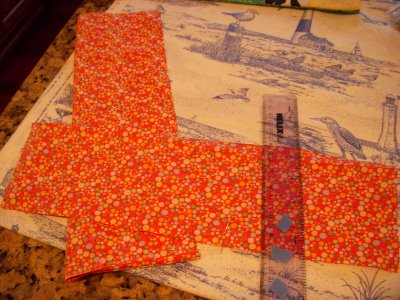
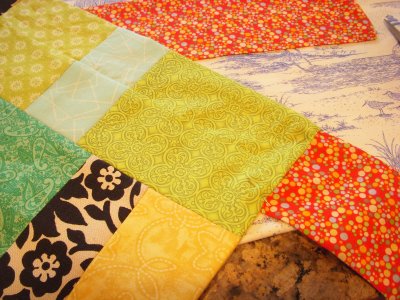
Cut your fabric into strips and squares of various widths and press. Don’t stress, you can’t mess this up. Just make sure your scraps have straight edges.
-
Sew, right sides together, to form a patchwork from all your strips and squares. The dimensions should be 27 inches x 21 inches for your panel. You can measure and cut to size after you piece your scraps together.
-
Press everything flat.

-
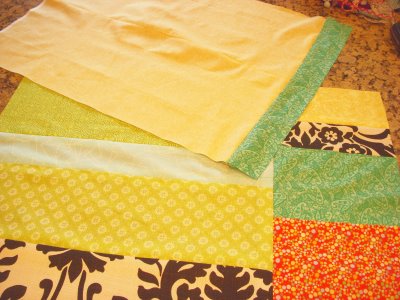
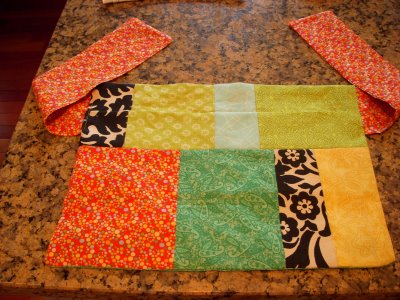
Here are my TWO 27 x 21 inch panels, remember, it's reversible! I got impatient with my reverse side and used larger pieces of fabric.
-
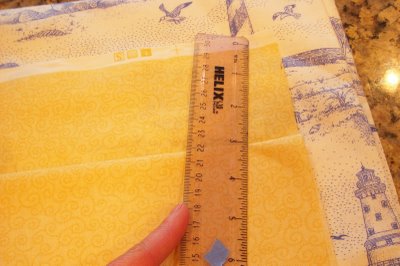
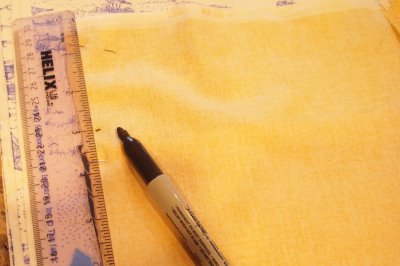
Measure 14 inches from the top of the fabric panels, fold, then press. Now bring the pressed fold up until it is 3 inches from the top of the apron panel, forming a deep pocket. You will do this with both panels. Pin to hold.
-
See? Now press. Do this with both panels.

-
Now, place the two panels right sides together and pin.
-
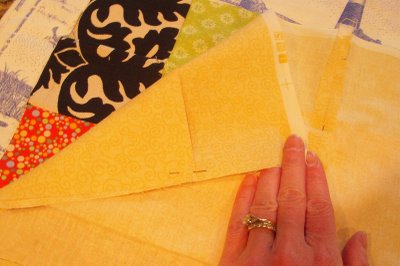
Mark three inches down from the top on both sides. This will remain unsewn to allow you to turn the apron right side out and also give you a spot to attach your apron ties.
-
Sew the two panels together, careful not to sew shut the 3 inch spaces you marked!
-
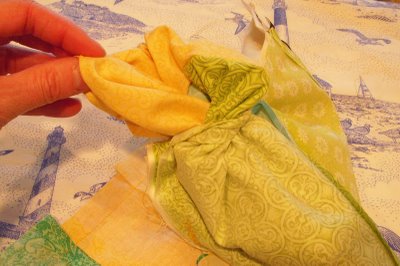
Pull the panels right side out through one of the openings you left unsewn, then press.
-
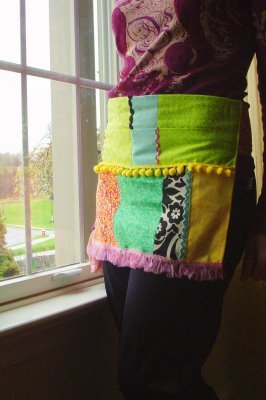
You will now have one long pocket on the right sides. You can then sew down the center of the pocket to form two pockets, or three, or as many as you wish!
-
Let's make the apron ties. Cut a length of fabric 6 1/2 x 20 inches. Fold the fabric in half length-wise and sew, leaving one end open. Now make another for the other side.
-
Pull the tube right side out through the open end and press.
-
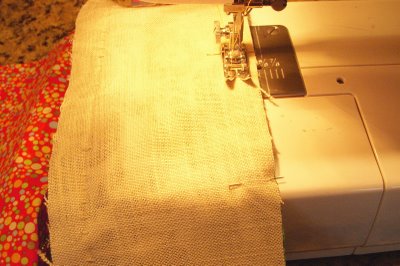
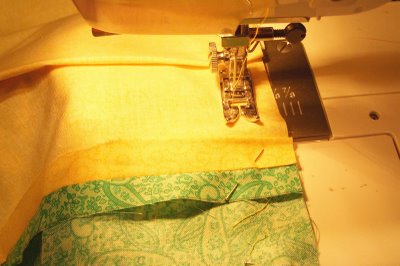
Slide the open end into the unsewn spaces in the apron. Pin and sew, topstitching the ties in place.
-
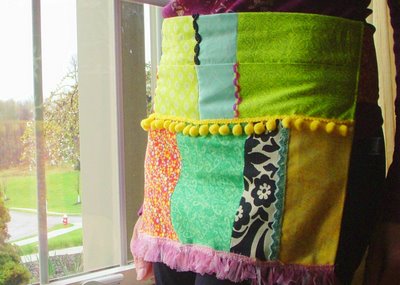
Here is one side of the apron. Let's embellish it with the trims. I have a friend that calls me "the queen of random", I do random well. Mix it up with unexpected combos of fabric and trim. Don't be too matchy matchy.
-
Hand stitch your trims...

-
Now, put on your apron, a string of pearls, and some pumps and meet your husband at the door…tell him to take you out for dinner tonight. Girl, you don’t want to mess up your cute apron just yet!
Read more about Jennifer, author of this craft tutorial, a Featured Craft Designer at FaveCrafts!
Find this great apron sewing pattern and 19 other free sewing patterns in the Sewing for Beginners eBook.
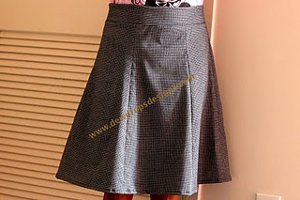
Read NextEasy Breezy Skirt
Your Recently Viewed Projects


Thanks for your comment. Don't forget to share!
lil miss kaos
Jun 21, 2013
I am a beginner sewer and had made a bunch of aprons for xmas gifts. I took all the scraps and made 5x5 squares and made an apron for myself. Now I have memories of all my loved ones!
Linda L
May 29, 2011
Does anyone remember finding an apron pattern from Simplicity with a terry hand towel on it? I wish that I could keep ahead of these needs without having to depend on finding it in the "Mint"!
Marshame
Aug 21, 2010
Do my eyes deceive me, or is that a Sharpie pen in the 9th photo in this tutorial? Never, and I do mean never, should you use a Sharpie pen to mark fabric! It bleeds and leaves a permanent black smudge that could easily soak through to the right side of the garment. A lead pencil or even a ballpoint pen dot would be much better for marking.
Crafter 9618919
Apr 26, 2010
I design and sew all types of aprons...but this is adorable...and easy to make...
Crafter 7047028
Feb 19, 2010
What a wonderful answer for some of my overstocked of scraps. Thanks!
Crafter 3050754
Jan 10, 2010
Thank you, I totally love this idea. I have TONS of scraps and this is so cute I can't wait to give it a try.
Candy
Jan 04, 2010
Great, Just found a craft project I can do with all the scrap material I have on hand. Thank you very much.
Report Inappropriate Comment
Are you sure you would like to report this comment? It will be flagged for our moderators to take action.
Thank you for taking the time to improve the content on our site.