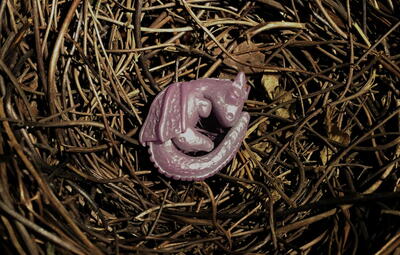
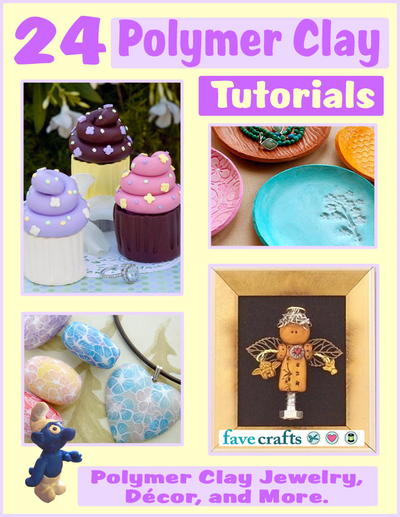
Summer's End Necklace
Celebrate the colors of the season with this Summer's End Necklace. Even if summer is in full swing, this lovely Polymer clay necklace will always be in season. If you've ever wondered how to make Polymer clay jewelry or how to create amazing designs (other than the traditional clay beads, of course), then you're going to love this DIY necklace tutorial. Once you get the hang of creating these colorful clay swirls, you can easily make matching earrings and a bracelet to help complete your jewelry set.

Materials:
- 1 block Premo! Sculpey®: Black - 2 oz
- 1 block Premo! Sculpey®: Cadmium Yellow Hue- 2 oz
- 1 block Premo! Sculpey®: Pomegranate- 2 oz
- Clay Conditioning Machine
- Soft-Flex bead stringing material
- Viton or Buna-N rubber cording
- E-6000 Super Glue
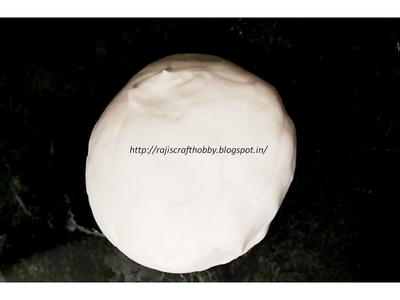
Getting Started: Preheat oven to 275 °F. Test temperature with oven thermometer for perfectly cured clay. Condition all clay by kneading until it’s soft and smooth or running it through the Clay Conditioning Machine for several passes on the widest setting. Fold the clay in half after each pass and insert the fold side into the rollers first.
Instructions:
-
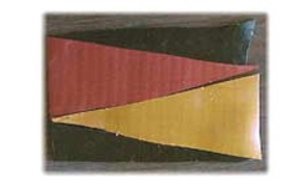
Cut triangles and place together as shown in the photo below. Note that the outside pieces are just one triangle cut in half. This is known as the Skinner Blend.

-
Fold this assembly in half from top to bottom. Roll through the Clay Conditioning Machine FOLD-FIRST on a #1 setting. Keep folding and rolling, always in the same direction. This will take about 20 times.

-
Now you have your final blend. See how the colors flow! Now, fold in half and roll with a brayer or rod to remove any air bubbles. You now have 2 layers of clay in a #1 thickness.

-
Cut a thin slice off the long edge (about ¼ inch). Roll each edge in different directions. NOTICE: The size of the swirl can be determined by how you slice this piece.

-
Here is the basic pendant. The bottom piece is just the whole slice rolled up and the edge trimmed off to form a bead.

-
There are endless variations of these two patterns. In this example a whole swirl was added to the top of the pattern. See how cutting the slices thinner created smaller pieces?

-
The swirls are pretty difficult to pierce holes in, but it's possible with patience. On most of the pendants, like this one, Translucent Liquid Sculpey was used between the two swirls and the bottom piece to create one large pendant. Then you only have to partially pierce the top of each swirl to glue the rubber cording in after baking. The circular swirls at the top of this piece would be pierced completely and threaded onto the cording before the final gluing.

Read NextFresh Faced Bookend