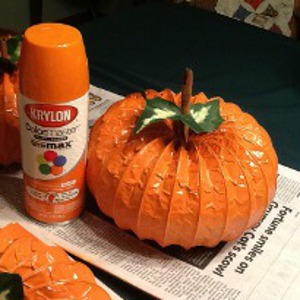
Pumpkin Patch Painted Jar

Autumn just isn't autumn without a cute scarecrow. If you don't have room for a scarecrow, or even the hay to create it, you can implement Mason jar crafts and make a Pumpkin Patch Painted Jar. This jar is an absolutely adorable place for your scarecrow to reside. You may want to make these Mason jar crafts and give them as gifts. Of course, there's nothing wrong with wanting to keep one for yourself. This Pumpkin Patch Painted Jar would look great in the kitchen with your other autumn essentials.
Primary TechniquePainting

SeasonFall
Materials:
- Glass jar
- Liner and shader brushes
- Micron black craft pen
- Old toothbrush
- Acrylic matte spray
- Printable pattern
Instructions:
- Base coat surface with 2-3 coats of Antique White.
- Trace pattern onto base coated surface.
- Paint pumpkin with Pumpkin paint. Shade lines with Tangerine and Georgia Clay.
- Paint face, hands and feet with AC Flesh.
- Paint nose with Georgia Clay and shade with Black.
- Draw on mouth eyes and stitches with Micron craft pen.
- Use ratty or scruffy brush to dot on cheeks with Pink Quartz.
- Paint hat with Bonnie Blue.
- Mix a very small amount of black with Bonnie Blue to use for shading hat. Patches are Trail Tan, criss-cross with Georgia Clay.
- Paint pumpkin stem and vines with Dark Forest Green.
- Use fine liner brush with Yellow and Georgia Clay for straw around feet, hands and face.
- Use Micron craft pen to draw on all stitches around hat and pumpkin.
- Splatter completed surface with White and then with Black using the bristles of an old toothbrush.
- Sign your work!
- Spray your completed project with 2-3 coats of acrylic spray sealer according to directions on can.
Notes:
- If you are painting on jars, prepare your surface by washing th ejar, completely removing all labels and glue, then giving the jar a rinse in white vinegar or rubbing alcohol.
- Allow the first coat of base to dry completely before attempting second coat!
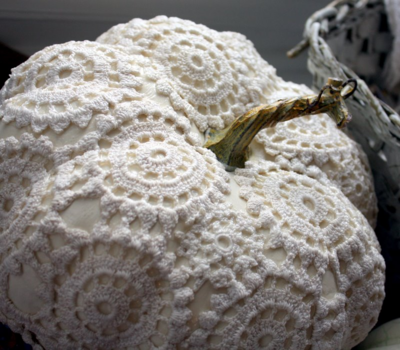
Read NextVintage Doily Pumpkins