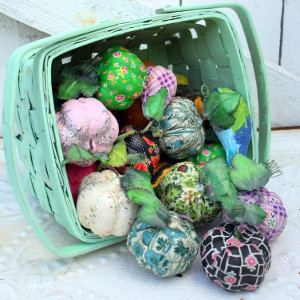
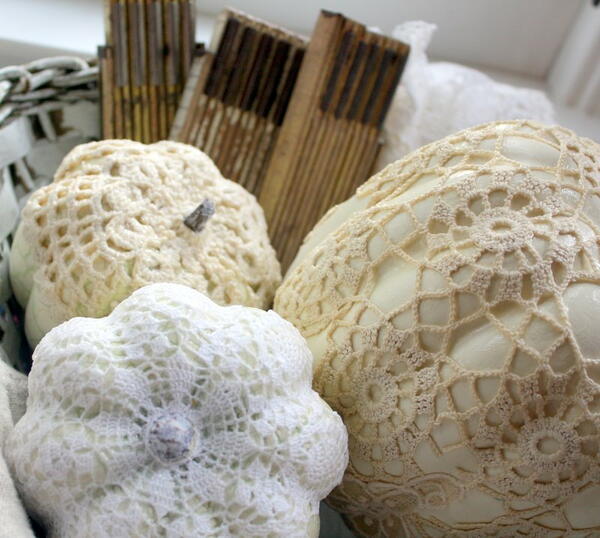
Vintage Doily Pumpkins
Learn how to decorate a pumpkin with one of our favorite no-carve pumpkin decorating ideas.

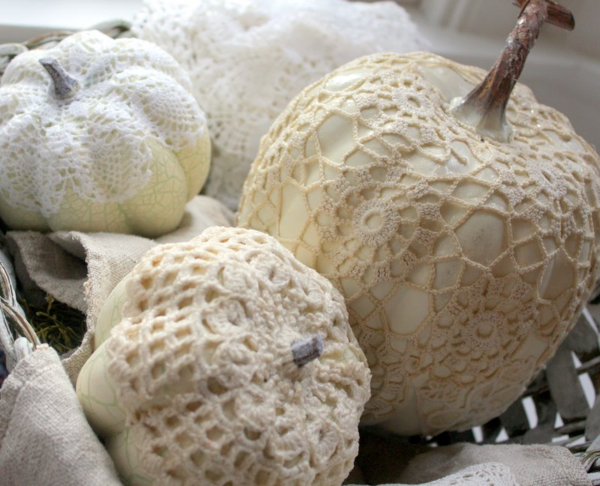
These Vintage Doily Pumpkins are the perfect way to decorate for fall. Pumpkin decorating is a well-known sign that cooler temperatures are ahead. However, not everyone enjoys the mess. Dress up your real (or dollar store) pumpkins with doilies that can be found nearly anywhere!
Decoupaged with vintage lace doilies in various colors, this no carve pumpkin decorating idea is great for Halloween, Thanksgiving, home décor, and even weddings! You can use some black lace to add a more spooky Halloween touch, or dye white crocheted doilies with the various fall colors for a Thanksgiving centerpiece that's sure to impress all your guests.
Editor Tip: No one said you had to buy the doilies. If you're up for the challenge of crocheting your own pumpkin decoration, check out our collection of 24 Free Crochet Doily Patterns for Beginners.
Sign Up For More Free Patterns >>
How to Make Vintage Doily Pumpkins
Skill Level: Beginner
Time to Complete: In an evening
Materials List
• Vintage doilies in shades of white, cream, and ecru
• Dried real gourds or craft store faux pumpkins and gourds
• Mod Podge for Fabric
• Paintbrush or foam brush
• Spray paint in an off-white or ivory
• Tin foil
• Wax paper to cover your workspace
Instructions
- Cover the gourd stems with tin foil prior to spray painting.
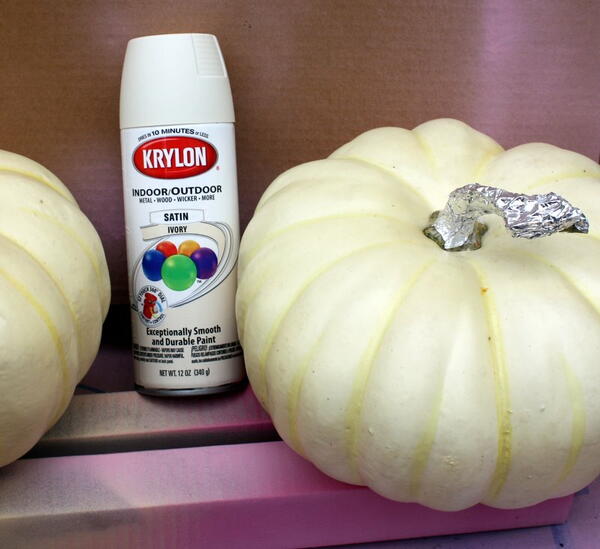
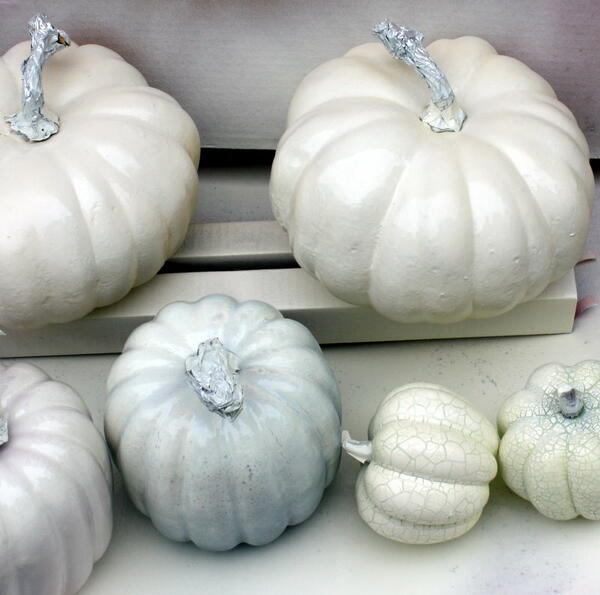
- Begin spray painting your pumpkins. A couple light coats of paint with drying time in between is adequate to give the pumpkins an even color.
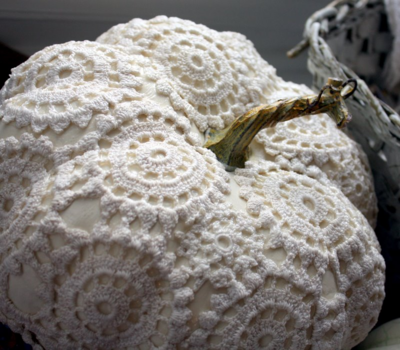
- Select the doilies you'll be using. Feel free to cut some of them apart into smaller shapes to make them easier to fit onto the pumpkin. For the two small pumpkins, one whole doily can be used by slipping it over the stem to create a slightly different look.
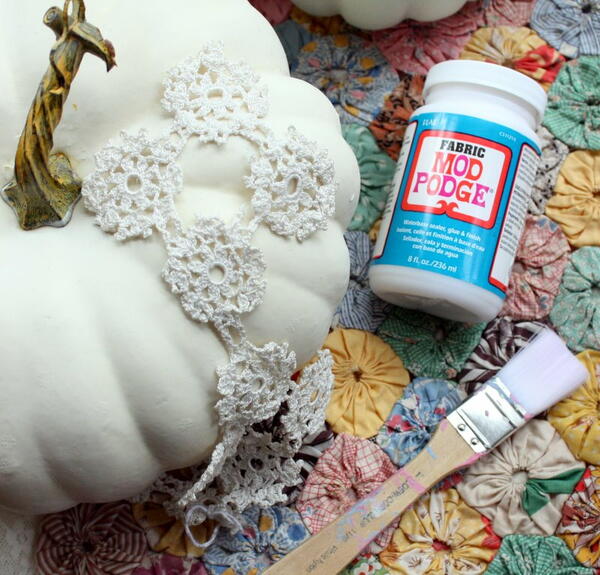
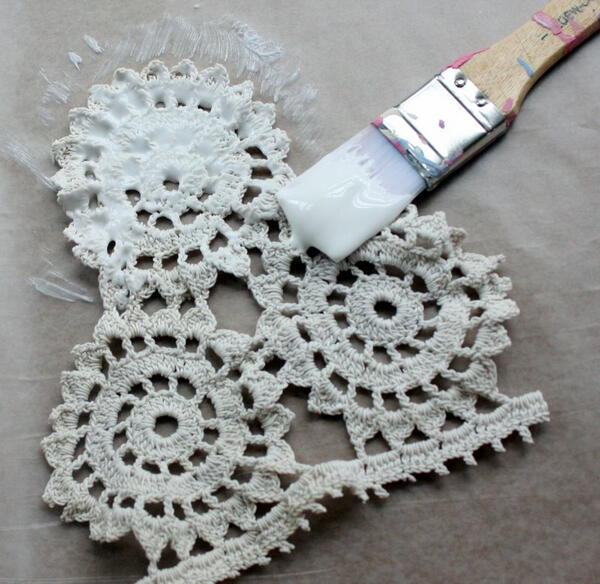
- Follow the directions on the Mod Podge bottle when applying to the doilies. After coating one side of the doilies, place them on the pumpkin and tap all the edges down with your fingers. Note: If you're still having trouble, check out these Mod Podge tips from Plaid.
- Once the pieces are adhered to the pumpkins, wait for two hours while the initial coat dries. Once dry, a top coat of Mod Podge can be applied to the entire piece.
Read NextVintage Doily Pumpkins
Your Recently Viewed Projects
Thanks for your comment. Don't forget to share!
princess6860504
Sep 06, 2018
I decided to give this one a try this season, since all the stores have fall merchandise fully stocked- I got in the mood for making something my own self! Although vintage doilies probably are the finest choice, go ahead buy those doilies from the Dollar Tree for a quick shortcut. The black ones look really cool. Mix black and pink and white for a kind of sugar skull look.
princess6860504
Sep 19, 2017
I have a great spin on these vintage doily pumpkins or gourds... while I absolutely am loving the Mod Podge to adhere the actual doily to the gourd, how about taking that doily and coating one side of it with a paint color of your choice- use one of those foam paint brushes- and then carefully place and pat the doily onto the surface, being careful not to smudge. I say, paint the gourd/pumpkin in a pretty off white and coat the doily in black or in a blush pink!
Report Inappropriate Comment
Are you sure you would like to report this comment? It will be flagged for our moderators to take action.
Thank you for taking the time to improve the content on our site.