Polymer Clay Pumpkin Photo Holder
Display your favorite pictures with a cute pumpkin decorating craft. You'll go crazy for the look and feel of a Polymer Clay Pumpkin Photo Holder from Linda Peterson. Make one for yourself and all of your friends to celebrate the season.

Materials:
- Polymer clay: Orange, Brown and Green
- 20 gauge copper wire
- Brown acrylic paint
- Makeup sponge
- Wet wipes
- Future Floor Wax (optional)
- Toothpick
- Wire cutters
- Photo of choice
Instructions:
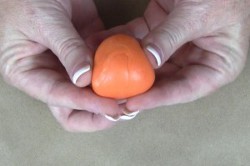
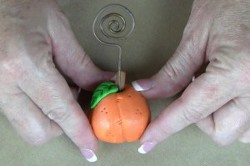
- Using finished project photo as guide, create a coil from an 8” length of copper wire leaving approximately 2″ straight at end (to stick into clay in final step). Condition polymer clay and roll an orange ball approximately 1 1/2”. Slightly press in sides to create pumpkin shape.
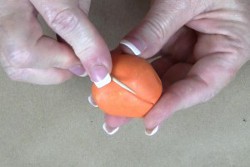
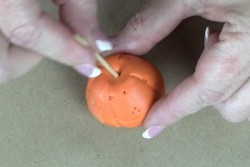
- Create indentation marks with toothpick.
- Roll a green ball the size of a pea. Create a teardrop shape and flatten with finger.
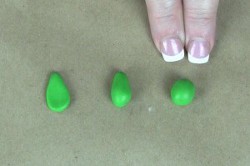
- Create vein marks on leaves with toothpick.
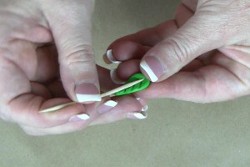
- Create a hole at the top of pumpkin with toothpick.
- Roll a small log of brown. Press down into hole. Press leaf in place.
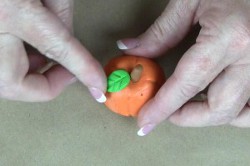
- Stick straight end of coiled wire into top. Bake according to recommended baking temperatures on polymer clay package. Allow to cool.
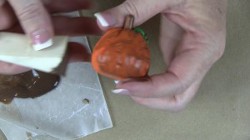
- Antique with brown acrylic paint, wiping away excess but allowing some paint to remain in cracks.
Note:
- Future floor wax is an excellent sealer on polymer clay. It is acrylic and water based. It will not react adversely to the polymer clay and is easy to clean up. One bottle goes a long way. Apply a single coat for a beautiful satiny shine. Additional coats can be applied to create a shinier appearance.
For a comprehensive video tutorial of this project, check out How to Make a Pumpkin Photo Holder with Polymer Clay.
Read NextRustic Ribbon Crochet Pumpkin Stack


