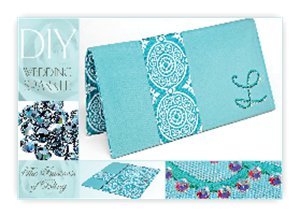
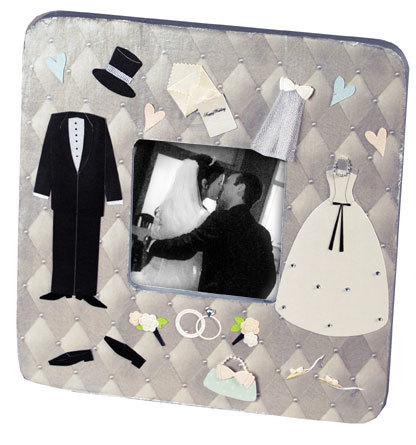
DIY Bridesmaid Clutch
Thank your best girls for standing by your side with this cute DIY Bridesmaid Clutch from Craftwell. Personalized with a simple monogram, creative wedding gifts like this make your thank you's personal and clever...and the girls will love them! You can create them in different colors or make them all the same color so they match the dress. You could even include a gift card for a mani/pedi inside to thank them for helping you prep for your big day!

Materials:
- Artistic Suite V6
- Dongle
- External Mouse
- eCraft Electronic Cutting System
- USB Memory Stick
- Template Material
- Backing Board
- Transfer Tape
- Rhinestones In Assorted Sizes & Colors
- Plastic Tray
- Positioning Brush
- Iron & Ironing Board
- Silicon Press Sheet
- Press Cloth or Handkerchief
- Fashion Clutch
- Swarovski Crystals, Crystal AB, size SS16
Instructions:
-
Open Creative DRAWings 6 > Create New > Next.
-
Select Faille 1 > Next.
-
New Graphic > Finish.
-
Select Text tool.
-
Select the font ‘Wendy’.
-
Left click on screen to generate a cursor. Type in the desired initial.
-
Select and adjust the Height to 2.5. Press Enter.
-
Create a second letter by clicking Duplicate.
-
Move the duplicate letter slightly to the side of the first letter to create a ‘shadow’.
-
Change the Fill to Crystal and select crystal size 10.
-
Adjust the Spacing to 1.5. Press Enter.
-
File > Export > To Crystals/Cutters. Load the template material into the cutter. Cut template.
-
Peel the template material from the backing & adhere to template backing. Notice that there are two sizes of holes in the template.
-
Place the template in a tray, pouring a generous amount of crystals over the template. Use the positioning brush to move the crystals from side to side over the template. The crystals position themselves in the larger template holes right side up.
-
Cut a piece of transfer tape the size of the template. Position the tape over the crystals and smooth in place. Gently lift the tape with the crystals adhered.
-
Embroider the single letter on the clutch, positioning it as desired before construction.
-
Place the silicon pressing sheet on the surface of the Artistic Press, or if using an iron and ironing board, place the silicon sheet on the ironing board.
-
Place the embroidery on the silicon sheet. Position the crystal letter over the embroidered letter, so that it creates a shadow effect.
-
Cover with a press cloth or handkerchief. Apply pressure with the Artistic Press or iron. Heat for approximately 40 seconds.
- When using an iron, it is important to apply steady pressure WITHOUT moving the iron. This ensures that the crystals will stay in place during the bonding period.
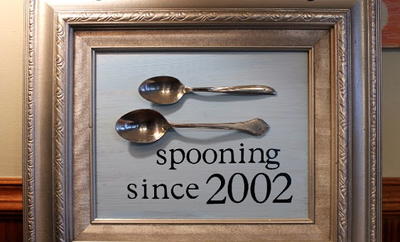
Read NextWedding Date Plaque