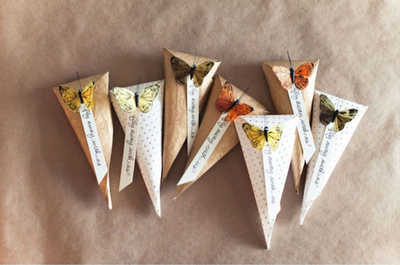
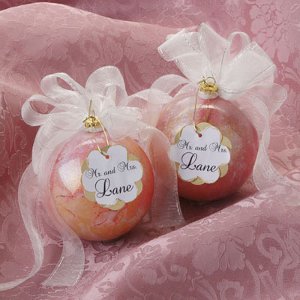
Dreamy Wedding Favors
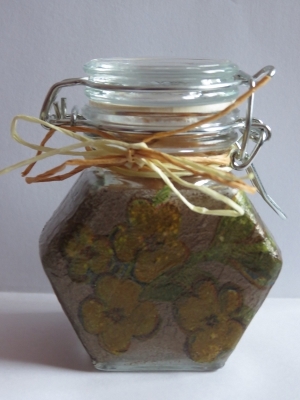
These Dreamy Wedding Favors from Allee Marderosian for I Love to Create make the perfect homemade wedding gifts! They are a beautiful craft a very personal touch. They are another idea to customize your wedding in an elegant and simple way!
Materials:
- Aleene's® Acid-Free Tacky Glue™ Glue Sticks
- Acid Free Glue Sticks 2PK 8g
- Color Bazaar™ Pigments (Aquamarine, Coral, Gold)
- Color Bazaar™ Glass Objects
- Glass Globe Large
- Color Bazaar™ Tools
- Plastic 6-Well Tray
- Plastic Mini Spoons
- Color Bazaar™ Sparkle Fuse™
- Hole puncher
- Newspaper
- Printer and printer paper
- Disposable cup
- Computer
- Metallic paper
- Decorative cording – gold – 3” per favor
- Decorative punch
- Decorative ribbon – 2 yards per favor
Instructions:
- Cover work surface with newspaper.
- Pour Gold, Coral and Aquamarine pigments into 6-well tray.
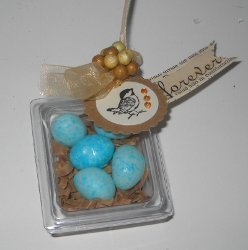
- Remove topper from Globe and pour Sparkle Fuse™ inside. Swirl around until inside is completely coated. Drain excess adhesive back into disposable cup.
- Use mini spoon to scoop Gold, Coral and Aquamarine pigments inside Globe.
- Cover Globe opening with thumb and shake and turn until pigments cover entire inside surface.
- Let dry and replace topper.
- Tie ribbon into a bow and tie to top of Globe.
- Use a design punch (of choice) and punch out metallic paper.
- Using Microsoft Word on computer, set up document to create wedding tag to fit style of punch. If needed, set up multiple tags per page. Use desired font and wording. Print needed number of tags.
- Use decorative punch to cut out individual tags from paper.
- Use Glue Sticks to adhere cutout with wording to metallic paper cutout. Offset the designs so metallic paper can be seen behind printed tag. Refer to photo.
- Use hole puncher to create hole in top of tag and tie the wedding tag onto Globe topper with decorative gold cording.
- Celebrate the magic!
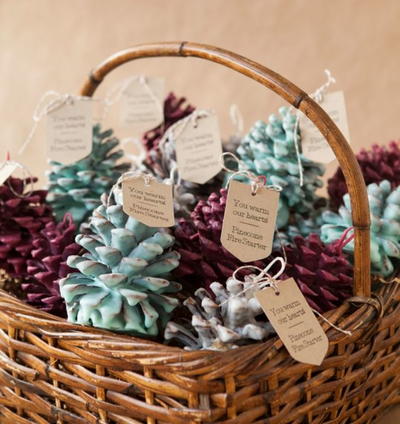
Read NextWinter Pinecone DIY Wedding Favors
Your Recently Viewed Projects

Thanks for your comment. Don't forget to share!
Report Inappropriate Comment
Are you sure you would like to report this comment? It will be flagged for our moderators to take action.
Thank you for taking the time to improve the content on our site.