Bridal Shower Ribbon Bouquet
Learn how to make a ribbon bouquet with a paper plate! Check out these fantastic tips and tricks.

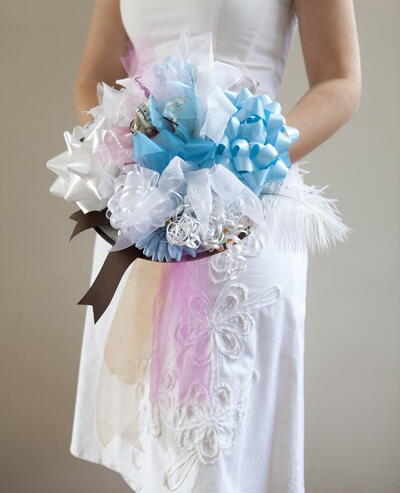
You know the tradition...gather up those bridal shower ribbons and arrange them into this beautiful Bridal Shower Ribbon Bouquet for the bride to use during the wedding rehearsal. This ribbon bouquet tutorial from Jen Carreiro is easy to follow and will make a lovely arrangement.
It can be tricky putting together a bouquet that doesn't fall apart! The adhesive on those party bows doesn't always stick nicely to the paper plate, and how do you include all of those other embellishments that make your ribbon bouquet truly unique?
Consult the tips in this fantastic wedding craft tutorial below, and you'll be an expert bow-quet maker in no time! This is a fantastic tutorial for the maid of honor or another bridesmaid to make while the bride opens her presents.
Want more DIY wedding crafts? Sign up for our newsletter, The Wedding Planner.
Sign up for The Wedding Planner
For everyday crafts, sign up for the FaveCrafts newsletter!
Sign up for Quick and Crafty
Bridal Shower Ribbon Bouquet
Materials
· Bows
· Ribbons
· Tape
· Scissors
· Paper plate (two if you have a lot of ribbons!)

Instructions
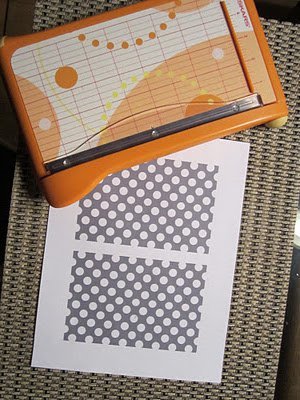
1. We are going to start by making the ribbon base to tie all your bows onto… get your plate {I used two for strength – I had a lot of bows!} and start by stabbing scissors or a knife through your plates at two points across from each other.

2. Then insert your ribbon, I used my scissors to help gently push the ribbon through the plate.

3. Tie a knot on the backside.

4. Now we are going to do it again. Stab with your scissors and insert a second piece of ribbon to make an x. This creates and extremely steady and large base to tie all your ribbons and bows onto.

5. Tie a knot with the second ribbon, then tie a large knot with all the ribbons. This is the base of your bouquet and what the bride will hold onto.

6. Now the process of adding ribbons and bows! Since this can be done at the shower or at home… just go with what you get… keep tying and building!

7. Think about form and spacing… add a little here and a little there…

8. You will get all kinds of gift extras or package tie ons… put those on too! Like this cute feather, tape it on!

9. Keep tying and taping, it’s becoming so cute!

10. Most bows will not stick to your plate, just tape them on.

11. Keep packing them on!

12. Cut extra pieces that are too long, fluff your bows and ribbons… to finish the ‘bow-quet‘!

Up Next:
Read NextBridal Shower Ribbon Bouquet