Knotted Fringe Scarf
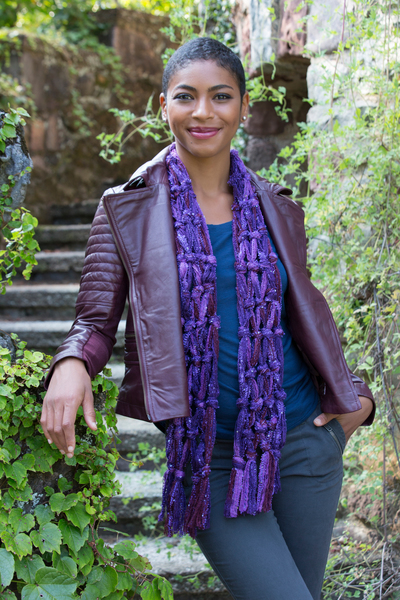
Can't knit or crochet? No worries! This adorable Knotted Fringe Scarf is easy enough for anyone to make. Created by tying yarn in knots, this lovely lacy scarf is perfect for those cool spring and summer days. Easy to work up in less than a couple hours, this scarf also makes a great last-minute gift idea for Mother's Day or an upcoming birthday...and it's a great way to use up your yarn stash and make room for more projects! Easy to customize and make, this open-weave lacy scarf is sure to please women of all ages.
Primary TechniqueGeneral Crafts

SeasonSpring

You can find this project, and many more, in our new eBook, 13 Spring Crafts: Easter Craft Ideas, Spring DIY Home Decor, and More! Download your own free copy today!
Materials:
Step-by-step photos are in Red Heart® Boutique Sashay Sequins™ Panda
- 4 skeins Red Heart® Boutique Sashay Sequins™ yarn in Concord
- Clipboard (to hold the yarn while knotting)
Instructions:
Scarf measures 6½” (16.5 cm) wide x 69” (175 cm) long.
- Cut 16 strands of yarn, each 4 yards long.
Row 1 of Knots
- Hold 4 strands together and make an overhand knot 6” from the ends. Make a loop and pull ends through the loop, Photo A and B. Repeat for three more groups of 4 strands.

- Place the four knots in the clipboard in preparation for the next row of knots.
Make Butterfly Bobbins
- In order that strands do not get tangled, make a butterfly bobbin with each strand of yarn (16 bobbins). This may seem like a lot of winding, but it is necessary to prevent tangles of yarn.
- Starting near the knot, wrap yarn in a figure eight around fingers.

- When you have an end of about 18”, pinch center of wraps, remove from fingers, and wrap the loose end firmly around center of figure eight; pull end through the center wraps to hold. You will be able to pull more yarn from the bobbin as needed while doing your knotting.

- For row 2, hold two strands from first knot and two strands from second knot together; make an overhand knot about 2 inches down from first row of knots.
- Make two more knots in this row using adjacent strands from second and third knots; and then using strands from third and fourth knots. You will continue to use pairs of strands from adjacent knots throughout the scarf. Note that the first two pairs of strands and the last two pairs of strands are not knotted in this row. There are 3 knots in this row.

- For row 3, knot pairs of strands together, starting with first two pairs and continuing across row. You will have 4 knots in this row.

- For row 4 to row 22, repeat Rows 2 and 3 for 22 rows. Even number rows will have 3 knots and odd number rows will have 4 knots. (If you end sooner, you will need to end with a 4 knot row, like row 3.)
Finishing
- Trim fringe at each end.
Celebrate National Craft Month All Month Long!

Read Next17 Men’s Prayer Shawl Patterns
Your Recently Viewed Projects
Thanks for your comment. Don't forget to share!
Zeemer
Apr 29, 2016
Wow! This is something different. Not knitted or crocheted. It's about working the yarns to make this beautiful scarf. Thanks for the pattern and the diagram.
Report Inappropriate Comment
Are you sure you would like to report this comment? It will be flagged for our moderators to take action.
Thank you for taking the time to improve the content on our site.