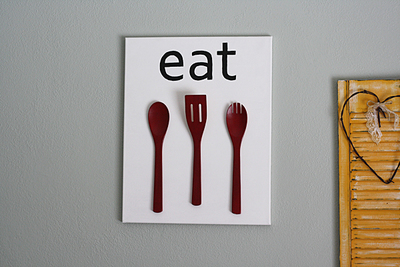
Cricut Inspired Canvas Art
It's amazing the kinds of cool canvas craft projects that you can come up with using your Cricut as a muse! This Consumer Crafts tutorial for Cricut Inspired Canvas Art shows you how to make canvas art that will instantly brighten any room! Who knew that you could make canvas wall art so cheaply and easily?!

Materials:
- Cricut Expression
- Paisley Cartridge
- Winter Woodlands Cartridge
- Songbird Cartridge
- 12X24 cutting mat
- Gesso
- 16 X20 canvas
- foam brushes
- Core’Dinations Cardstock in colors that match your decor
- Distress Ink & applicator, optional
- Elmers Scrapbooking glue
- Perfect Pearls (blue, gold)
- Mini Mister
- Fine-line paint brush
- Mod Podge
- Stickles
Instructions:
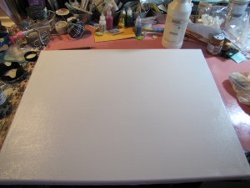
- Coat canvas with a nice coat of Gesso with a foam brush.
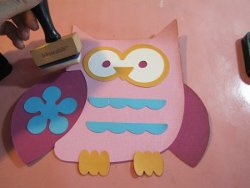
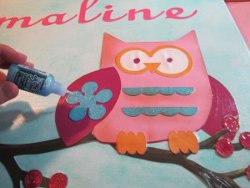
- While that dries, choose a cute image from the Paisley cartridge and cut out all the layers using the Core’dinations paper. Cut it out at 7.5 inches and glue them all together using the Elmer’s glue. You can also add some dimension by using the applicator and using some Distress Ink along the edges of the owl, under his chest ruffles, etc.
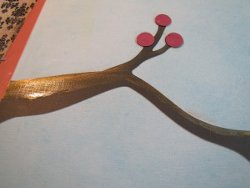
- Cut the branch from the Winter Wonderland cartridge, using the 12X24 inch mat. If you don’t have extra long paper, don’t worry! Just put TWO 12X12 sheets of paper on the mat and make sure they are REALLY stuck down- then cut out your large shape. You can hide that little seam later! You can also cut out berries for the branches and attach them.
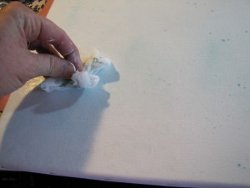
- Once the Gesso is dry, mix up some Pearl-Ex in a mister bottle and spritz the canvas. To blur the spatter marks, dab it with a wet paper towel and create a little texture.
- While that is drying, cut out the letters for the name.
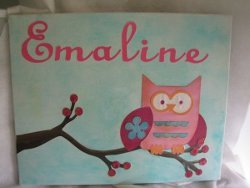
- Now it’s time to glue everything down. Adhere the branch, and then perch your owl on top. Use a generous amount of Mod Podge- don’t skimp out. Add the name on the top, too. Then let it dry.
- Add a second coat of Mod Podge about an hour later.
- Add some to Stickles to the berries, chest ruffles, and flower on the owl wing.
- All done! Don’t forget to sign your canvas art- folks will be amazed that it’s hand-made!
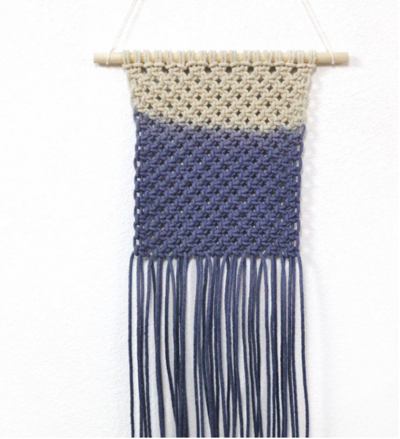
Read NextDip Dyed Macrame Wall Hanging
Your Recently Viewed Projects
Thanks for your comment. Don't forget to share!
Report Inappropriate Comment
Are you sure you would like to report this comment? It will be flagged for our moderators to take action.
Thank you for taking the time to improve the content on our site.