Illuminated Hearts DIY Mason Jar Light

Create a beautiful valentine Mason jar this season with the Illuminated Hearts DIY Mason Jar Light. This gorgeous project will make simply lovely tabletop decor for the holiday of love.
In the Designer's Words: "Turn an empty glass jar into a beautiful illuminated jar light for Valentine’s Day, and set a romantic mood without breaking the piggy bank in the process. You can even make a few of these jar lights, as the craft requires basic material and does not take too much time to complete. However you decide to use it, make sure that this romantic recycled craft is part of your celebrations for Valentine’s Day."
Estimated CostUnder $10
Time to CompleteIn an evening
MaterialsGlass, Paint
Primary TechniquePainting

HolidayValentine's Day
Project TypeMake a Project
Materials List
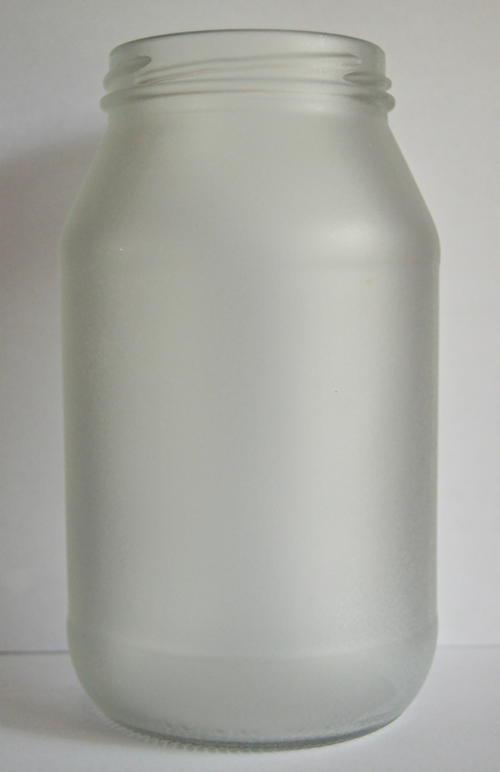
- Any clear glass jar
- Sheet of ordinary printer paper
- A few strings of raffia
- Felt in the following three colors: dark red, red and pink
- 0.6” wide light pink polymer clay rose
- Battery operated string of pure white led fairy lights
- Frosted glass sandblast spray paint
- Quick-drying gold spray paint
- Two to three alcohol pads
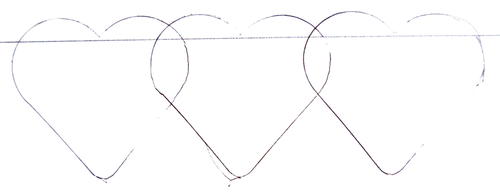
- 2.1” high heart-shaped cookie cutter
- Standard scissors
- Black pen
- Small piece of prestik (or elmer’s poster tack)
- Quick-drying craft glue (such as bostik clear)
Instructions
-
Remove the label, wash the jar and allow to dry upside down overnight. Tip: If necessary, use mineral turpentine to remove any glue residue from where the label was stuck.
-
Clean the jar on the outside with alcohol pads and allow to dry.
-
Spray the jar on the outside with the frosted glass sandblast spray paint and allow to dry thoroughly.
-
Use the cookie cutter to trace three overlapping hearts on the printer paper and cut them out. Remember to cut on the outlines of the design so that the hearts will remain overlapped once cut.
-
Use small pieces of Prestik to temporary stick the heart design to the front of the jar. Spray the jar with the gold spray paint. Don’t spray so much paint that the paint will run underneath the paper design. Allow to dry thoroughly and then carefully remove the paper design and any Prestik residue from the jar, without damaging the frosted paint layer in the process.
-
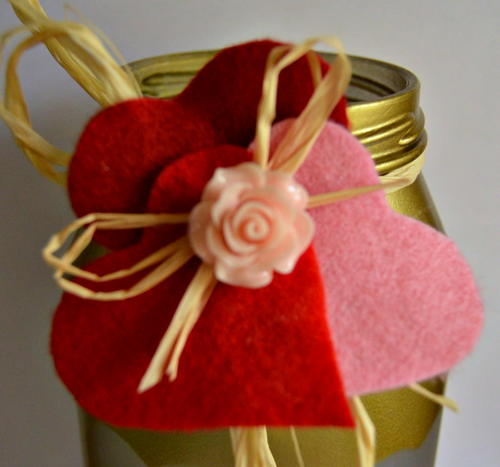
Tie a few strands of raffia around the neck of the jar and make a bow.
-
Trace and cut three hearts, one each from each color of felt, and glue them to the raffia bow.
-
Make another small raffia bow that you glue on the hearts, and finish it off with the polymer clay rose.
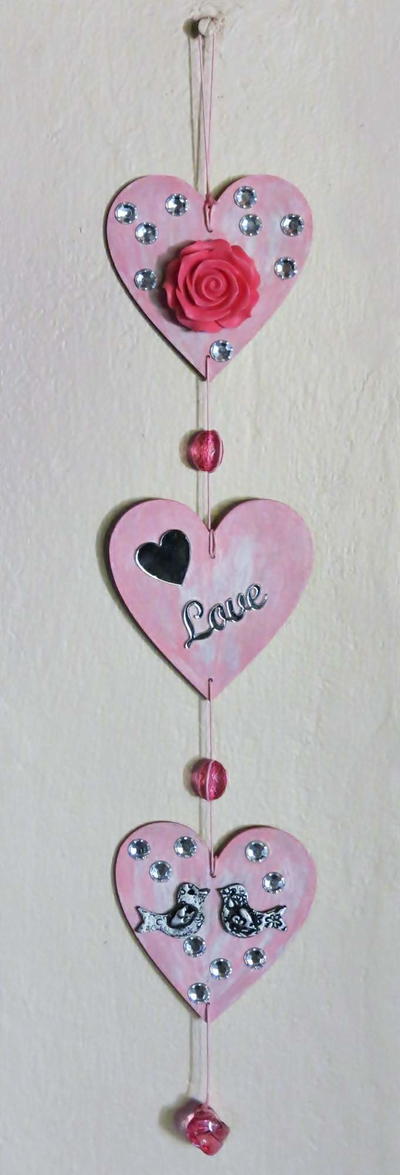
Read NextPink and Red Crochet Hearts Pattern
Your Recently Viewed Projects
Thanks for your comment. Don't forget to share!
Marilyn B
Jan 11, 2017
This is a lovely project! I can se changing it up with adding a sewn yo-yo for,a,flower, and embellishing with a button or broach or pin. For winter you could use a snowflake or pine tree, for fall a leaf or pumpkin! Great instructions, thanks for sharing!
Report Inappropriate Comment
Are you sure you would like to report this comment? It will be flagged for our moderators to take action.
Thank you for taking the time to improve the content on our site.