How to Grout Mosaics Photo Tutorial
When creating your own mosaics, grouting seals the spaces between the colored tiles, making the surface even and permanent. Learn how to grout with this step-by-step photo tutorial walking you through the process. You'll be creating mosaics for your home and garden in no time! This photo tutorial comes to us compliments of Heidi Borchers of Inspired at Home.
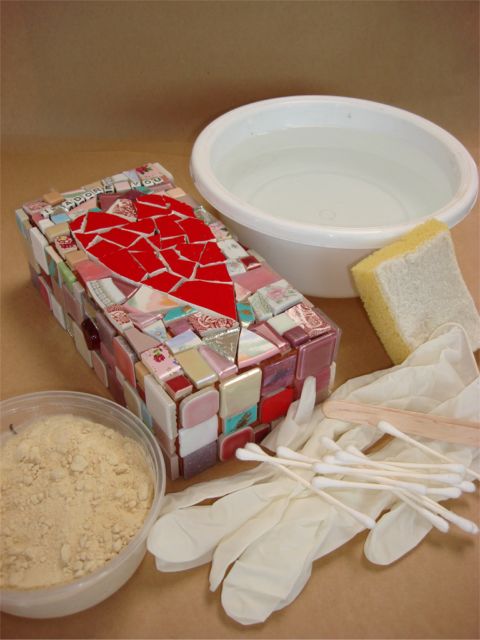
Materials:
- Plastic container for grout
- plastic container for water
- disposable gloves
- sanded grout
- craft stick
- cotton swabs
- soft sponge
- kraft paper
- newspaper to cover workspace
Instructions:
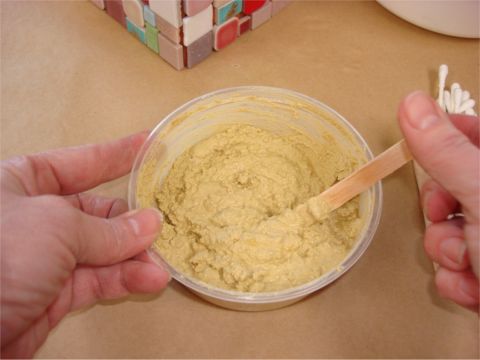
Place a small amount of water into the sanded grout and stir with a craft stick. Grout should be the consistency of creamy peanut butter. If too much water add more dry grout.

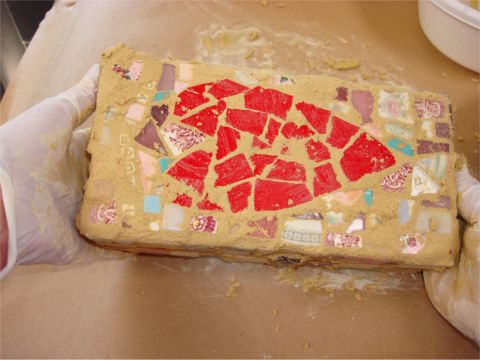
Put disposable gloves onto each hand. Apply grout with a craft stick. (Note: If you choose to use your hands to apply the grout, be VERY careful not to glide your fingers along the cut tiles. The tiles that have been cut are VERY sharp and will cut through gloves.)
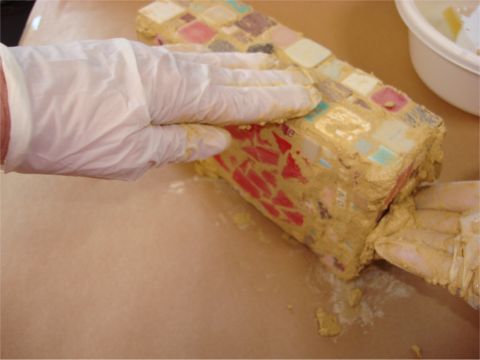
Completely cover all four sides and on top with the grout. Remove excess back into grout container.
Project completely covered with grout. Ready to be cleaned with sponge.
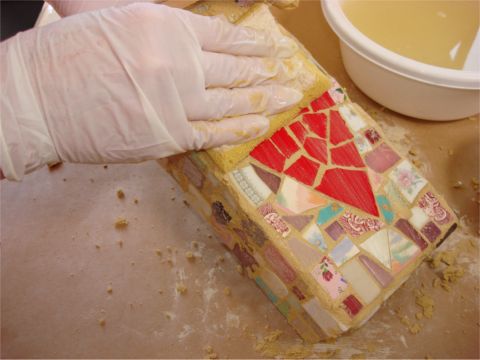
Immediately clean the grout before it dries by dipping sponge into clean water. Squeeze all excess water from sponge. Sponge across tile to remove excess grout from surface. Dip sponge back into water and squeeze several times to release grout into water. Squeeze all excess water from sponge and repeat. This step is only to smooth the grout. Do not try to completely clean tile. If you rub too much you will rub off too much grout.
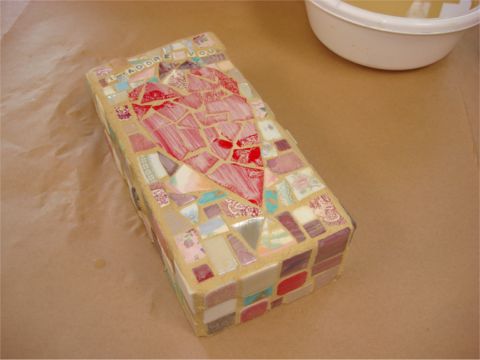
Use a hairdryer on low for a few minutes to help you dry the haze on the tile. Do not over-dry or you will cause hair-line cracks in the grout. You want the haze on each tile to be dry and "chalky."
Wipe each tile individually with a dry paper towel. Do not rub through wet grout.

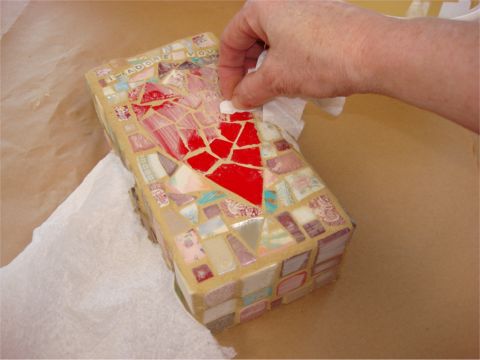
For finer detail, use a cotton swab to continue to remove excess grout on tile. You do not need to completely remove every particle at this point. Clean the alphabet letters with a wet cotton swab. Let dry overnight.
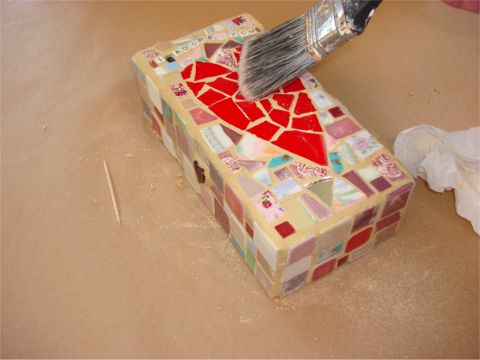
Brush off any excess dried grout with a large dry, clean paint brush.
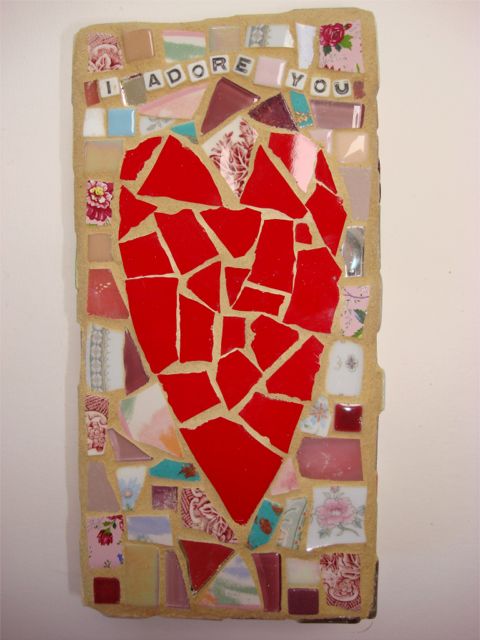
Finished mosaic. If placing outdoors brush on a coat of grout sealer and let dry before placing outdoors.
Your Recently Viewed Projects
Thanks for your comment. Don't forget to share!
flowergirl
Jul 14, 2018
How easy is this project ? It gets easier with the photo tutorials. If you have some new tiles leftover from remodeling or some broken ceramic plates or bowls that you can use to make a mosaic project then this next step is crucial. I love how neat grouting leaves your project.
Report Inappropriate Comment
Are you sure you would like to report this comment? It will be flagged for our moderators to take action.
Thank you for taking the time to improve the content on our site.