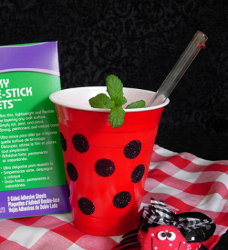
Spotted Ladybug Picnic Cups
Are you a huge fan of ladybug craft projects? For your next picnic, create your own Spotted Ladybug Picnic Cups from Tiffany Windsor. This is a fun way to dress up boring, red plastic cups with glittery dots. This project is so easy to make and incredibly inexpensive.

Materials:
- Aleene’s Tacky Double-Stick Sheets
- Circle hole punch
- Plastic cup(s)
- Crafty Chica Glitter (Black)
- Box (to catch excess glitter)
- Wet wipes
Instructions:
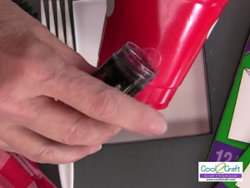
- Align punch where desired on Aleene’s Tacky Double-Stick Sheet.

- Punch to create shape.
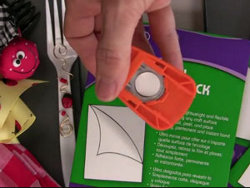
- Remove top liner paper from shape and press adhesive side to cup. Remove top liner paper to reveal adhesive.
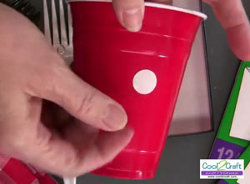
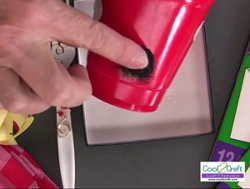
- Hold cup over container and sprinkle glitter over adhesive.
- Using finger, gently rub glitter into adhesive. Tap cup into box to release excess glitter.
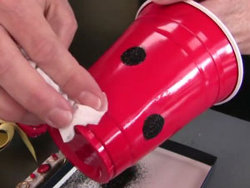
- If needed, use wet wipe to wipe off any remaining excess glitter.
For a comprehensive video tutorial of this project, check out How to Make a Ladybug Spotted Cup.
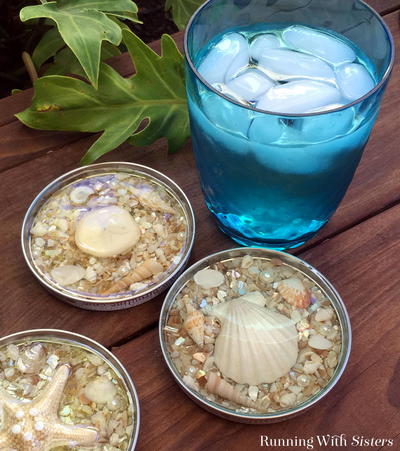
Read NextSeashell Jar Lid Resin Coasters