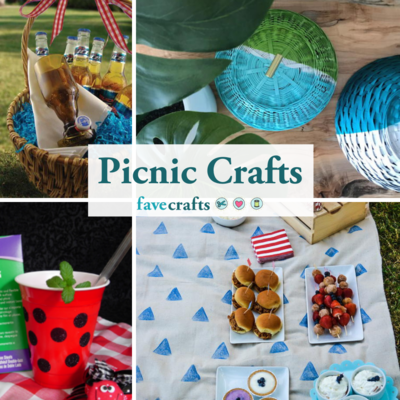
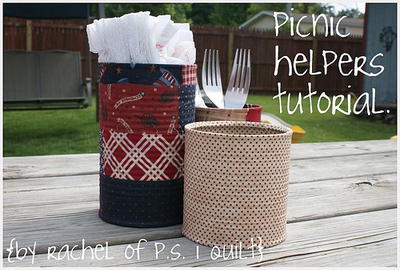
Picnic Helpers Tutorial
Rachel Griffith of P.S. I Quilt is here to make your picnic or barbecue a little easier with this great craft project using empty aluminum cans. These picnic helpers are perfect for outdoor cooking on the 4th of July!

ever get tired of your napkins blowing away while you're at a bbq or picnic???
ever need to grab a fork, only to find that they are all inside a baggy and your fingers are covered in bbq sauce???
ever need a place to throw those empty hotdog bun bags until you reach a trash can???
well if you answered yes to any of those questions...this tutorial is SO for you.
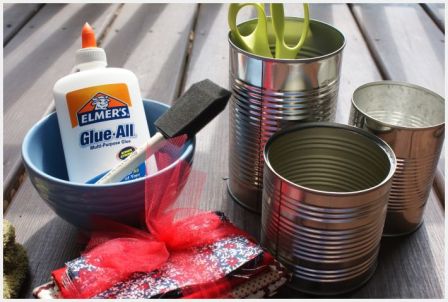
Materials:
- assorted fabrics in assorted sizes
- assorted empty aluminum cans {that have been delabel and washed.}
- elmer's glue all multi purpose glue
- craft foam brush
- scissors
- bowl
- wet wash cloth
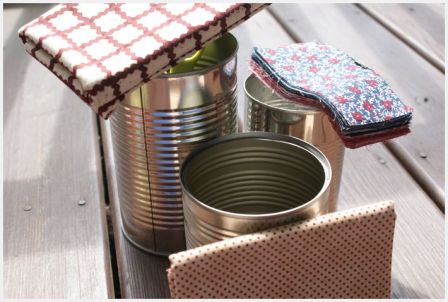
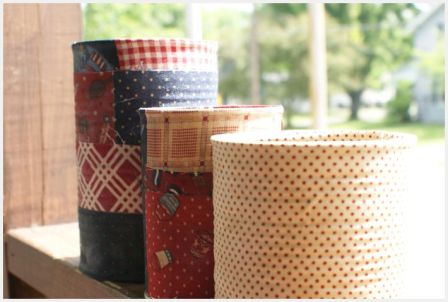
first you'll need to pick which fabrics you would like on each can.
you can change your mind later, i certainly did.
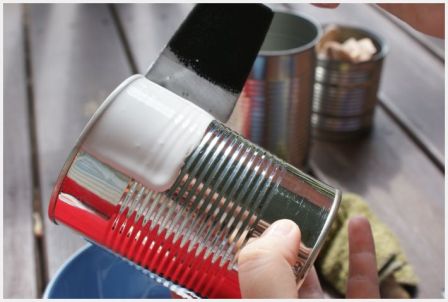
take your first can and brush on some of your glue.
make sure it's not goopy and you smooth it out.
{this picture was taken right before i smoothed out that big goopyness.}

take your first piece of fabric and apply it to your can, folding over into the inside.
make sure that you smooth out the fabric as you go.
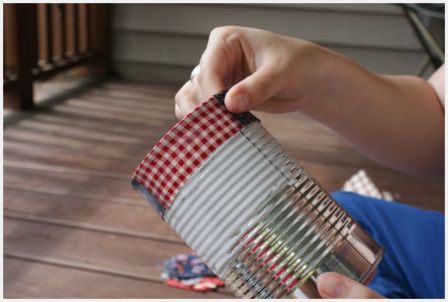
you're gonna keep overlapping your pieces like so until your top is covered.
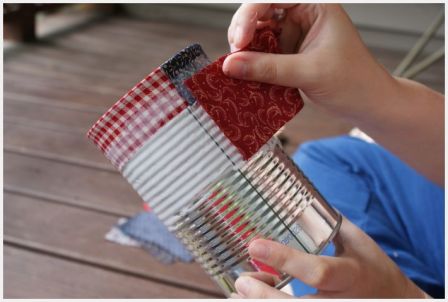
then you're gonna start with your next row. just like so.
keep going until all of your can is covered, making sure there aren't any air pockets.
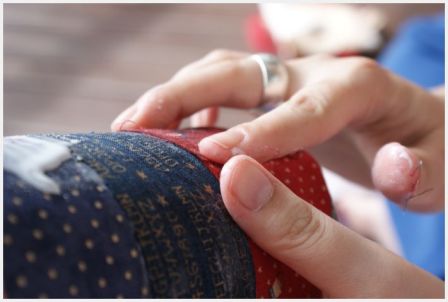
when you reach the bottom, you'll have overlapping fabric, just like you did at the beginning.
just brush on a nice coat of glue and start pressing the fabric down.
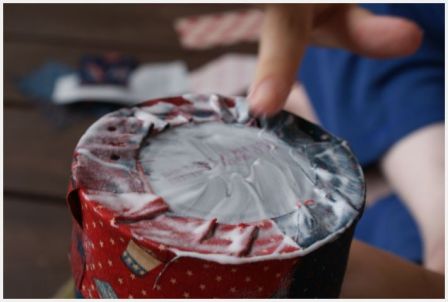
it's okay to be liberal with your glue here.
just work your glue into all those nooks & crannies.
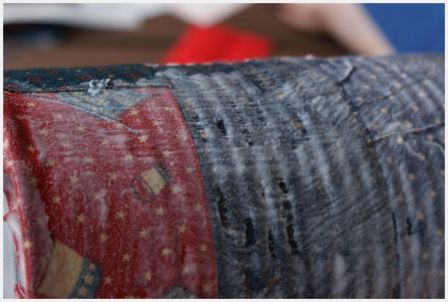
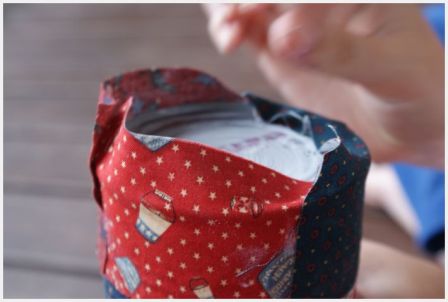
you're gonna want to brush a thin layer of glue over the entire fabric covered can.
take your wet wash cloth and gently pat the fabric so that you don't see goops of glue.
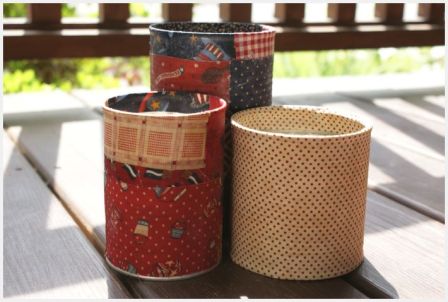
now make 2 more...you know you want to!!!
and that little whole cloth one...be still my heart.
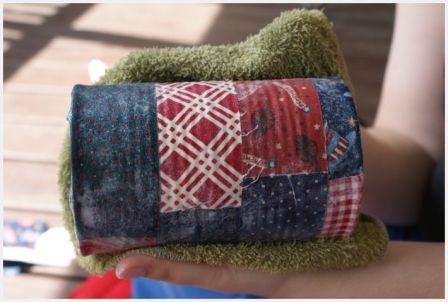
now just let them dry in the sun for about 20 minutes.

and lookie here...no more flying napkins...your forks readily available...and you can throw that empty bun bag right in the empty can until it's time for clean up.
and did I mention these make great hostess gifts for all those bbq's & picnics you're invited to this summer???
hope ya'll enjoy.
For other fantastic picnic essentials, be sure to check out our collection of 7 Picnic Accessories and Essentials!
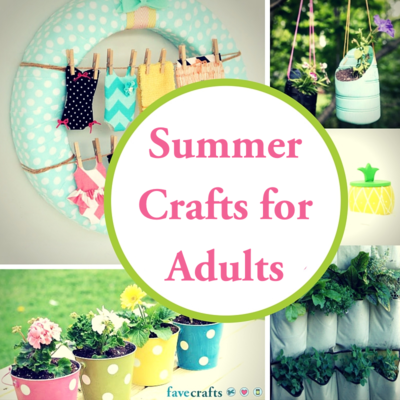
Read Next47 Summer Crafts for Adults
Your Recently Viewed Projects
Thanks for your comment. Don't forget to share!
pateavenson 828311 0
May 25, 2012
I feel really silly, but do you put glue on the inside of the top of the can to hold the fabric down inside, did not see in the instructions but think thats what you would do
ceeja
Jul 15, 2011
I also found a way to recycle cans... I have one by by sewing machine to catch those snips of material and thread. One by my favorite sewing chair for the same. Saves time in picking up from the table or the floor and surprising how much a small can holds.
Monica815
Jul 10, 2011
We don't go threw many canned goods, but when we do I usually recycle, but since we've been doing lots more picnics I think these will come in handy :) Don't forget, if you use canned asparagus those would be great for the plastic ware!
PepperMill
Jun 06, 2010
Great idea for tons of leftover fabric! You can also glue a piece of felt to the bottom of the can (use the can as a template for the circle) to cover the raw edges and so it won't scrape against glass top tables!
Member 3750563
May 03, 2010
Excelente idea, adoro el reciclaje y me encantaron las latitas forradas en tela. Muchas gracias por compartir. Besitos.
Amaw
May 03, 2010
Since I'm now a 'homemaker' instead of 'wage earner' I'm getting to cook more. I can't stand to throw away those cans! My can opener cuts through the seam cleanly so I don't have to worry about sharp edges, making this a perfect project! HHMM... I think my sister and daughter, and daughter-in-law could all use a set of these! grin!
Report Inappropriate Comment
Are you sure you would like to report this comment? It will be flagged for our moderators to take action.
Thank you for taking the time to improve the content on our site.