This project was submitted by one of our readers, just like you.
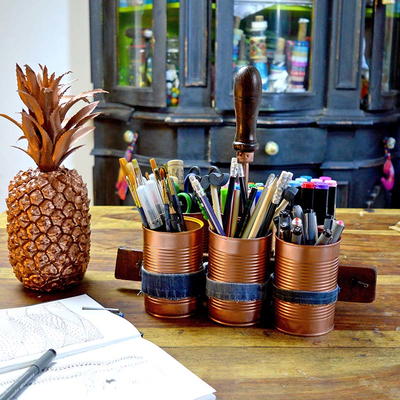
Copper & Denim DIY Organizer

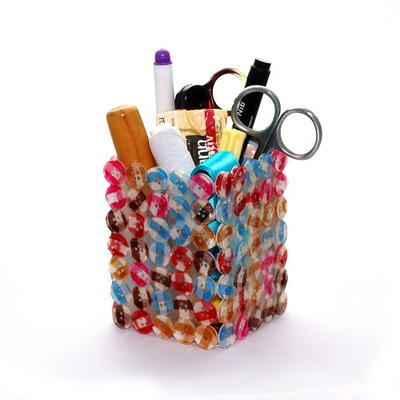
In the Designer's Words: "As well as looking great this craft caddy is really handy for all your pens, scissors and brushes. It's really easy to make by upcycling some old tin cans and a bit of denim. That’s it once all the cans are attached your caddy is ready to go. I love the stylish copper and denim look of this craft caddy but with the surprise splash of colour from the insides of the cans. You can also use it as a picnic caddy, or just as a handy portable storage for all those bits a pieces you don’t know where to put but want on hand."
You do not have to spend a ton of money on your home décor to get the chic and totally trendy look of copper. Use DIY crafts to add those expensive accents to your home without paying a pretty penny to get them. This craft project idea is the perfect medley of chic, copper décor and organizational genius. The Copper & Denim DIY Organizers tutorial shows you how to use old tin cans and scraps of old jeans to make a DIY organizer for your craft room that looks like you purchased it right out of an expensive catalog.
Estimated CostUnder $10
Time to CompleteUnder an hour
Primary TechniqueDIY Craft

Project TypeMake a Project
Materials List
- Six tin cans and small strips of denim cut from and hems of old jeans.
- Old screwdriver for handle (or could use old wooden handled corkscrew)
- Piece of old wood such as pallet wood approximately 35cm x 6cm
- Spray paints and acrylic varnish spray
- 8 eyelets and eyelet tool if you don’t have one of these then you can just use 8 small washers suitable for 3.5mm screws
- 8 wood 3.5mm 1/2 inch wood screws and screw driver
How to Make the Copper & Denim DIY Organizer
Instructions
-
Spray your tin cans, copper on the outside and a colour on the inside. Once dried seal with the acrylic varnish.
-
The next stage I prepared the wooden handle of my craft caddy. I rounded the edges of my pallet wood with a chisel and then sanded it. Then marking the centre of you pallet wood, stick your screwdriver into the top. To do this I twisted the screwdriver while pushing down so that it slowly drilled into the wood. This worked really well, however if you are having problems with this you can always drill as small hole in the top and then glue your screwdriver in the hole.
-
Cut your denim strips to fit round the cans. Using an eyelet tool place eyelet holes in both end of each strip of denim.
-
Screw one end of each of the six denim straps to the wood. Three on each side, where you want to place your tin cans
-
Now wrap each denim strap in turn round a copper can and screw in place. You want to ensure a tight fit. Also for the middle can, I shared the same screw for the straps of the cans either side.

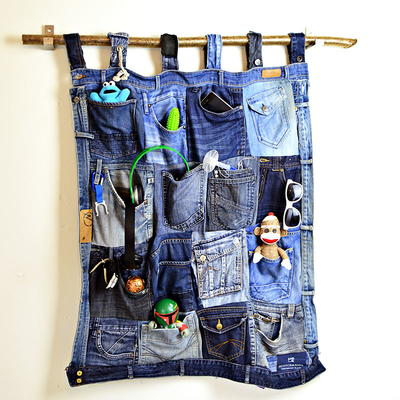
Read NextDenim Pockets DIY Organizer
Your Recently Viewed Projects
Thanks for your comment. Don't forget to share!
trishclark529
Feb 23, 2017
I love this idea! I used this to make a little caddy for my bathroom items. I can pick it up, carry it into the bathroom, use what I need, then carry it back. This could work for so many things! The possibilities are endless. What a great idea!
Report Inappropriate Comment
Are you sure you would like to report this comment? It will be flagged for our moderators to take action.
Thank you for taking the time to improve the content on our site.