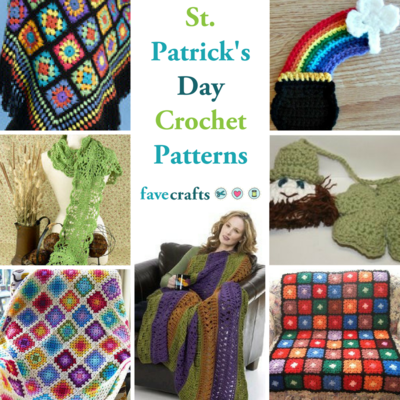
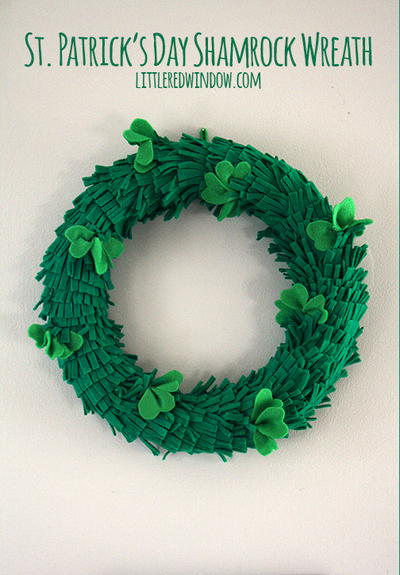
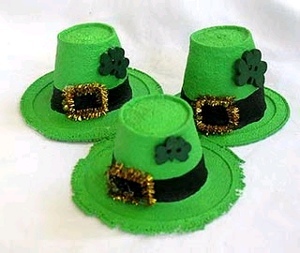
Mini Leprechaun Hats
You'll never guess what these mini leprechaun hats are made of--Styrofoam cups! These free St. Patrick's Day crafts from Amanda Formaro are the perfect way to get in the holiday spirit.

Materials:
- Styrofoam cups
- acrylic paint in green and black
- gold chenille stems
- scissors
- hot glue gun
- shamrock buttons
- magnets (optional)
Instructions:
- Preheat oven to 250 degrees F.
Note: The temperature and instructions in this craft are based off of a dark coated cookie sheet at 250 degrees F in an electric oven. You may want to experiment with different temps until you receive satisfactory results. I recommend baking one or two cups at the recommended temperature and time first. If they seem to melt too quickly or the ends curl up and under, try reducing the temperature and trying again.
- Place Styrofoam cups upside down (open end of cup down) on a dark coated cookie sheet, placing them about 1-2" apart. Note: we experimented with both dark coated and silver cookie sheets, the cups did not melt properly on the silver sheets.
- Bake in the oven for approximately 3 minutes, don't walk away! It will take about one minute before you see any changes to the cups, then the heat will begin to melt and shrink them rather rapidly after that. It's lots of fun for the kids to watch, so be sure to turn the oven light on.
- Remove the cookie sheet from the oven and set aside to cool completely. DO NOT try to remove the cups from the cookie sheet until they are completely cooled. As they cool, the Styrofoam that is stuck to the sheet will relax and release its grip from the sheet, allowing you to remove them easily. Most cups will melt rather well, thought you may end up with one or two that look rather distorted or disfigured.
- Paint the "hats" with green paint, one coat is usually enough, and allow them to dry completely. Once they are dry paint a black rim around the hat and allow to dry again.
- Mean while, take a gold chenille stem and bend it into a square or rectangle for the hat's buckle, trim end off with scissors. When paint is dry, hot glue the buckle to the front of the hat on the black rim. Hot glue a shamrock shaped button to the top portion of the front of the hat.
- Note: Instead of the buttons, you can either paint a shamrock on by dipping the eraser of a new pencil into dark green paint and dotting it onto the hat three times, or cut your own out of felt or craft foam.
- If you like, you can hot glue a small round magnet to the bottom of the hat at the brim and hang on the refrigerator.
Your Recently Viewed Projects
Thanks for your comment. Don't forget to share!
shilohdana
Jan 25, 2017
I don't think I would use Styrofoam cups to make these, I would also be concerned about the fumes as another crafter mentioned. I would attempt to make them out of felt though, using this as a rough pattern and I do like the idea of the chenille trim for the buckle and the shamrock shaped button is cute too. Any other ideas for crafting them out of something else besides melted Styrofoam cups?
Weberme
Feb 15, 2017
I agree with you about the fumes from the Styrofoam cups. I was thinking the same thing as I was reading this. It is a great idea and cute but I feel like you that use green felt and stuff the top of hat and use the felt as the rim and some black felt for belt buckle, pipe cleaner for the buckle and paint a shamrock on top of hat. This will make a nice centerpiece too.
gpbayles 6446542
Dec 21, 2013
I think this will be good to paint black and use for a snow man.
carltoonz
Mar 02, 2012
What about toxic fumes from the styrofoam? Carbon monoxide and deadly hydrocarbons can be released when melting or burning styrofoam. What safety measure have you taken? gas masks?
Maloma
Feb 14, 2012
HA! From the newsletter pic, I thought these were small cakes! Now, there's an idea...one could make little cakes and use green frosting for the brims. I like the actual pattern, too! ha! M <>< .
sassymomma
Mar 06, 2011
Very cute idea, question is the bottom of the cup attached to something? Or, is this part of the cup that has shrunk?
Report Inappropriate Comment
Are you sure you would like to report this comment? It will be flagged for our moderators to take action.
Thank you for taking the time to improve the content on our site.